The Dolabra is one of two new weapons introduced in the Flashpoint update, and its blueprint is already one of the most sought-after items in Arc Raiders. This energy shotgun is tailor-made for the Close Scrutiny map condition, where Vaporizers roam in force. Here's everything you need to know about finding the blueprint, gathering the crafting materials, and putting this dual-mode weapon to work.
Where to Find the Dolabra Blueprint
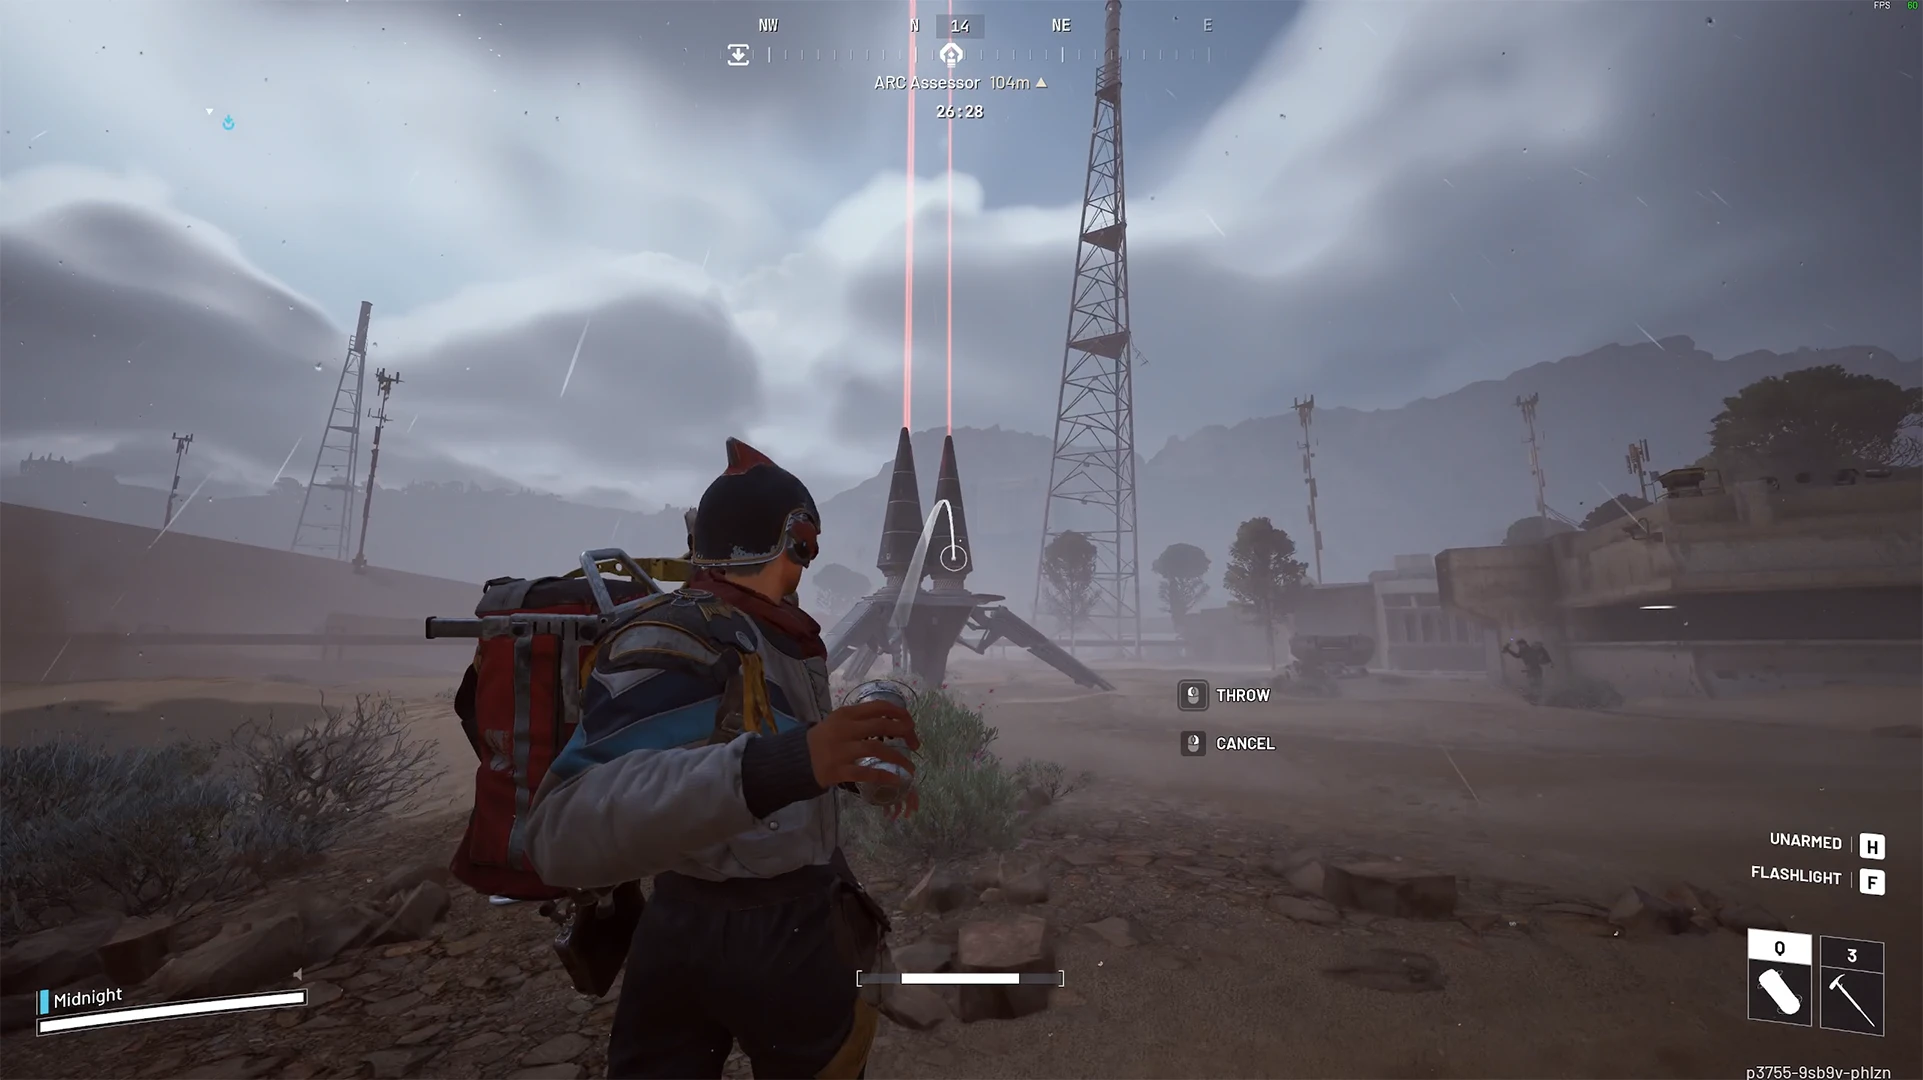
The Dolabra blueprint drops from Arc Assessor dropship containers, which are exclusive to the Close Scrutiny map condition. Assessors are the massive platforms that deploy from the sky (after a surveyor calls it in) and activate on the ground with a tall red beam of light. You can't miss them.
The blueprint is not a guaranteed drop, and the drop rate is actually on the low side. Some players are reporting being first to breach 10+ Assessors without seeing it. Three chambers per Assessor means three chances, but don't expect a quick grind — the devs clearly don't want everyone running around with this thing on day one. On friendly servers, the real challenge isn't even the ARC. It's the other raiders.
On friendly servers, raiders queue up at Assessors the moment they land. People are running the same naked speed-farming strategy described below, and it's common to see several raiders already waiting at the landing site before the first chamber even unlocks. If you bring a full loadout and try to fight your way through, you'll likely just end up in line behind someone who got there faster. (but it's still fun fighting the new arc alongside friendly randoms!)
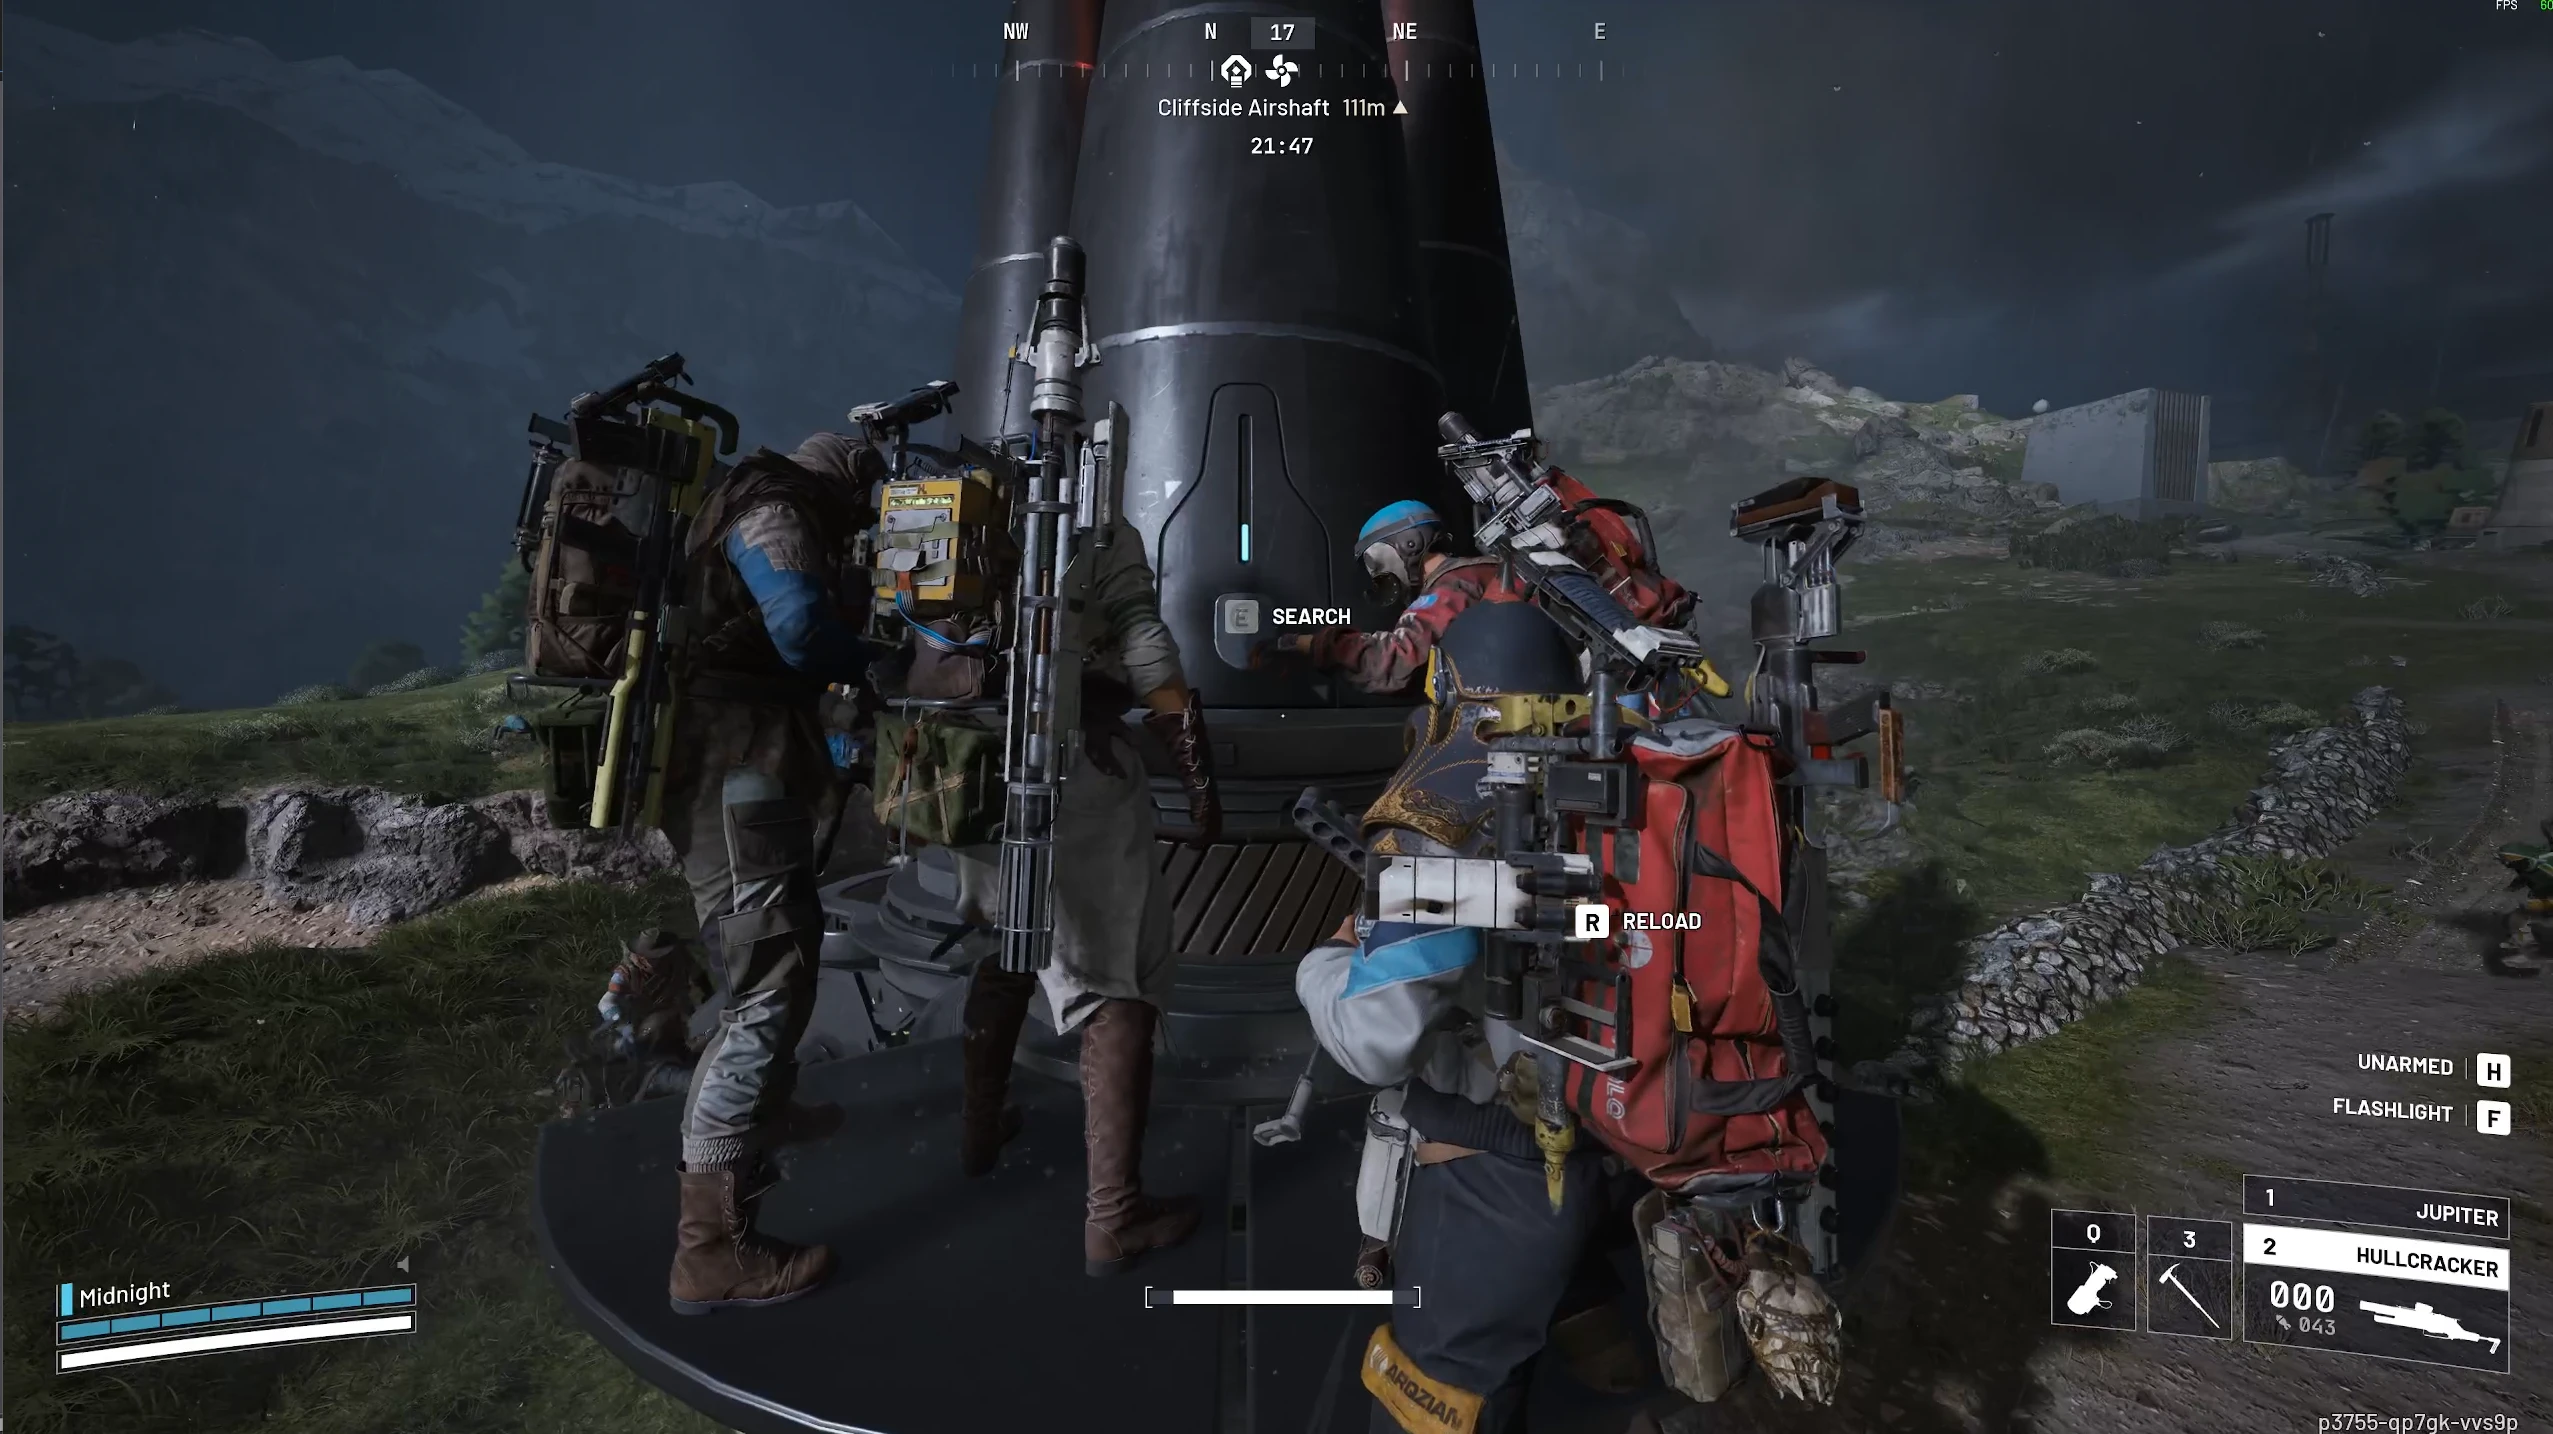
A typical scene on friendly servers — multiple raiders already waiting at the Assessor before the first chamber unlocks
How Assessor Chambers Work
Each Assessor has three loot chambers, but they don't all open at once:
- There's a 5–10 second delay after the Assessor lands before the first chamber unlocks.
- When a chamber unlocks, a platform deploys beneath it so you can stand there, and a blue line appears above it indicating it's active. You'll see the "Press E to Breach and Search" prompt. If you don't breach it in time - it will lock and the other one will unlock, remember this if you are not alone.
- Breaching spawns a massive wave of ARC — multiple Vaporizers and/or Rocketeers plus regular-sized ARC. It's a lot.
- The next chamber won't unlock until the entire wave is cleared. Then the process repeats for the third.
Look for the platform beneath the chamber. If there's no platform deployed and you can't stand near the breach point (you'll just fall off), that chamber isn't unlocked yet. Also look for the blue line above the compartment — that confirms it's active and ready to breach.
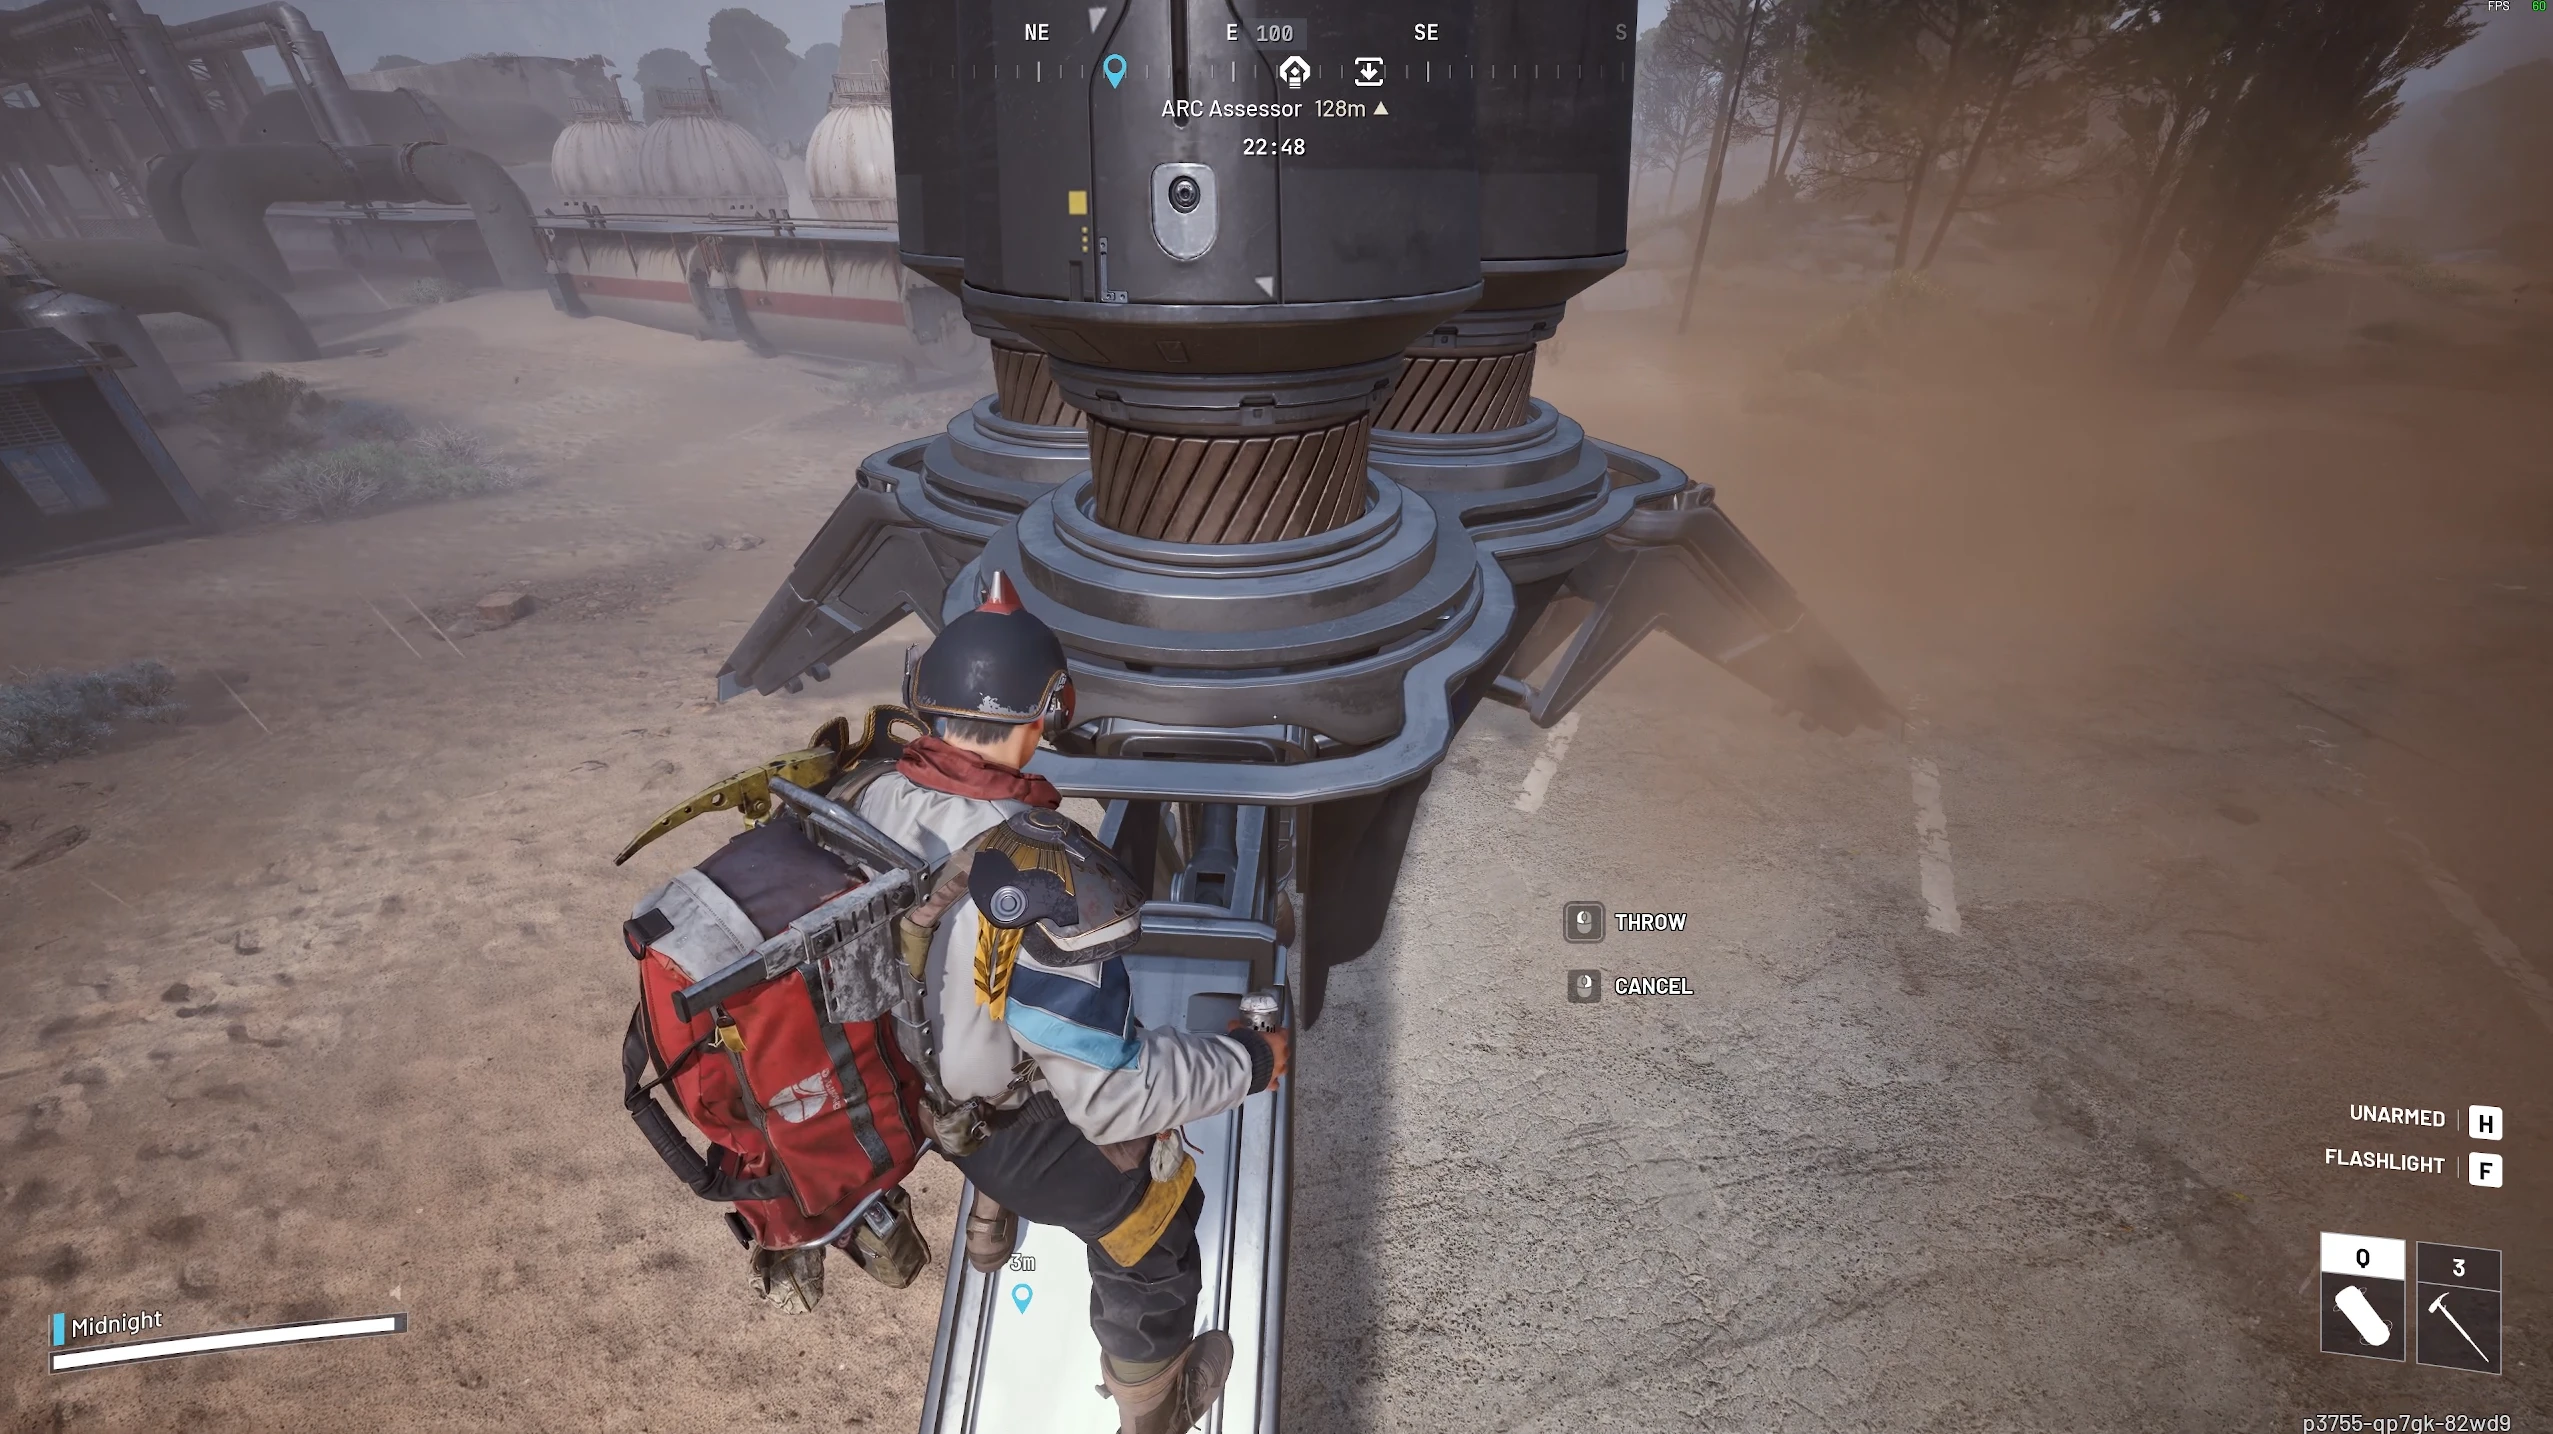
Before a chamber unlocks — no platform deployed, you'll fall off if you try to stand here
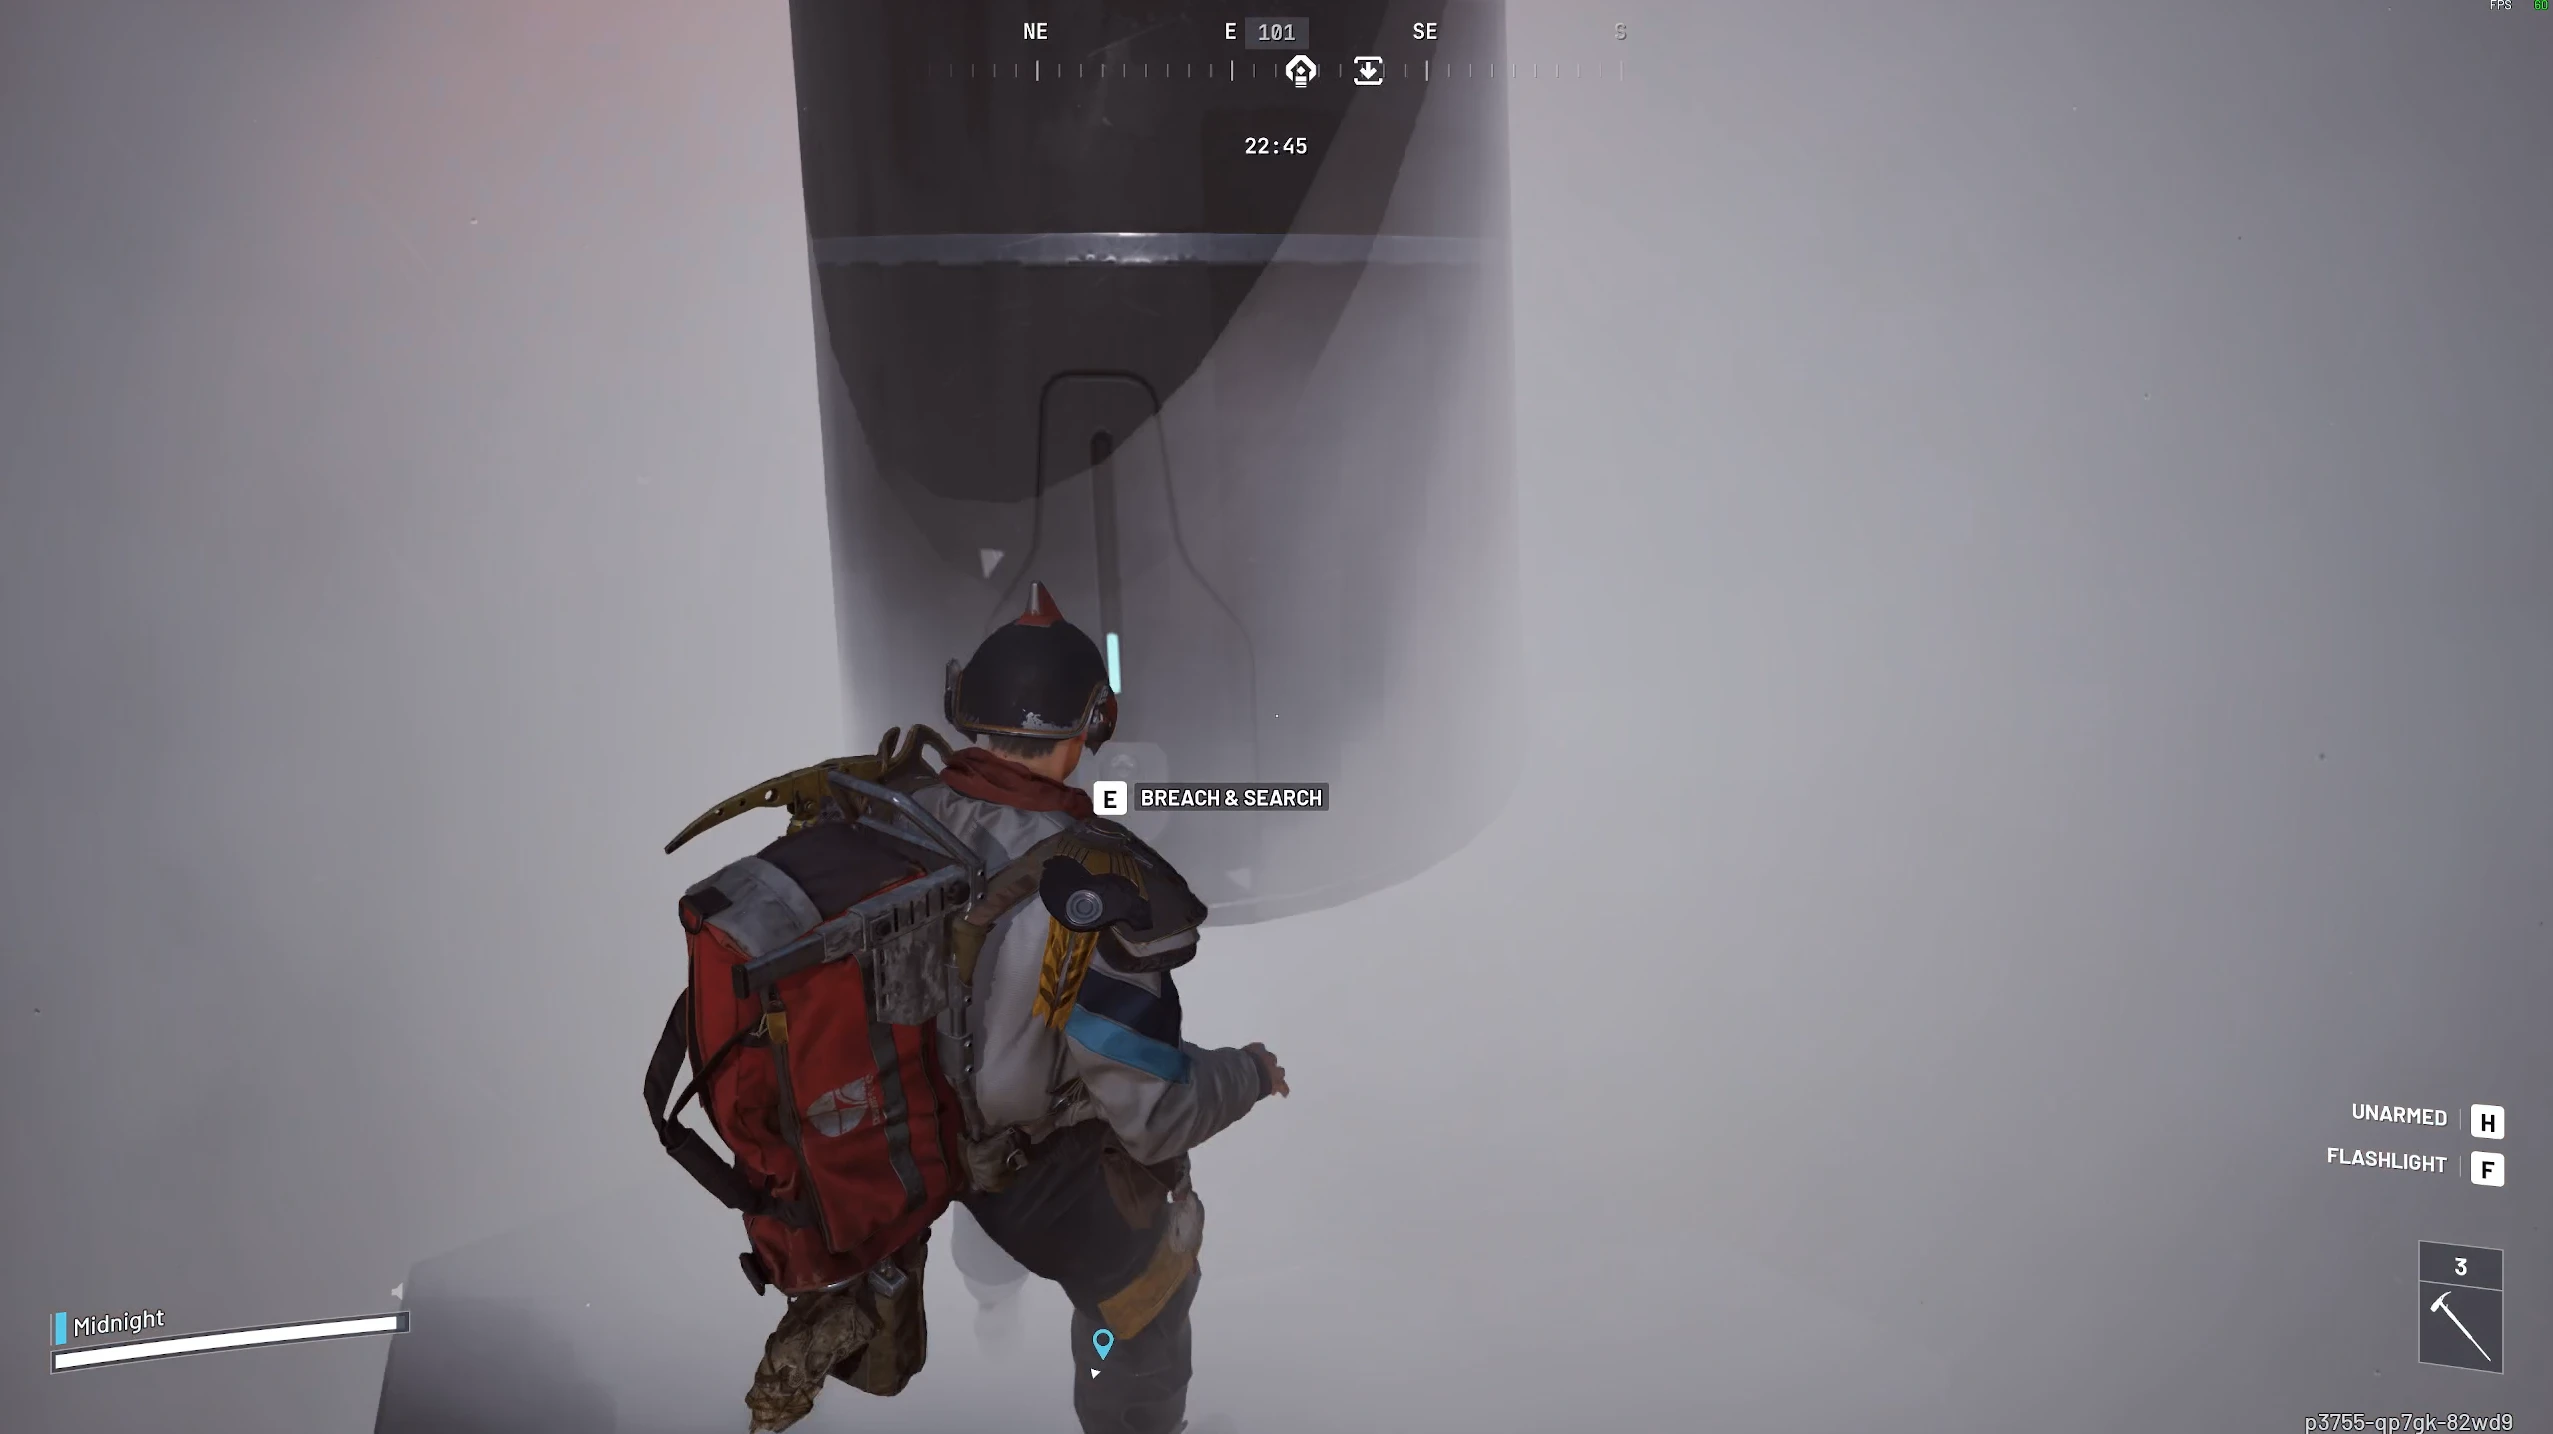
The blue line above the compartment confirms it's active and ready to breach
Two Ways to Farm the Blueprint
There are two main approaches to Assessor farming on friendly servers, and which one you prefer really comes down to how you like to play and how much time you have.
Strip your loadout, bring adrenaline shots, be the first to breach a chamber, safe-pocket the blueprint, surrender. Fast, repeatable, zero risk. Best if you're short on time and just want the blueprint as efficiently as possible.
Bring proper gear, fight the ARC waves alongside other raiders, and work through all three chambers together. Slower, but you get to actually play the game and enjoy the camaraderie that makes Arc Raiders' friendly lobbies special. Best if you're here for the experience, not just the loot.
Both are valid. I started with a full kit and genuinely enjoyed the teamwork — but after watching naked runners grab chambers before I could even get in line, I switched to the speed strategy to make the most of my limited time. Pick your poison.
Approach 1: Speed-Farming Strategy
Since friendly lobbies turn Assessor farming into a footrace, this approach strips everything down and focuses entirely on speed. Here's what's been working consistently:
The Loadout
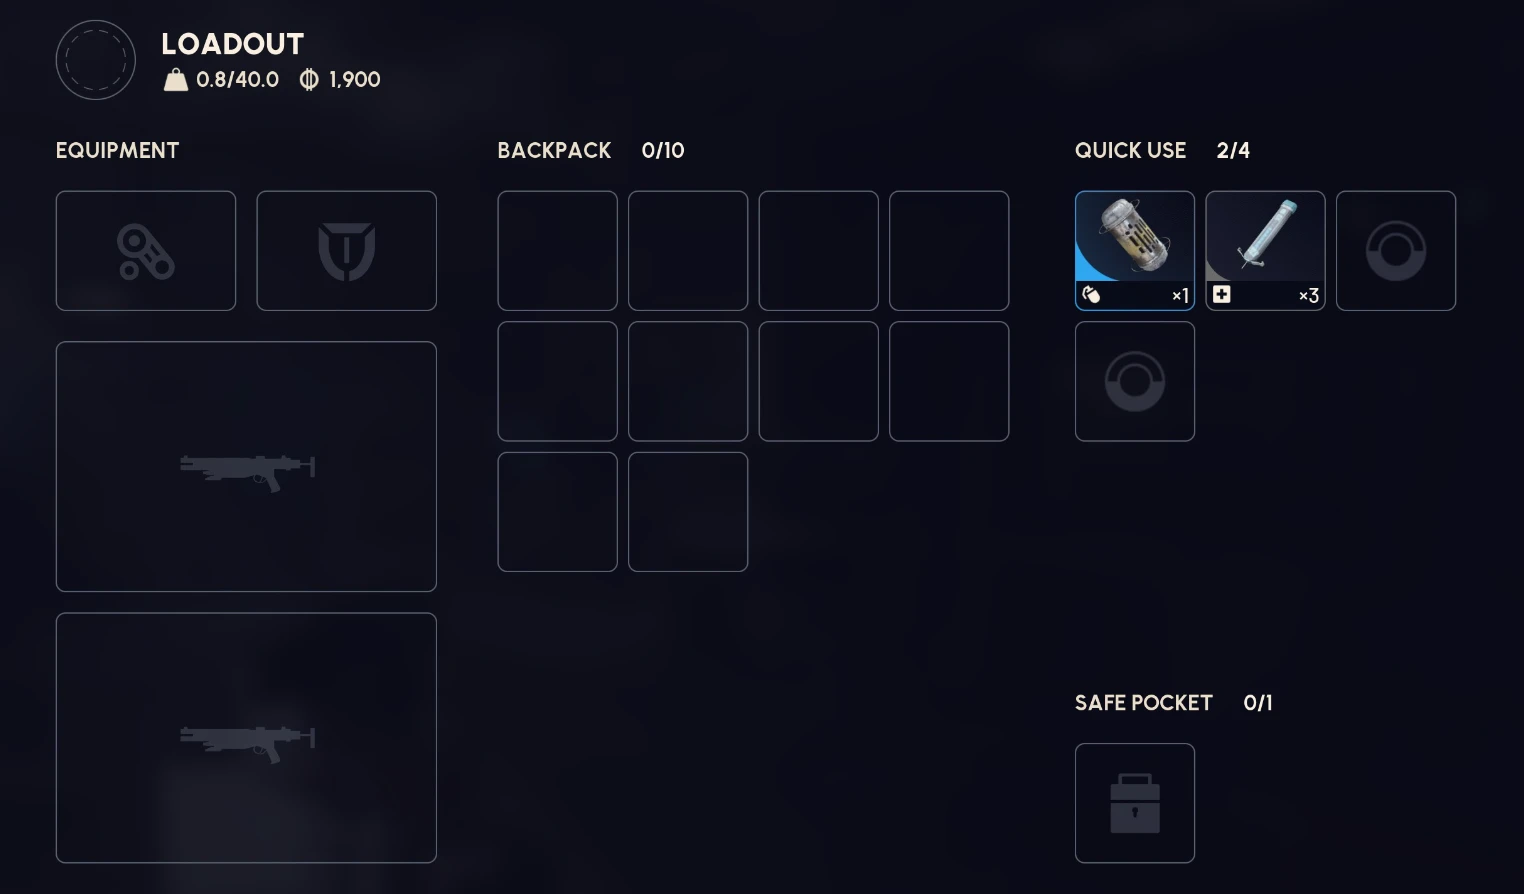
The speed-farming loadout — just a smoke grenade and adrenaline shots, nothing else
Load in with a completely empty loadout except for:
- 1x Smoke Grenade
- 4–5x Adrenaline Shots (so you can outrun everyone)
That's it. No weapons, no armor, no extra gear. The naked loadout gives you one safe pocket, which is the key — when you find the blueprint, put it in the safe pocket immediately, then press Escape and click Surrender. You keep the blueprint, skip the extraction, and queue right back in. You'll see other raiders doing the same thing.
Step 1: Spot the Surveyor Beam Early
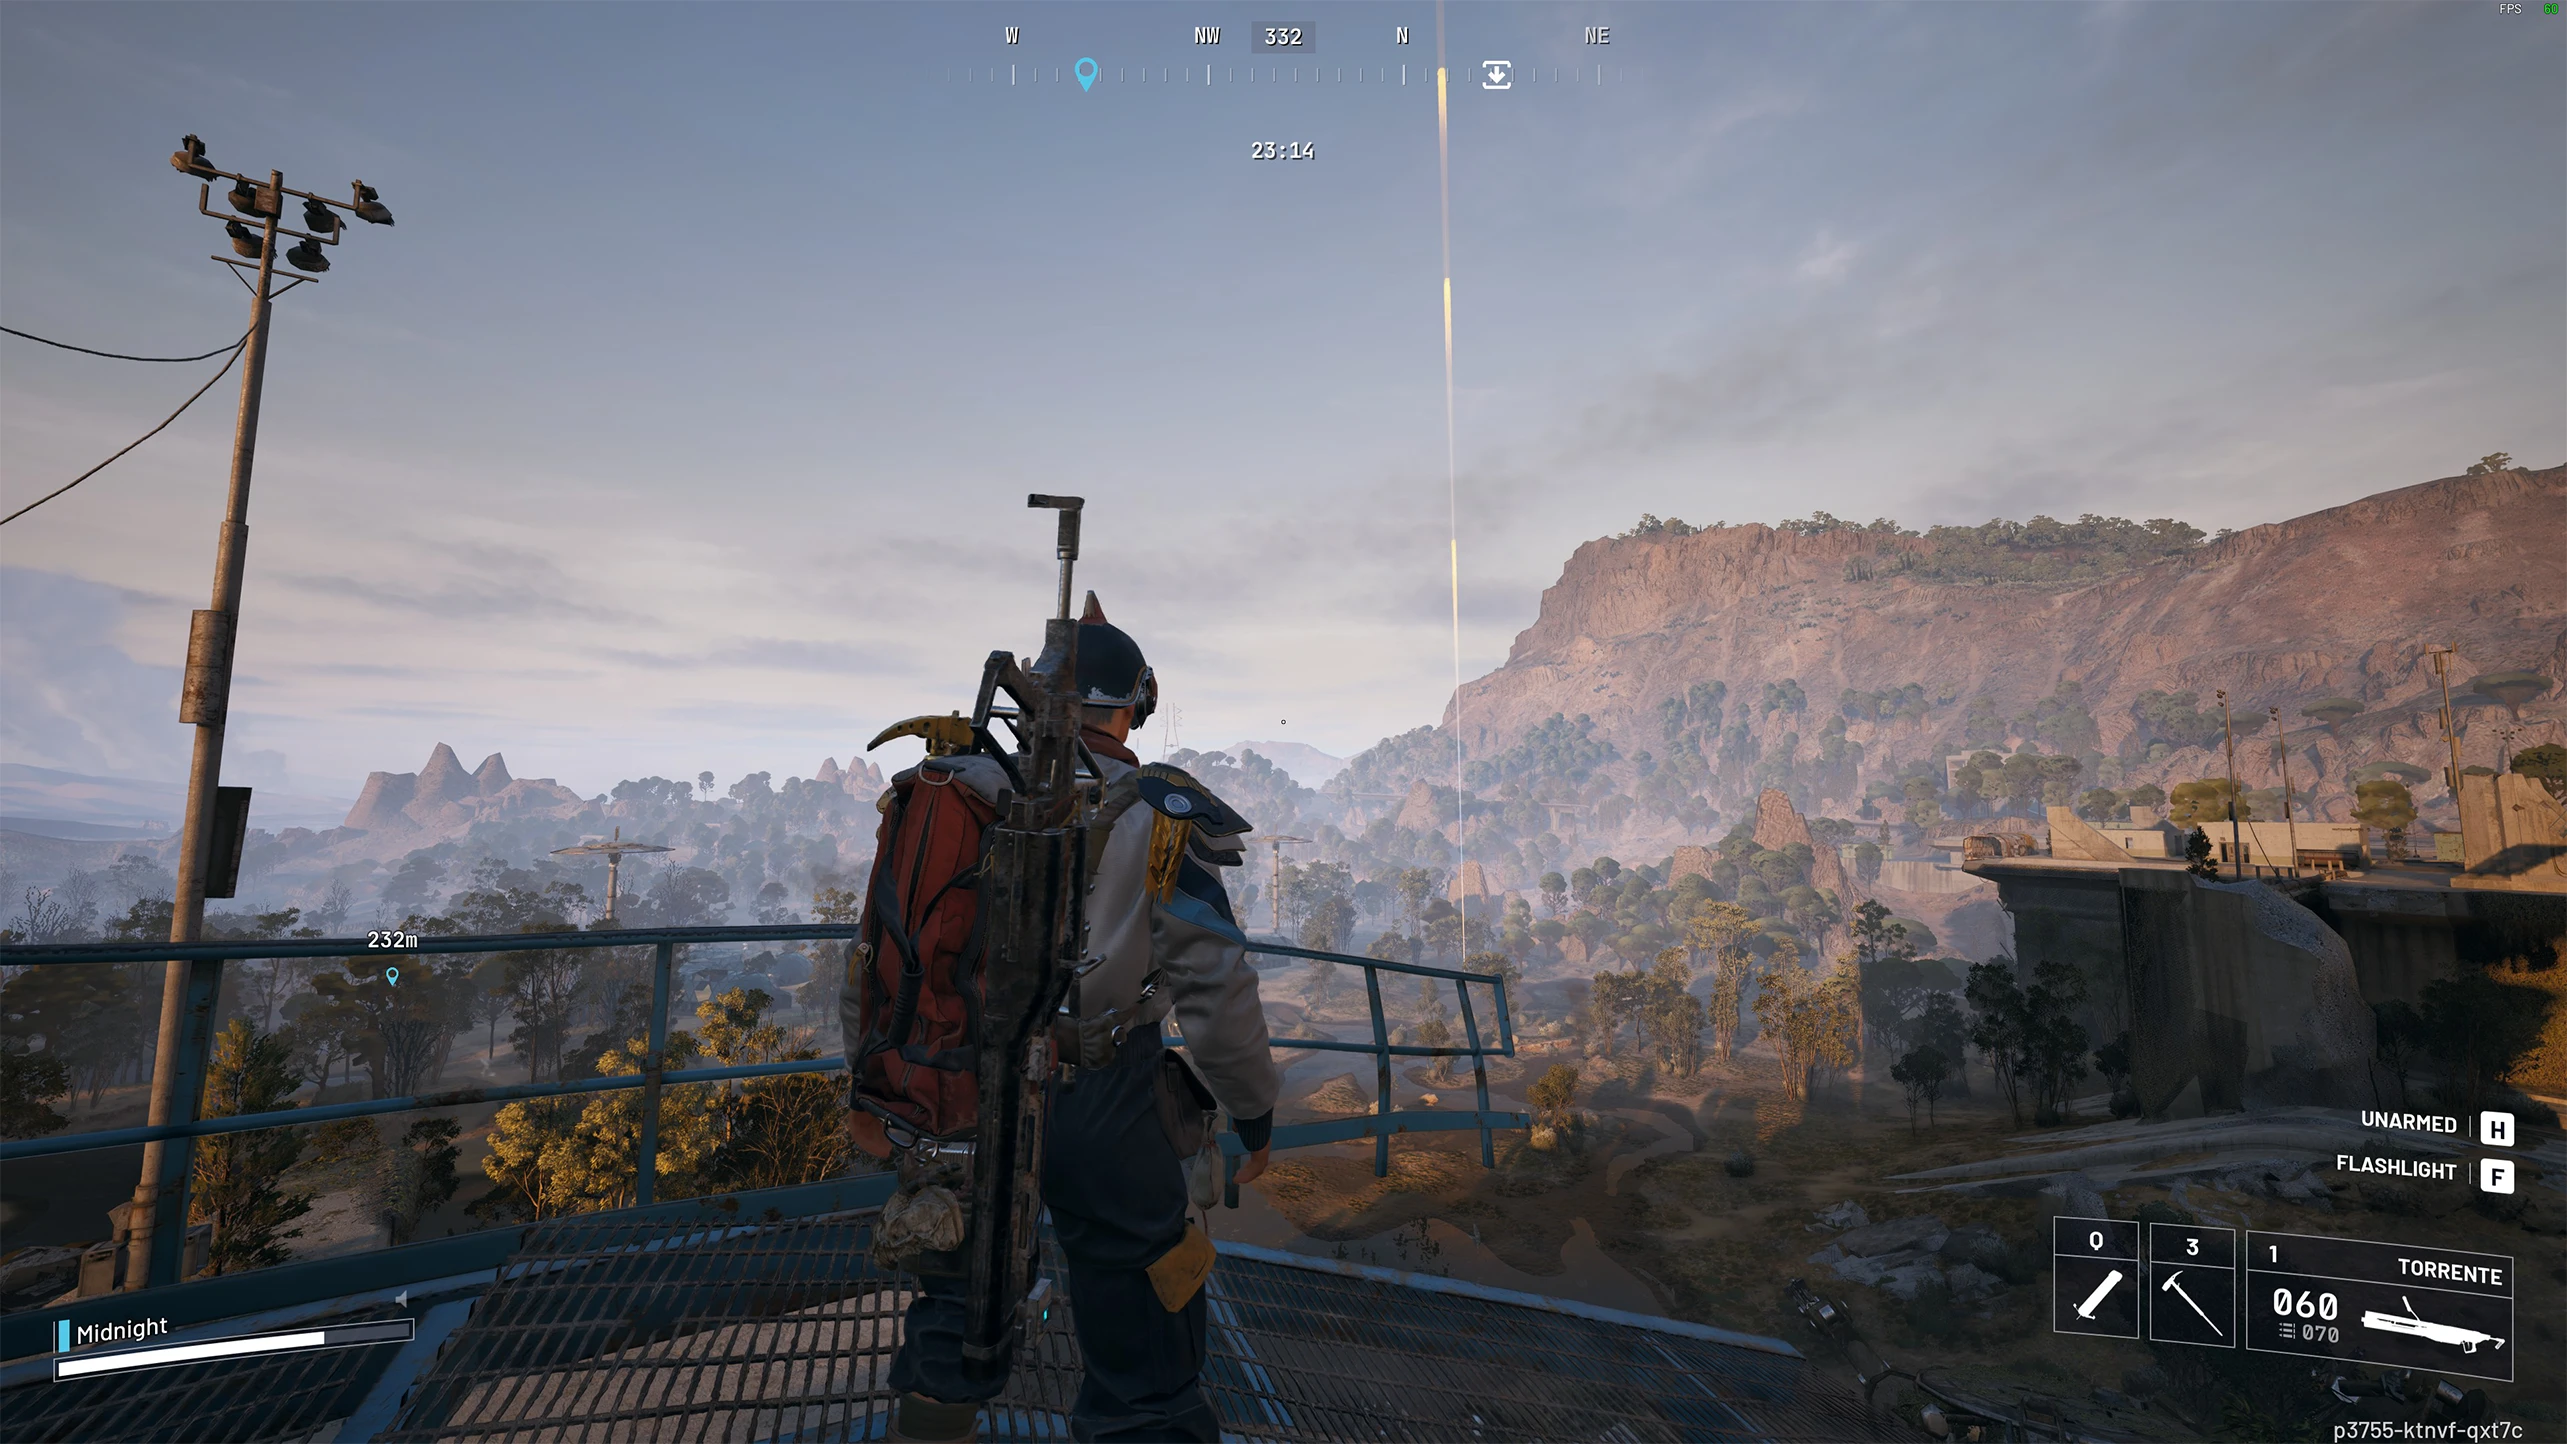
The Surveyor beam in Close Scrutiny — note the yellow pulse waves traveling upward, marking where the Assessor will land
When you load in, start running towards the center of the map. The Assessor landing location is telegraphed by a Surveyor beam — but in Close Scrutiny, it's not just the usual blue beam. It also has yellow pulse waves traveling upward into the sky. This beam doesn't last very long, but if you spot it, you get a significant head start on everyone else.
Most raiders don't start running until they see the red laser beams from the Assessor itself, which means it's already landed. By then, there are often several people already waiting at the site. Spotting the Surveyor beam early is the difference between being first and being fifth in line (aka not gettign the BP).
We've added potential Assessor spawn locations to the interactive maps. Use them to position yourself near likely landing zones and cut down your travel time. (after the markers load - hit "Hide all" and then enable the "Arc Assessor" markers to only see them)
You can also use ziplines to cover ground faster, but keep in mind that other raiders can use your zipline after you place it.
Step 2: Position on a Leg
When the Assessor lands, there's a 5–10 second window before a chamber unlocks. The three chambers are spread across the Assessor's legs. If you're not alone, pick one of the legs and stand on it before a platform appears. You'll have roughly a 30% chance that your chamber is the one that unlocks first, and you'll already be right there to breach it instantly.
There's no point trying to race other raiders to whichever chamber opens. By the time it unlocks, someone standing on that leg is already breaching it. If you start scrambling between legs, your odds drop well below 30%. Pick a leg, commit, and hope it's yours.
Step 3: Smoke and Breach
When your chamber unlocks, throw the smoke grenade right at the base of the compartment — not at the whole Assessor. The smoke gives you enough cover to breach and loot all the spots inside the container before the ARC wave reaches you. Breaching spawns a huge number of enemies (Vaporizers, Rocketeers, regular ARC), but with the smoke you can grab everything and get out.
Throwing a smoke grenade at the base of the compartment for cover while breaching
Step 4: If You Didn't Get It, Reset
Don't wait for the second chamber. Clearing the ARC wave requires multiple players with real loadouts, which means more competition for the next compartment. Instead, run back towards the center of the map, open the interactive map to check other potential Assessor spawn locations, and start watching for the next Surveyor beam. Repeat the process.
If you did get the blueprint, put it in your safe pocket and surrender immediately. You made it!

Blueprint secured in the safe pocket — now just press Escape and Surrender to keep it
Approach 2: Full Kit & Teamwork
If you'd rather actually play the game than sprint around naked, bring a proper loadout and fight the ARC waves with other raiders. This is how Assessors were designed to be tackled, and honestly it's a lot more fun.

A full-kit loadout for Assessor runs — Jupiter and Hullcracker with plenty of ammo and heals
The tricky part is deciding who breaches next. There's no built-in system for it, so it usually comes down to an unspoken first-come-first-served among the group that helped clear the wave. Communication helps — if you're in proximity chat, just call it out. Most raiders on friendly servers are reasonable about it.
The upside is you get access to all three chambers per Assessor instead of just one, which triples your chances per landing. You also get to loot Vaporizer Regulators and other materials along the way, so even if the blueprint doesn't drop, the run isn't wasted.
Photoelectric Cloak Options
The Photoelectric Cloak pairs well with the full-kit approach. A few ways to use it:
- Normal loadout + Cloak equipped: Activate it to approach and breach containers without drawing ARC aggro. Works well if you want to sneak a breach while the wave is still active.
- Blue augment for two safe pockets: Equip a simple blue augment that gives you two safe pocket slots. Keep the Cloak in one and leave the second open for the blueprint. The tricky part is juggling — you need to move the Cloak into an active slot to use it, then back to the safe pocket before you die. Doable but risky.
- Cloak as a one-time trade (simplest): Keep the Photoelectric Cloak in your single safe pocket. Use it freely for stealth breaches. When you finally find the blueprint, swap it into the safe pocket in place of the Cloak. You lose the Cloak once, but you walk away with the blueprint. No juggling required.
You can technically skip the blueprint grind by looting the Dolabra off another raider's body, but that only gives you the weapon for a single raid. The blueprint lets you craft it whenever you want, so it's worth farming for.
There are community reports that the Dolabra blueprint can also drop from regular raider caches, not just Assessor containers. We haven't been able to confirm this yet. If you want to test it yourself while farming other loot, check out our First Wave Cache Locations Guide for all the spawn points.
Dolabra Crafting Requirements
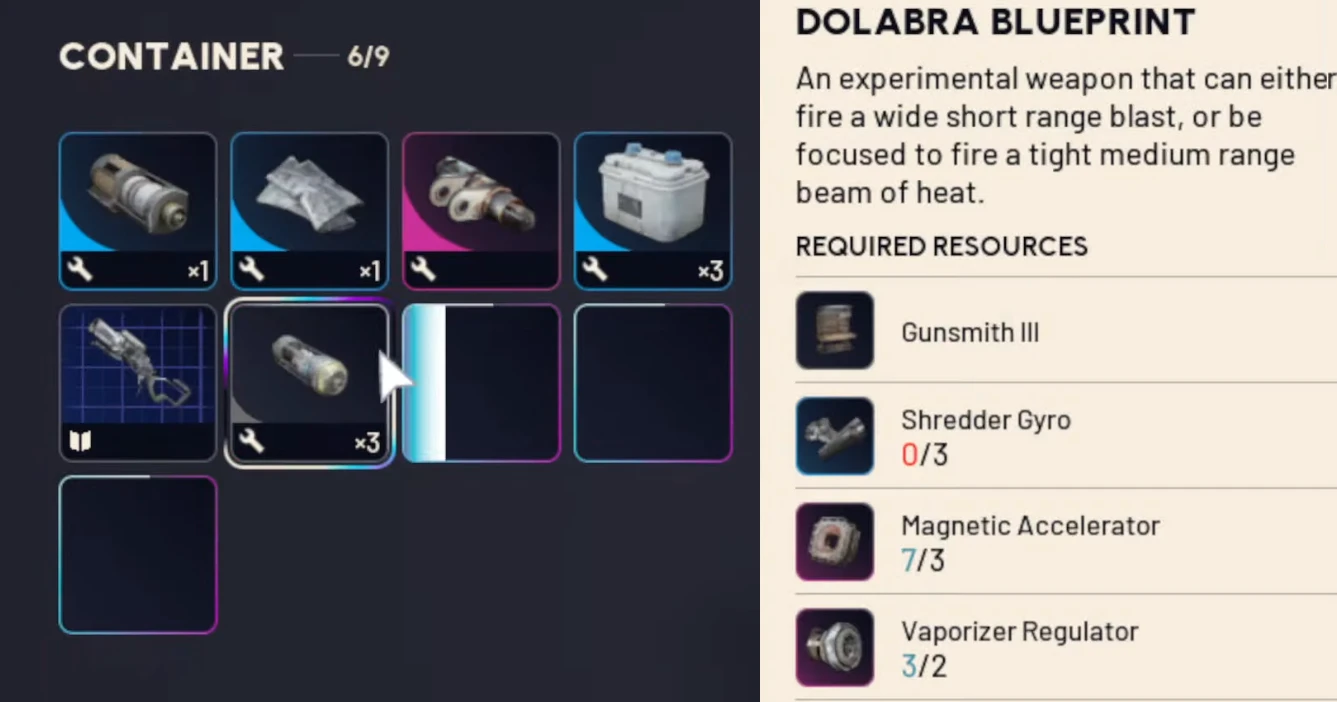
The Dolabra blueprint as found in an Assessor container (left) and its crafting requirements (right)
Once you have the blueprint, you'll need Gunsmith level 3 and the following materials to craft the Dolabra:
| Material | Quantity | Source |
|---|---|---|
| Shredder Gyro | 3 | Dropped by Shredders — found on all maps, though only sometimes on Dam Battlegrounds |
| Magnetic Accelerator | 3 | Exodus material — commonly found in Stella Montis, or from defeating Matriarchs and Queens |
| Vaporizer Regulator | 2 | New Flashpoint material — dropped by Vaporizers during Close Scrutiny map events |
The crafting cost is on the steeper side. Shredder Gyros are more accessible now that Shredders have been added to all maps with the Flashpoint update. Magnetic Accelerators require a trip to Stella Montis or taking down high-tier ARC enemies like Matriarchs and Queens.
Vaporizer Regulators are the trickiest component. They only drop from the new hard Vaporizer ARC type during Close Scrutiny.
Farming Vaporizer Regulators
A solid Vaporizer-hunting loadout — Jupiter and Hullcracker with plenty of ammo and heals, plus a Vaporizer Regulator in the safe pocket
The easiest way to get Vaporizer Regulators is on friendly servers. When an Assessor breach triggers an ARC wave, everyone nearby is focused on clearing the wave to unlock the next chamber — they kill the Vaporizers but forget to loot them. You can just hang back and scoop up the Regulator drops while everyone else is already scrambling for the next compartment.
If you want to solo a Vaporizer, don't even try without an energy weapon or a hullcracker. The Jupiter and the Hullcracker are your best options. Even then, it takes time — the Vaporizer deploys its shield every time you deal substantial damage, forcing you to wait it out or reposition.
Buried City is the best spot for fighting Vaporizers solo. You can shoot through windows and take cover inside buildings where the Vaporizer can't reach you, then peek out to fire again. It's slow, but it's safe.
How the Dolabra Works
The Dolabra's standout feature is its dual firing mode that changes based on how you aim:
- Hipfire: Fires in a wide cone spread, ideal for close-range encounters and clearing groups of smaller ARCs.
- Aim Down Sights (ADS): Switches to a focused laser blast with much tighter accuracy, perfect for dealing concentrated damage to tougher targets.
This makes the Dolabra incredibly versatile. In the Close Scrutiny map condition specifically, the focused ADS mode is excellent for burning down Vaporizers before they get within lethal range, while the hipfire spread handles the swarms of smaller threats around them.
Get comfortable switching between hipfire and ADS mid-fight. The Dolabra rewards players who can read the situation and toggle modes on the fly. Wide cone for panic moments, laser for when you have breathing room to aim.
Frequently Asked Questions
Where do you get the Dolabra blueprint in Arc Raiders?
The Dolabra blueprint drops from Arc Assessor dropship containers during the Close Scrutiny map condition. Each Assessor has three chambers that unlock sequentially — breach one, an ARC wave spawns, clear it, and the next chamber opens. The drop rate is low, so expect to grind multiple Assessors. There are also unverified community reports of it dropping from regular raider caches.
What's the best strategy for farming the Dolabra blueprint?
There are two approaches. The speed-farming strategy uses an empty loadout with a smoke grenade and adrenaline shots to be first at the Assessor — breach one chamber, safe-pocket the blueprint, and surrender. The full-kit approach brings proper gear to fight ARC waves with other raiders and access all three chambers. Pick whichever suits your playstyle and available time.
What materials do you need to craft the Dolabra?
You need Gunsmith level 3, along with 3x Shredder Gyro, 3x Magnetic Accelerator, and 2x Vaporizer Regulator. Shredder Gyros come from Shredders on any map, Magnetic Accelerators from Stella Montis or high-tier ARCs, and Vaporizer Regulators from the new Vaporizer enemy in Close Scrutiny.
How does the Dolabra work in Arc Raiders?
The Dolabra is an energy shotgun with a dual firing mode. Hipfiring shoots a wide cone spread for close-range encounters, while aiming down sights fires a precise laser blast for focused damage. Switching between modes mid-combat is key to getting the most out of it.