

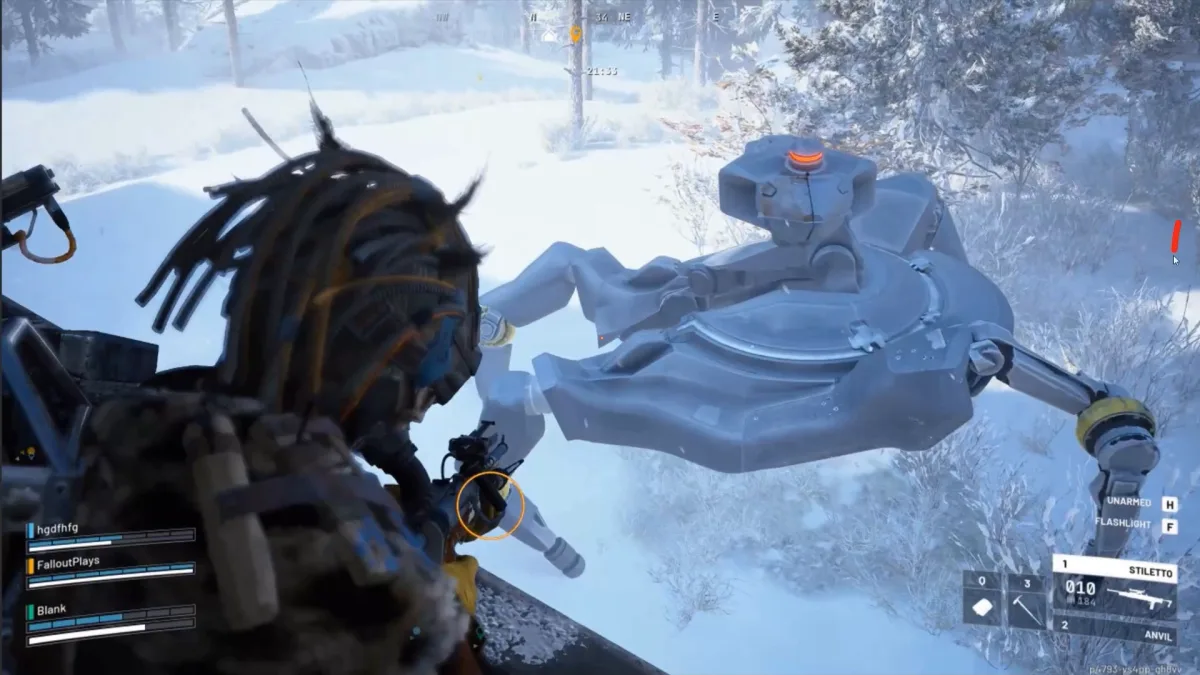
The Bully is Frozen Trail's new heavyweight: a galloping, machine-learning-trained quadruped that spots you from range, charges, and unloads at point blank. Early-access players called it the hardest ARC in the game, and one shrugged off a Deadline. It has real weaknesses, though: it runs in straight lines, its knees are exposed, and it can be pinned.
Written on launch day from developer comments and early-access fights. We'll add exact health, damage and spawn locations as we hunt them.
What the Bully Does
- Cluster bombs at range. It lobs grenades that split and go off after a short delay. Keep moving and they're easy to dodge.
- A shotgun salvo up close. A canister blast of shrapnel, similar to a Shredder's, with fast damage falloff. This is the attack that kills.
- A turret that turns all the way around. Its weapon swivels a full 360° even while the body is running the other way, so turning its back doesn't make you safe.
- Hit and run. It charges, fires, runs past, and circles back. Fight back and it gets more erratic.
- It comes in pairs. Two at once was common in early access, and they pull in other ARC and Raiders.
Weak Points
Go for the knee joints. They're small and constantly moving, so the real skill is creating a moment where it stands still. The gun housing is also exposed when it opens up to fire, and the developers' footage showed weak points on its back.
Best Loadout
| Tool | Why it works |
|---|---|
| Tether Launcher | Pins a leg for a moment. The Bully breaks free fast, so tether it right before your burst, not before you reposition. |
| Snap Blast Grenade | Sticks where it lands. Stick it to the Bully or to the ground in its charge path. |
| Showstopper | Stun grenade. In early access it cancelled a Bully attack mid-salvo. |
| Jolt Mine | Stun mine. It charges in straight lines, so a mine in its lane catches it. |
| Hullcracker | The creators' first pick. Explosive damage straight through its armor. |
| Rascal | The other weapon early testers named as a strong Bully answer. |
| Deadline | Overkill for one Bully, and one survived a hit, but it ends the fight when paired with a tether. |
Skip light ammo. The Stiletto and Bantam both bounced off it in early access.
How to Fight It
- Hear it first. The Bully has a loud, distinctive sound. When you hear it, get next to hard cover before it closes in.
- Dodge the charge sideways. It runs mostly straight and carries momentum, so a roll to the side makes it overshoot. The developers say it takes about four seconds to turn back around.
- Punish the turn. That window is when you hit the knees, or stick a Snap Blast to it.
- Pin it for the kill. Tether a leg, then hit it with your burst: Hullcracker rounds, a Snap Blast, or a Deadline right under it.
- Stay near cover throughout. Even mid-run its turret can turn back on you.
If you're not saving your Deadlines, this is the cleanest kill: tether the Bully to the ground, drop the Deadline under it, and get clear. The tether only has to hold until the timer runs out.
Fighting from inside a building or a narrow space also helps: it can't use its speed, and the cluster bombs and salvo have less room to catch you.
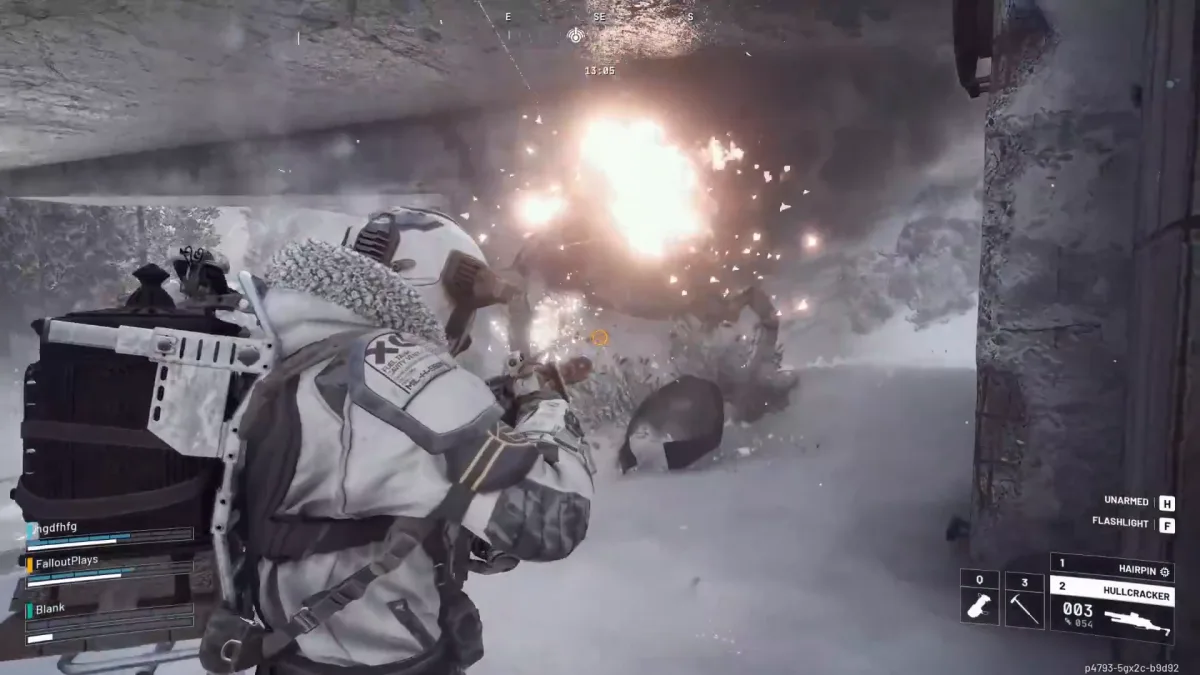
What the Bully Drops
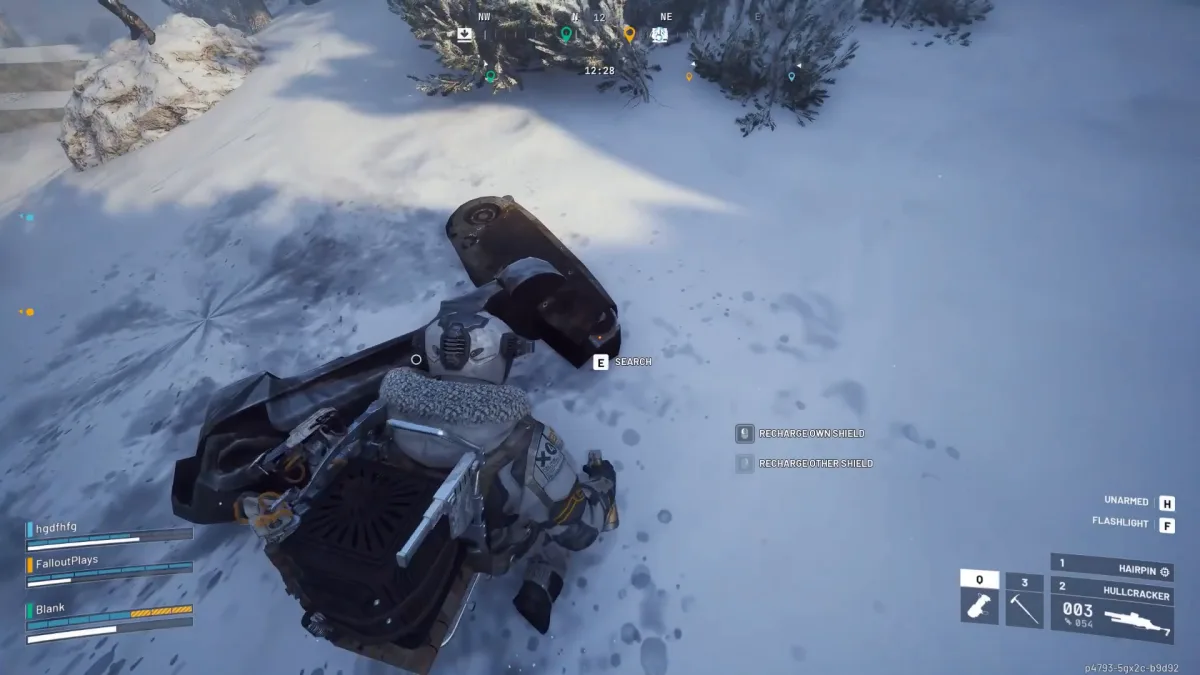
- Limbs: Mechanical Components, ARC Alloy and other ARC parts.
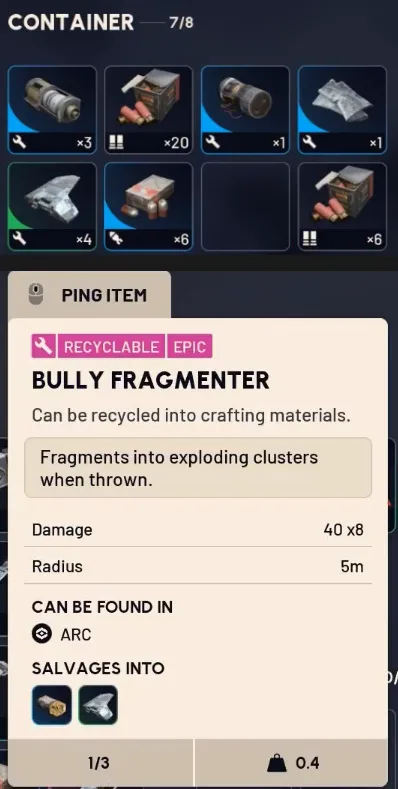
- Main body: shotgun shells, grenade launcher ammo, and the Bully Fragmenter.
The Bully Fragmenter is an epic recyclable you can also throw: it splits into 8 explosions of 40 damage each in a 5 m radius. It's wasted in the open; throw it indoors, into a room, or under a Bastion.
📚 Related Guides
Sources: Embark's developer Q&A and documentary, plus early-access videos by Espresso, Cloud News and other creators invited to the preview.