

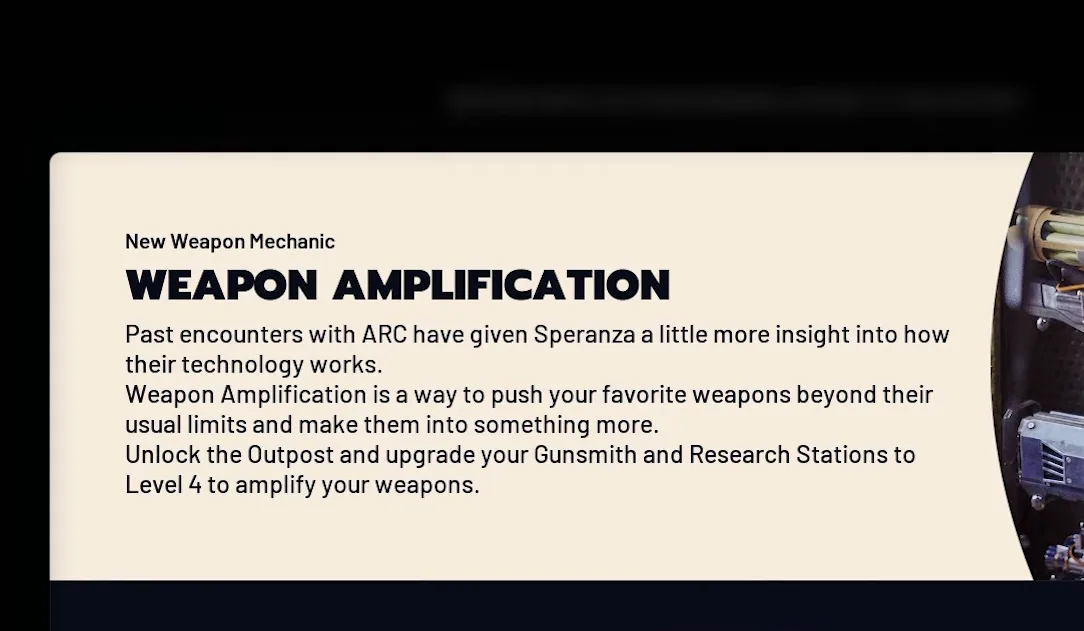
Weapon amplification is Frozen Trail's new endgame for guns: a fifth level beyond tier IV that turns a weapon into something different. A full-auto Burletta, a scoped Renegade, a 64-round Rattler. It doesn't add flat stats. Instead each weapon gets its own upgrade tree, and the choices you make are permanent. Here's what you need to unlock it, where the parts come from, and every upgrade for all 15 weapons.
Updated October 11: every weapon's upgrade tree now comes from the 2.0 game files, and the Outpost steps from our own runs. Some tooltip numbers and research costs are still being filled in as we play.
How to Get an Amplified Weapon
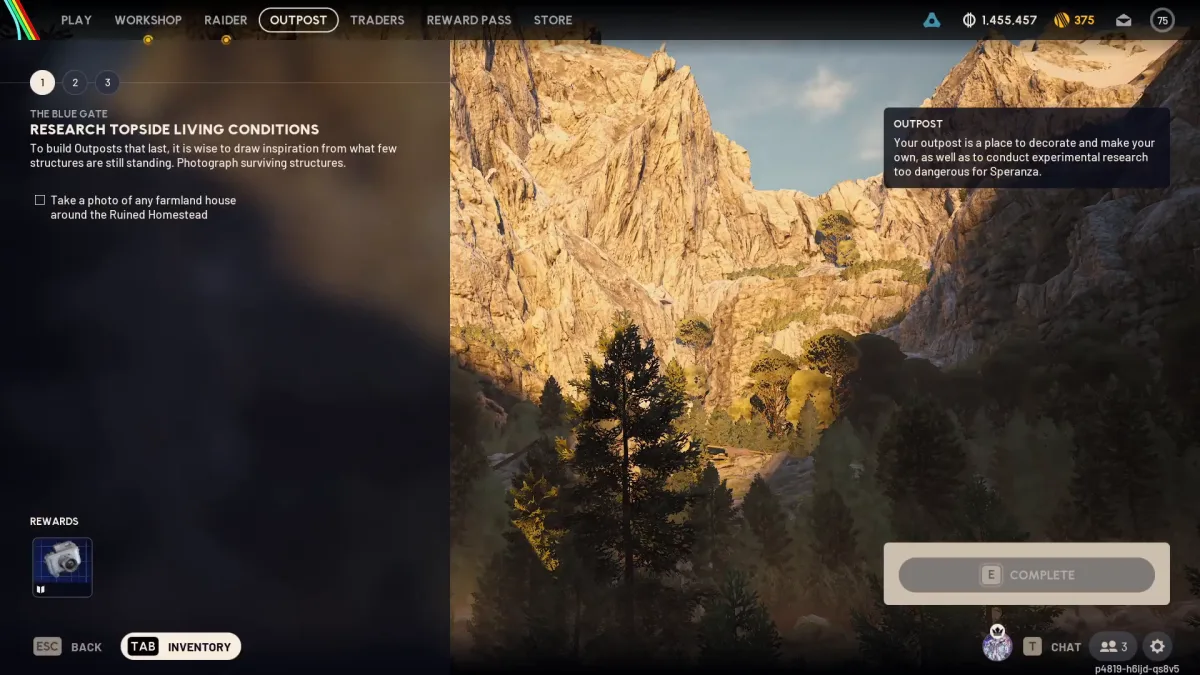
- Unlock the Outpost. It's a three-stage project: photograph a farmland house near the Ruined Homestead on Blue Gate with the new camera, hand in basic materials (Celeste sells them), then damage flying ARC and a Bully.
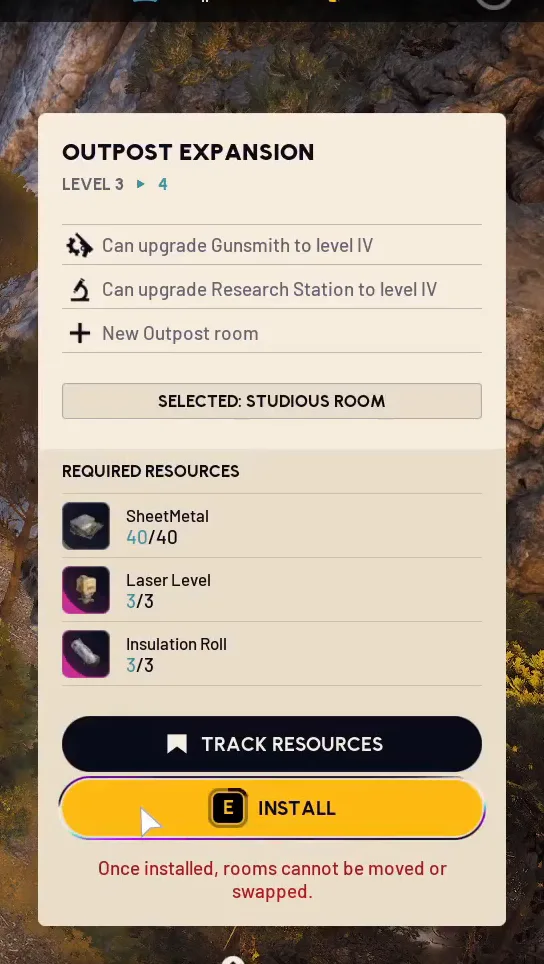
- Expand the Outpost to level 4. Each expansion adds a room of your choice and costs a set of materials. Level 4 is the one that lets you upgrade the Gunsmith and Research Station to level IV (see the table below).
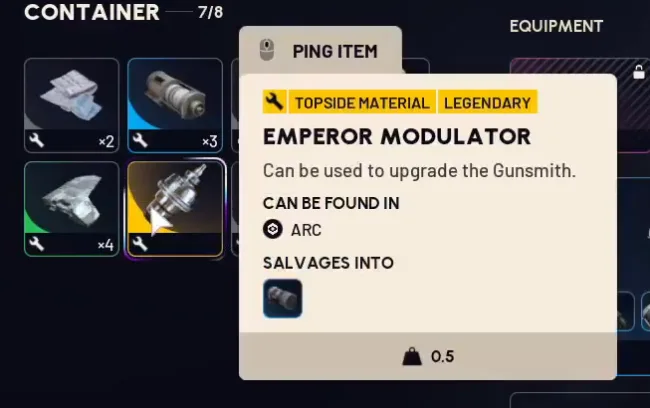
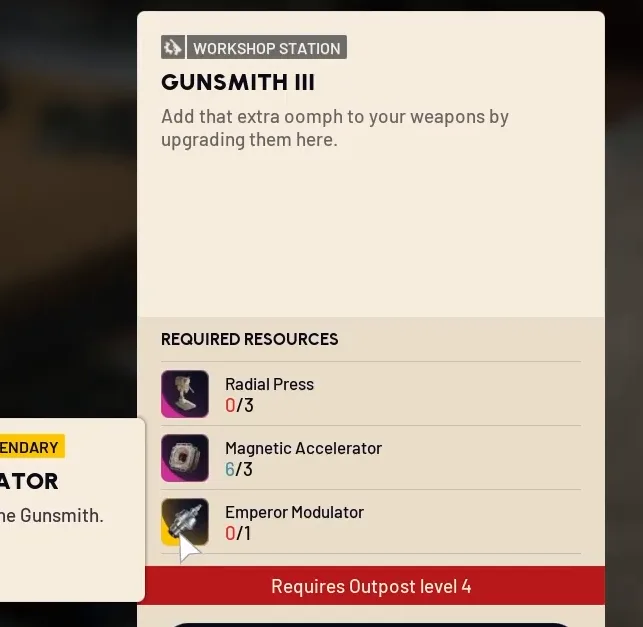
- Upgrade the Gunsmith to level 4. Gunsmith III to IV costs 3 Radial Press, 3 Magnetic Accelerators and 1 Emperor Modulator, a legendary material that drops inside the fallen Emperor.
- Get the weapon to tier IV. Amplifying sets max durability from 130, the tier IV value, to 200, so the gun has to be maxed first.
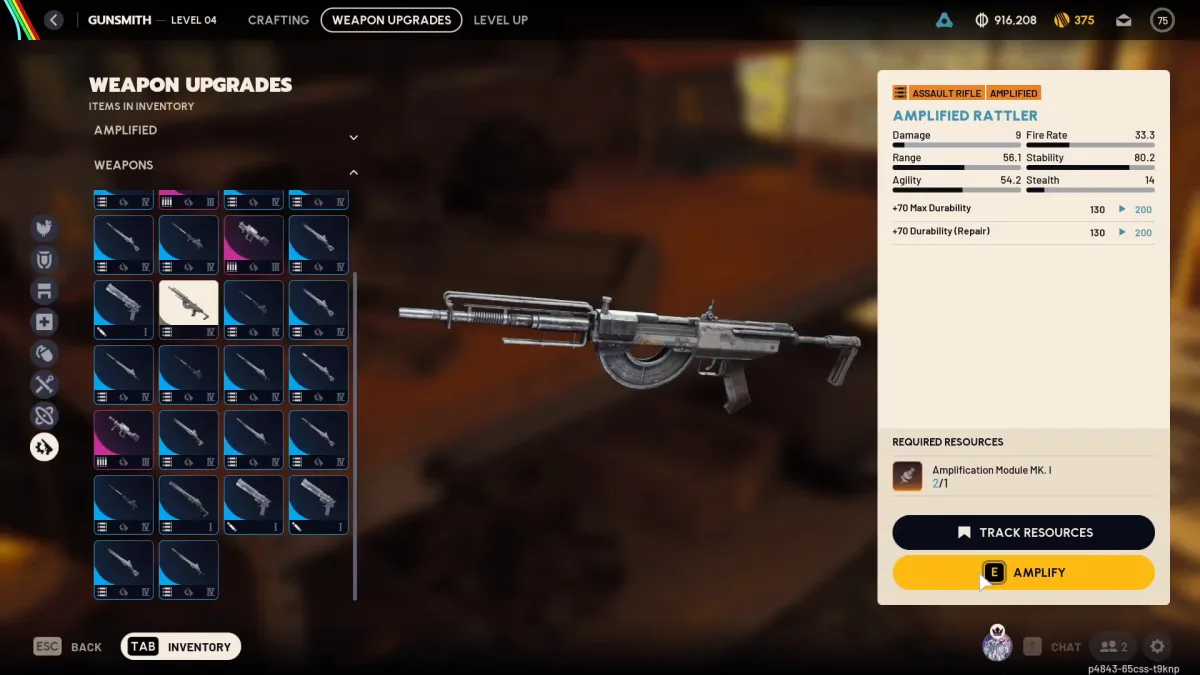
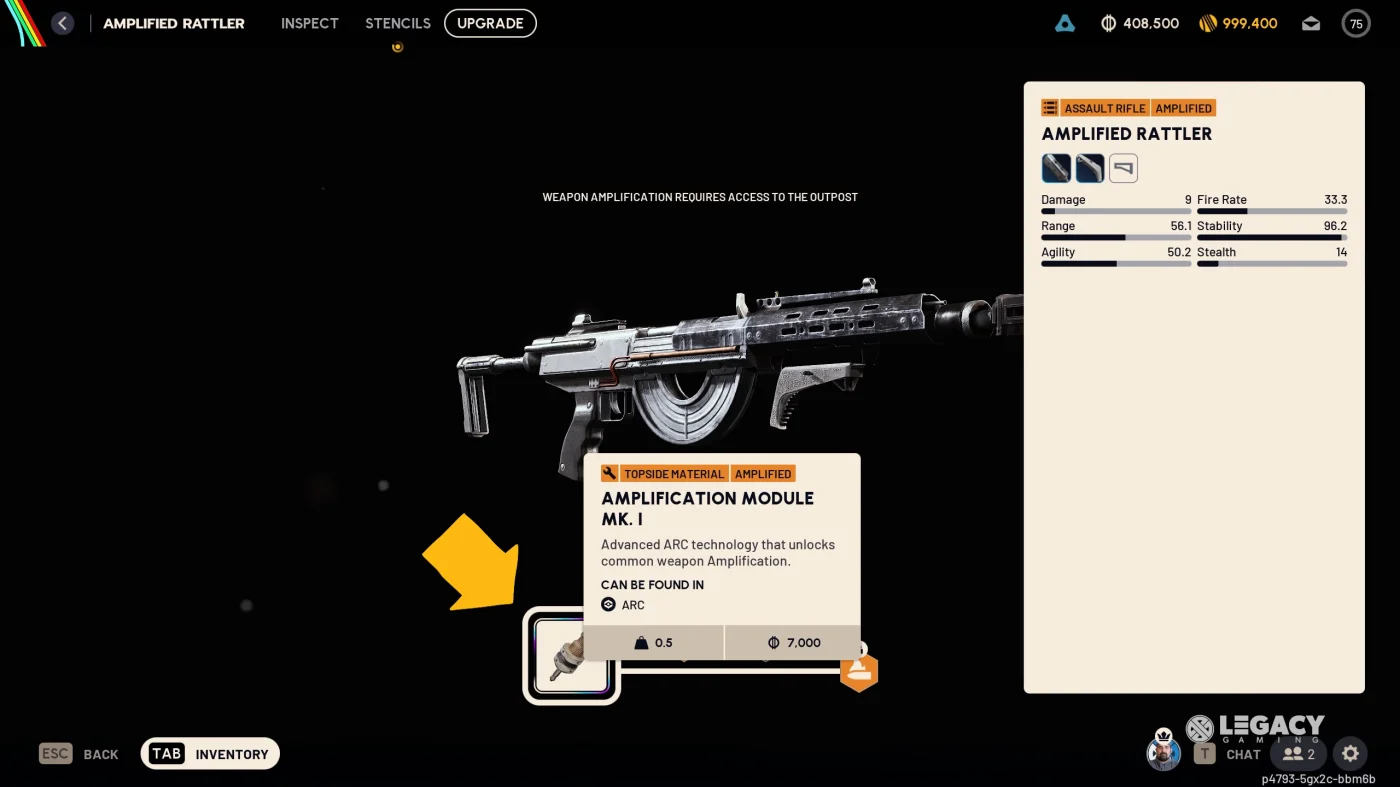
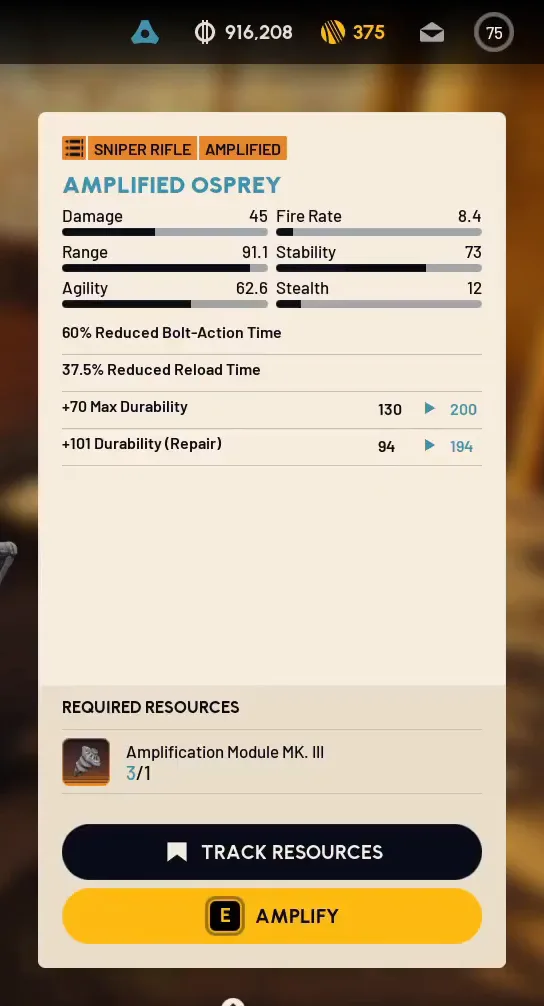
- Amplify it at the Gunsmith. In the Gunsmith's Weapon Upgrades tab, select the gun and press Amplify. It costs one Amplification Module of the weapon's rarity: a Mk. I for the common Rattler, a Mk. III for the rare Osprey. Modules drop on the Frigate and inside the Emperor. Amplifying also repairs the gun.
- Research and buy upgrades. Right-click the weapon to open its tree; hovering an upgrade shows the materials and research it needs. The upgrade nodes need extra materials such as Pressure Regulators.
Step 1: How to unlock the Outpost
The Outpost is a three-stage project in the Outpost tab of the main menu. Accept it before your next raid, and bring a camera: Shani sells them, you can craft one at the Workbench, or find one Topside.
- Research Topside Living Conditions. Go to the Ruined Homestead in the south of Blue Gate and take a photo of any farmland house there with the camera. You don't need to be close; zooming in from the edge of the area works.
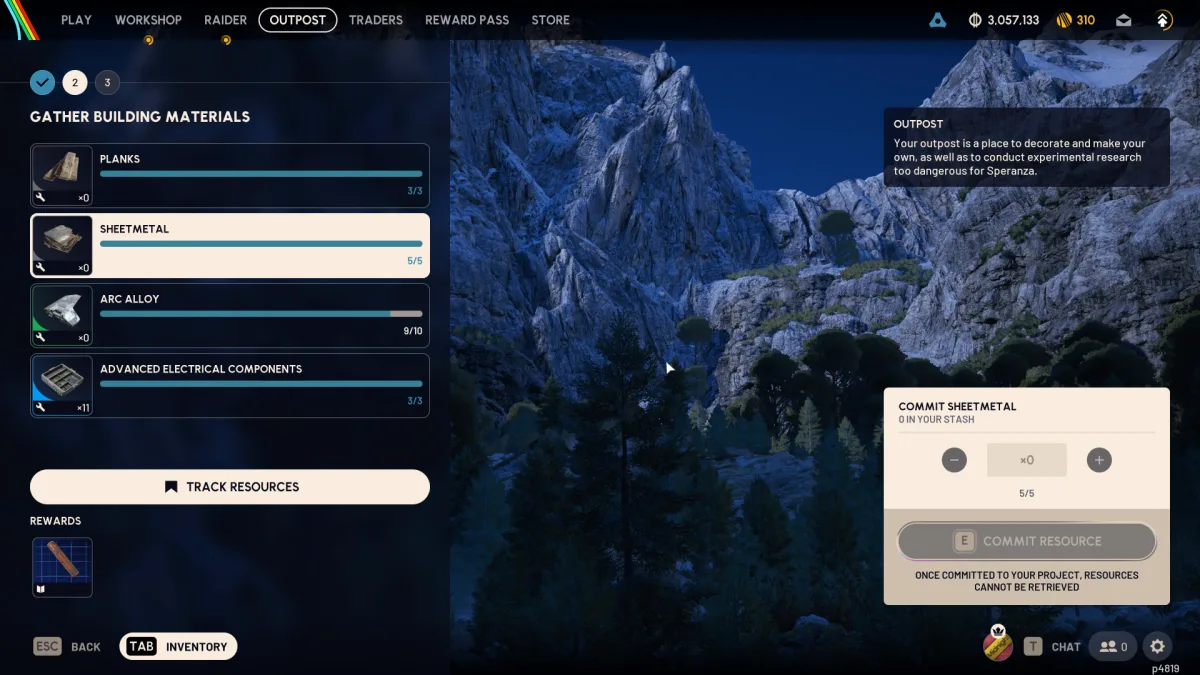
- Gather Building Materials. Hand in 3 Planks, 5 Sheet Metal, 10 ARC Alloy and 3 Advanced Electrical Components.
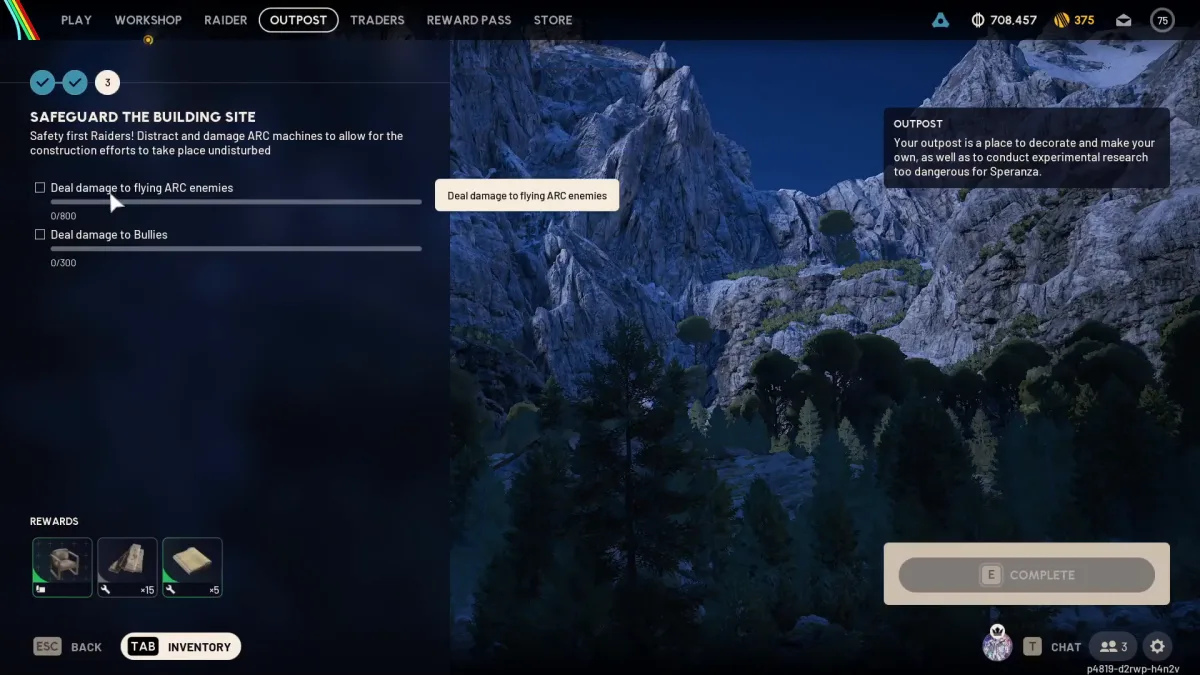
- Safeguard the Building Site. Deal damage to flying ARC and deal damage to a Bully. Flying ARC are easy anywhere; for the Bully, see our Bully guide.
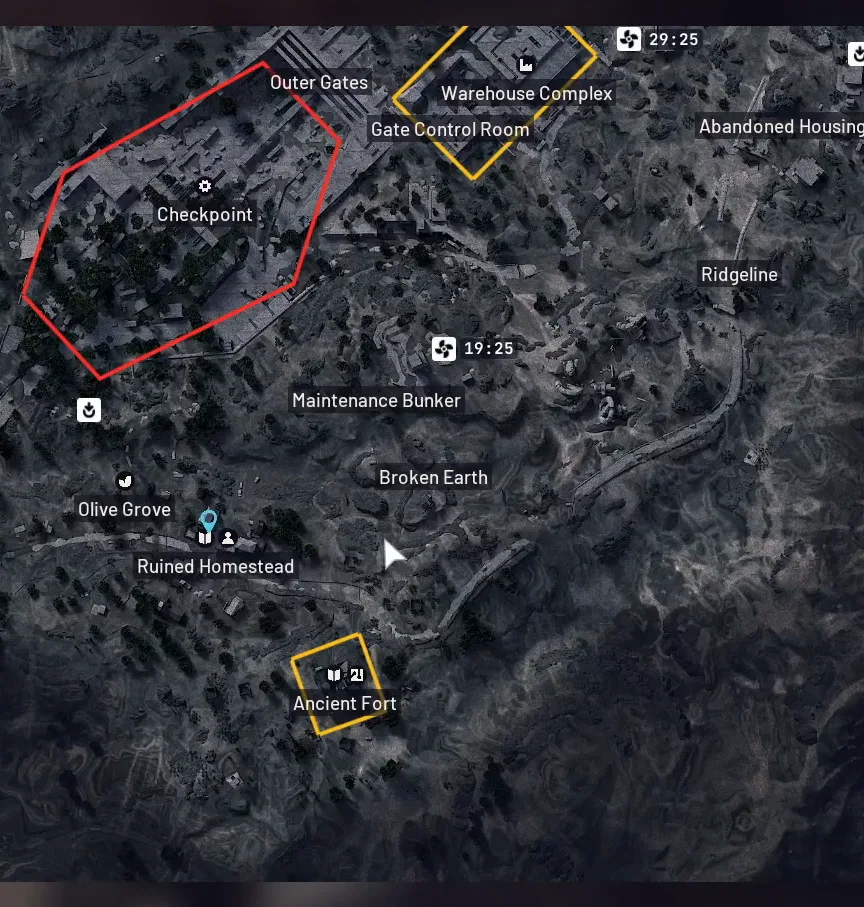
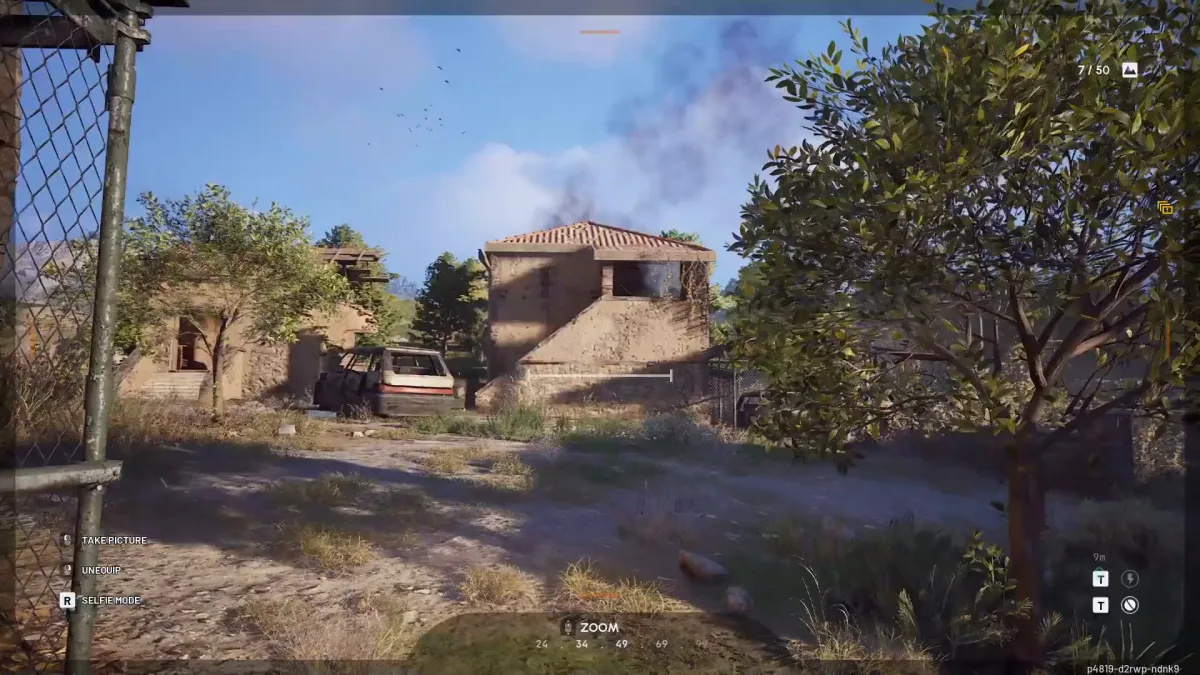
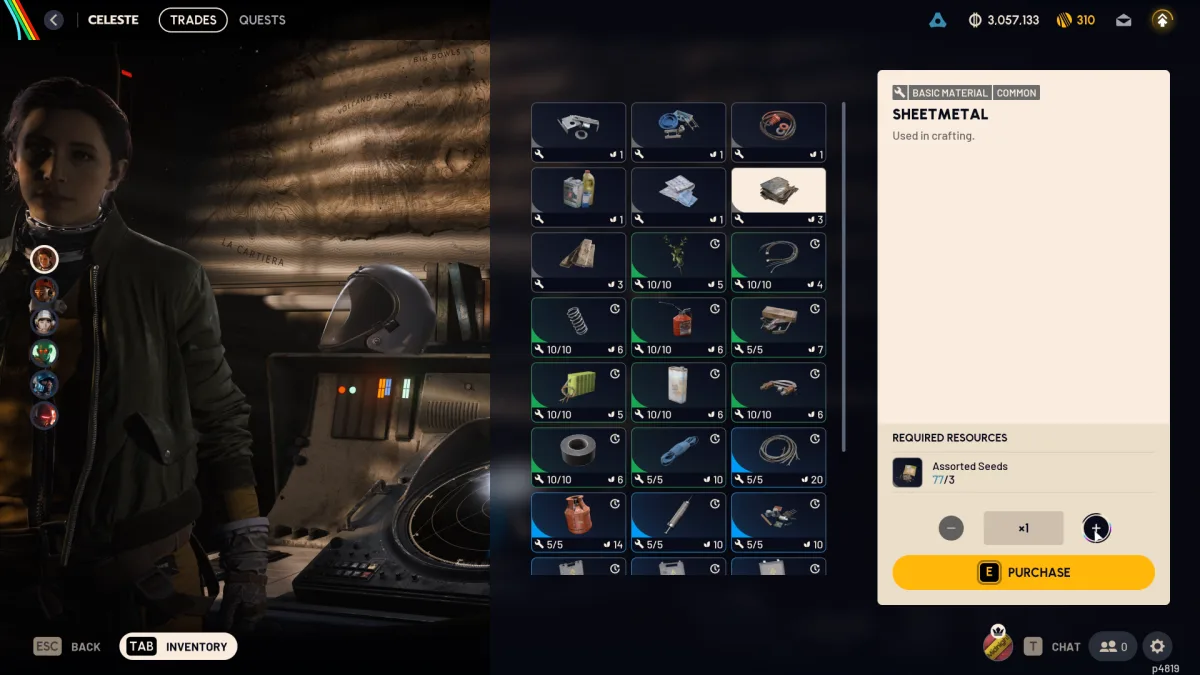
Celeste sells Planks and Sheet Metal for 3 Assorted Seeds each, along with other building materials, which is faster than looting them. Your Seeds come from Scrappy, who collects them while you raid, but he stops at 50 until you claim them. You'll run a lot of raids for the Outpost, so talk to Scrappy after every few raids, or you'll waste Seeds sitting at the cap. If you'd rather loot, our Planks and Sheet Metal guide shows where they spawn.
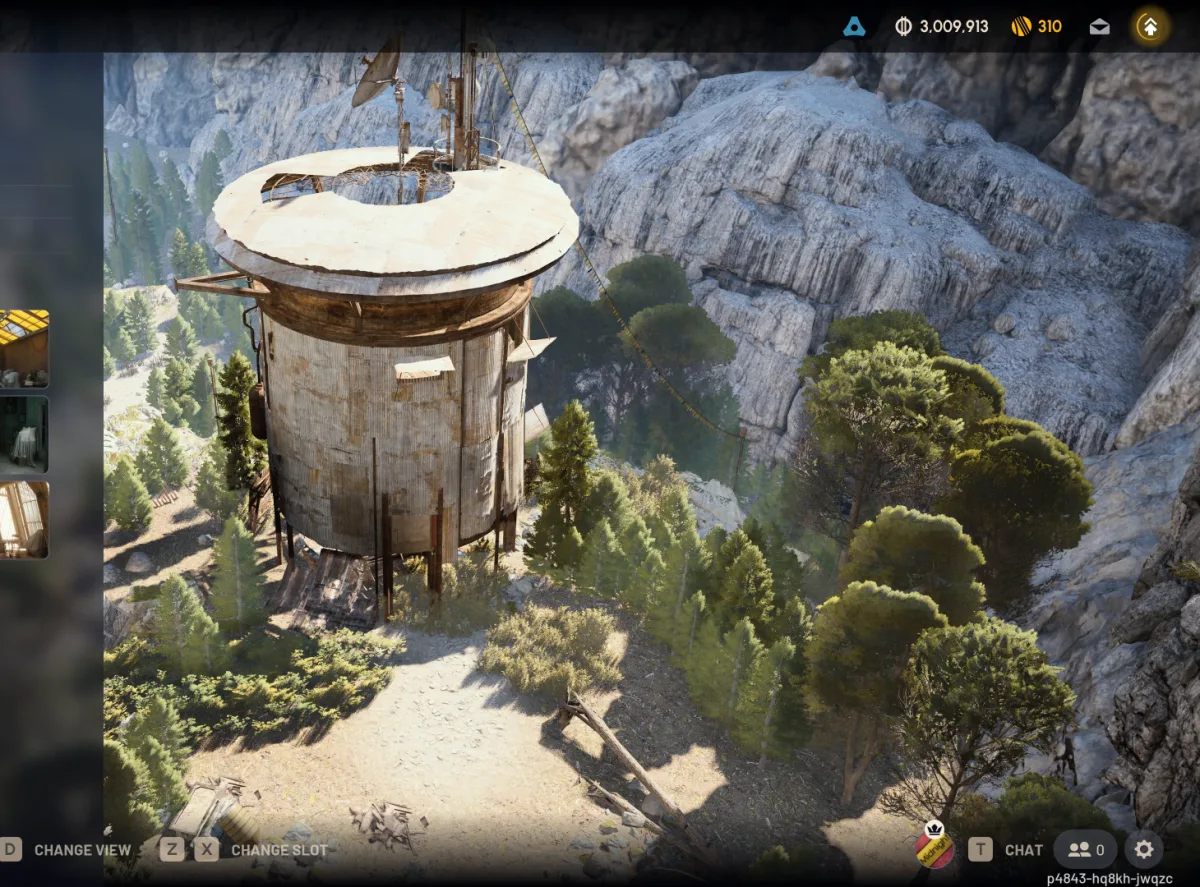
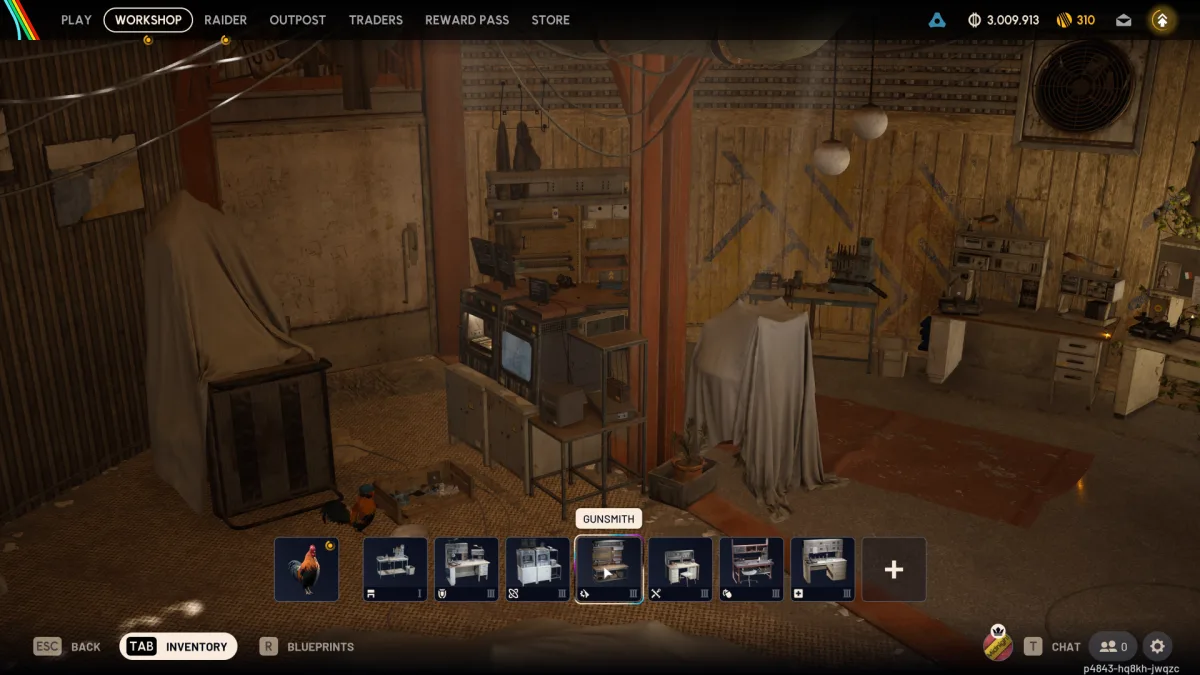
Finish stage 3 and a short cutscene plays: your Outpost is a tower in the mountains, with a base room you can furnish. Your Workshop stations move in there too.
Step 2: Expand the Outpost to level 4
| Expansion | Unlocks | Materials |
|---|---|---|
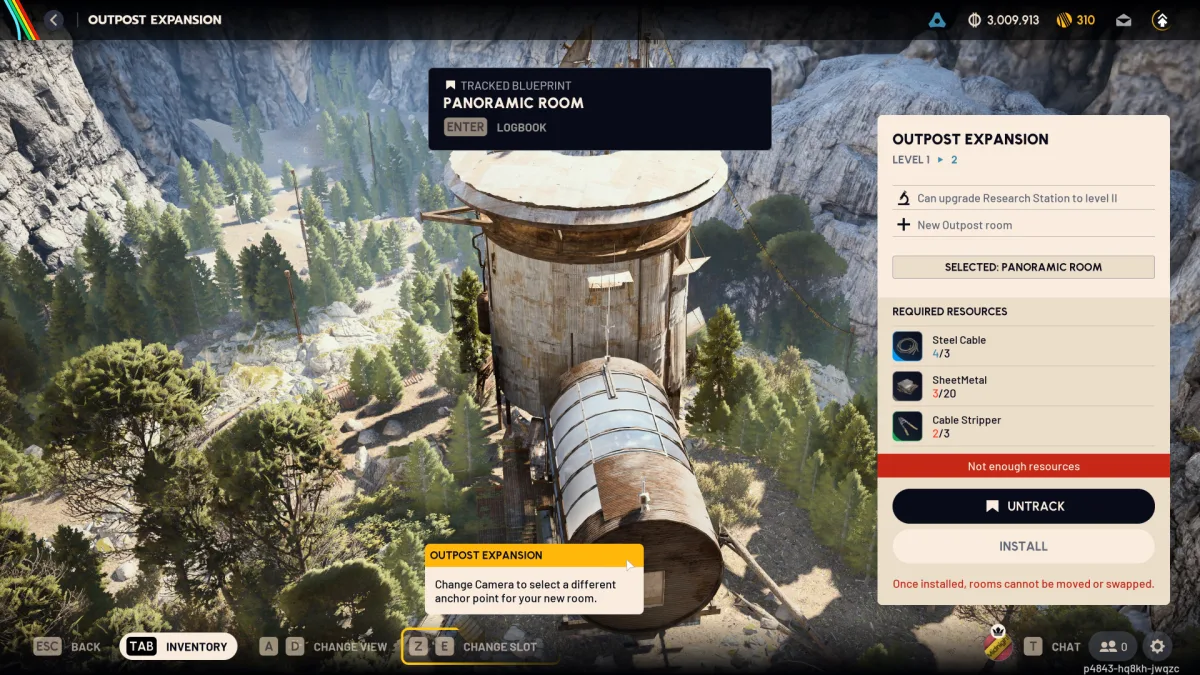
| Level 1 to 2 | Research Station level II, new room | 3 Steel Cable, 20 Sheet Metal, 3 Cable Strippers |
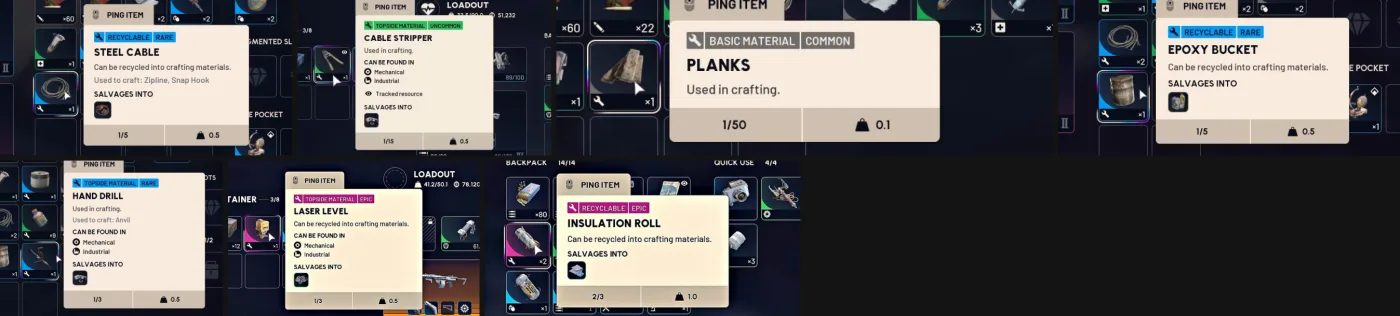
| Level 2 to 3 | New room | 3 Epoxy Buckets, 35 Planks, 3 Hand Drills |
| Level 3 to 4 | Gunsmith and Research Station level IV, new room | 40 Sheet Metal, 3 Laser Levels, 3 Insulation Rolls |
Each expansion adds a room you choose (Panoramic, Timeless, Chalet, Studious and others); switch the camera to pick where it attaches. Once installed, a room can't be moved or swapped. Sheet Metal and Planks can be bought from Celeste.
Where to find Steel Cable, Epoxy Buckets and Hand Drills
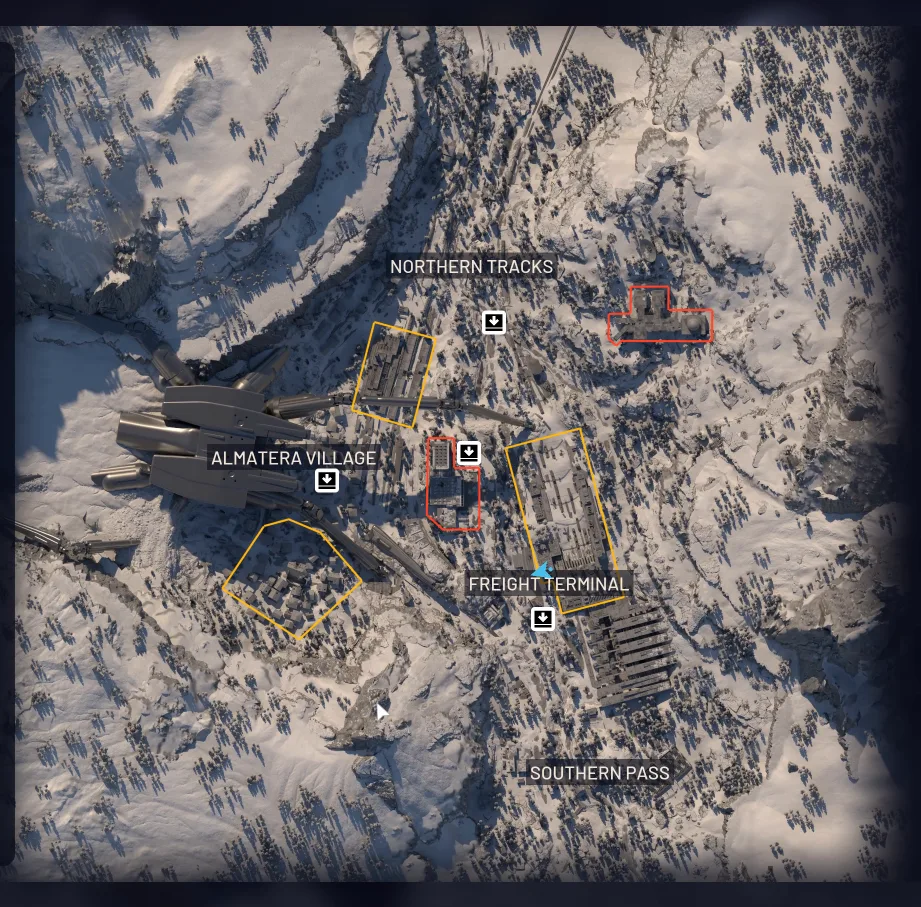
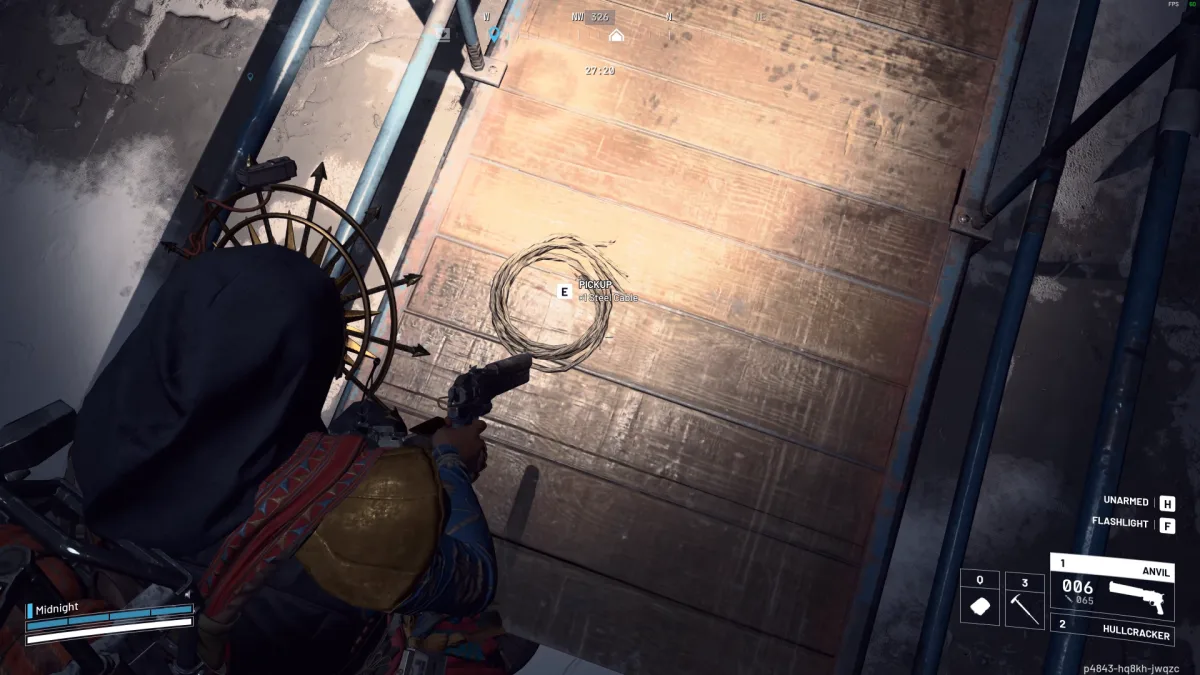
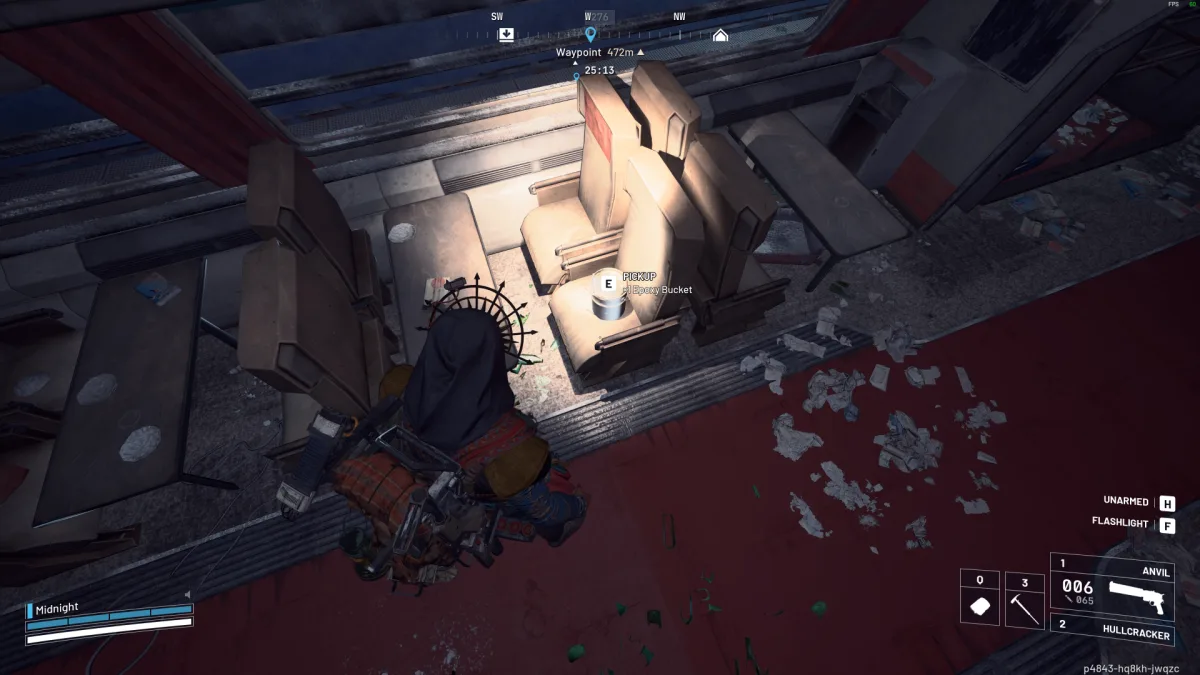
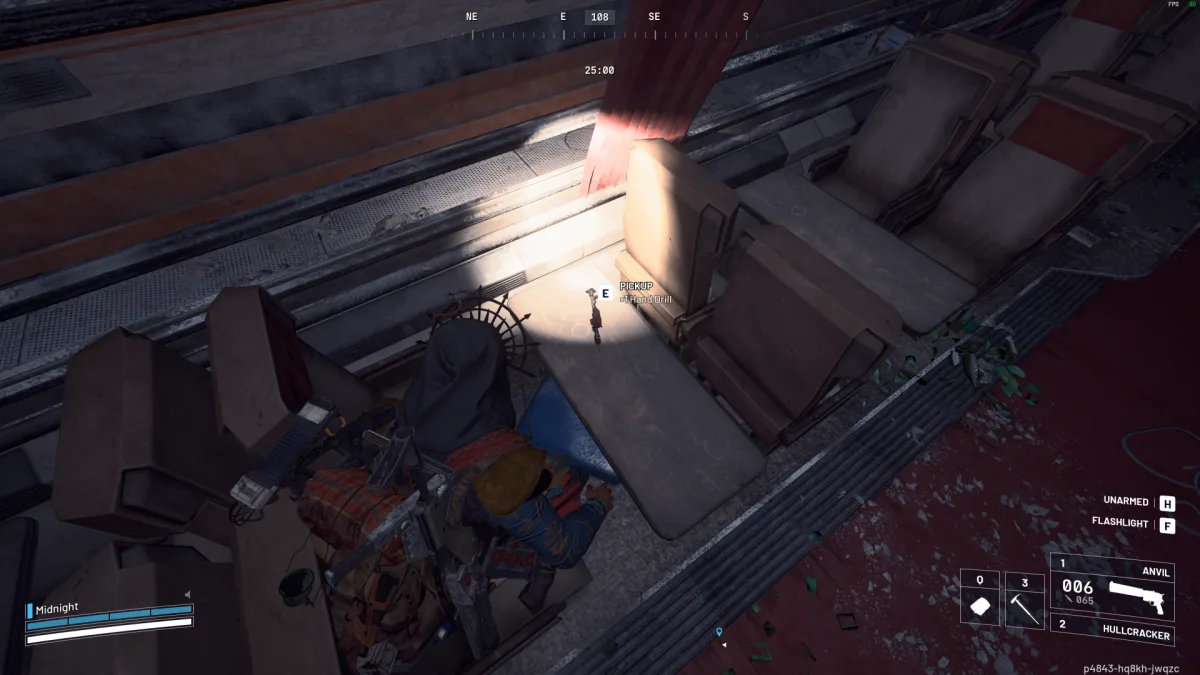
These are the hard part. In our night raid on Pendola Pass all three were lying loose, not in containers, at the Freight Terminal (the Railyard), which was a high-value loot zone that raid: the Steel Cable on a wooden ramp at the edge of the yard, the Epoxy Bucket on a seat and the Hand Drill on a table inside a passenger car. FirePenguin found Epoxy Buckets on the tables in the same train cars, along with Laser Levels and Insulation Rolls, and more on the Commissary Supermarket shelves. Check the map at the start of the raid: the outlined areas are that raid's high-value loot zones. See our Planks and Sheet Metal guide for those two.
Step 3: Build the Research Station and upgrade the Gunsmith
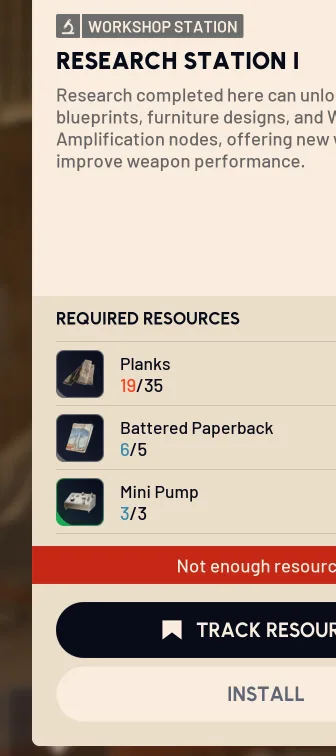
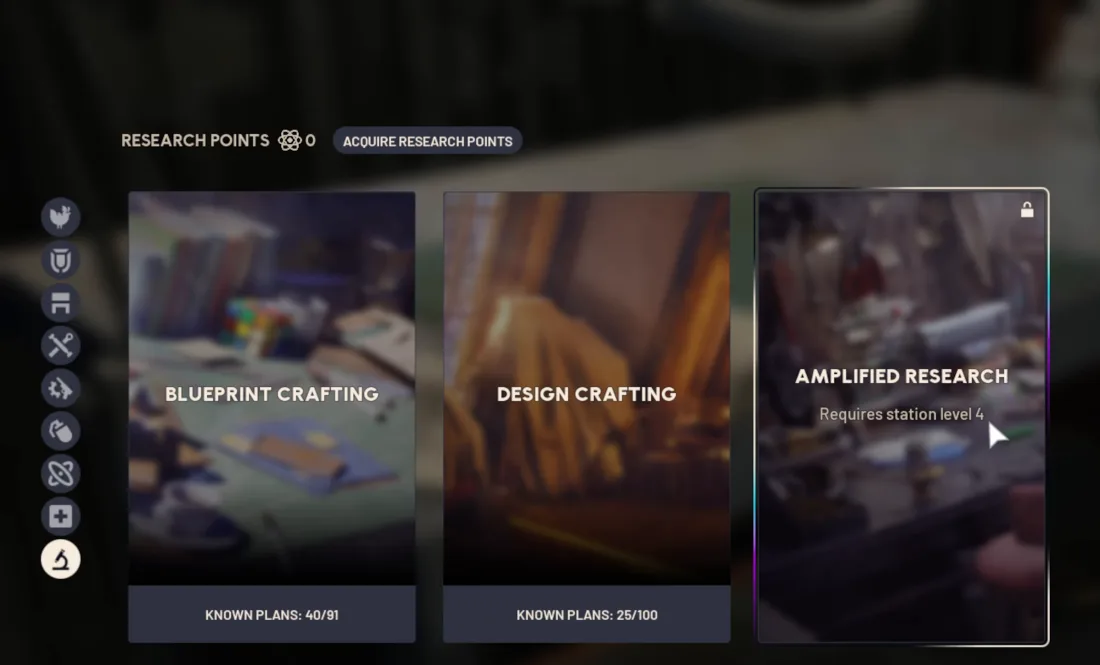
The Research Station is new and is installed in the Outpost. Level I costs 35 Planks, 5 Battered Paperbacks and 3 Mini Pumps; GamingMerchant found them quickly in the Raider-style containers at the Observatory, the Railyard and the Commissary Supermarket on Pendola Pass. It has three tabs: Blueprint Crafting, Design Crafting and Amplified Research, which needs the station at level 4. Each Outpost expansion unlocks the next station level.
The Gunsmith goes from III to IV with 3 Radial Press, 3 Magnetic Accelerators and 1 Emperor Modulator, once the Outpost is level 4. Then you amplify from its Weapon Upgrades tab.
What the Amplified Weapons Look Like
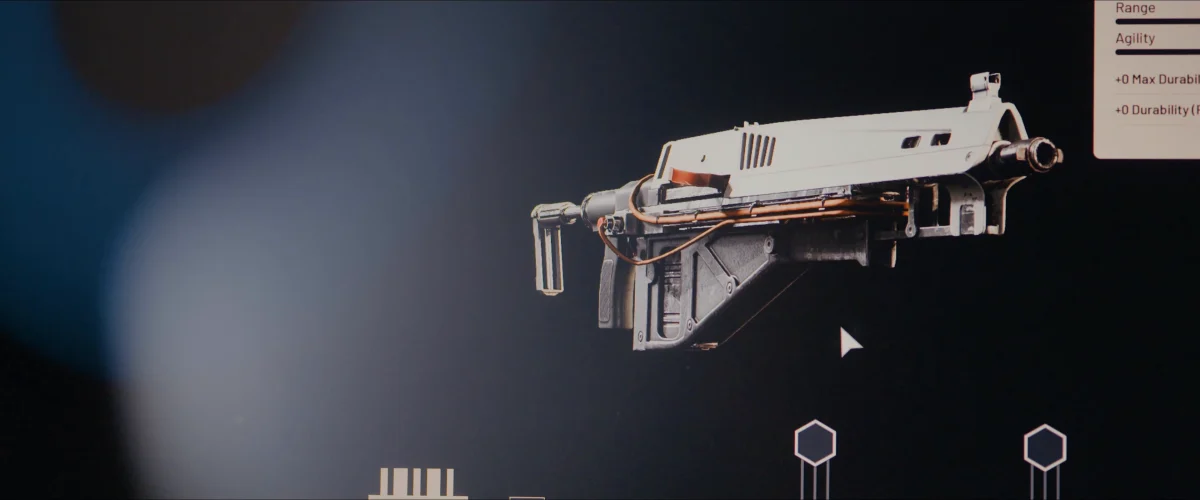
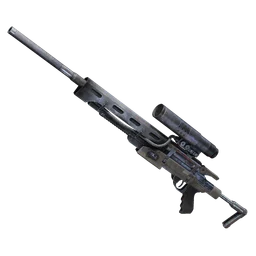
Amplifying a gun gives it a new model, not just new stats. Here are the seven amplified weapons shown in early access, each rotated a full turn. Click any of them to see it bigger.
What You Need: Modules, Materials and Research
Amplification Modules
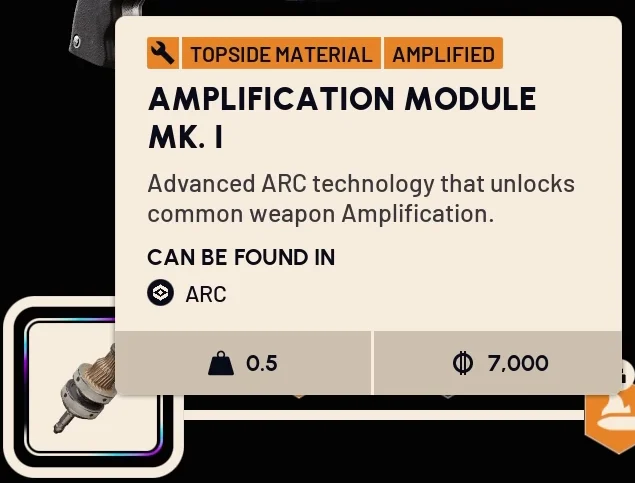
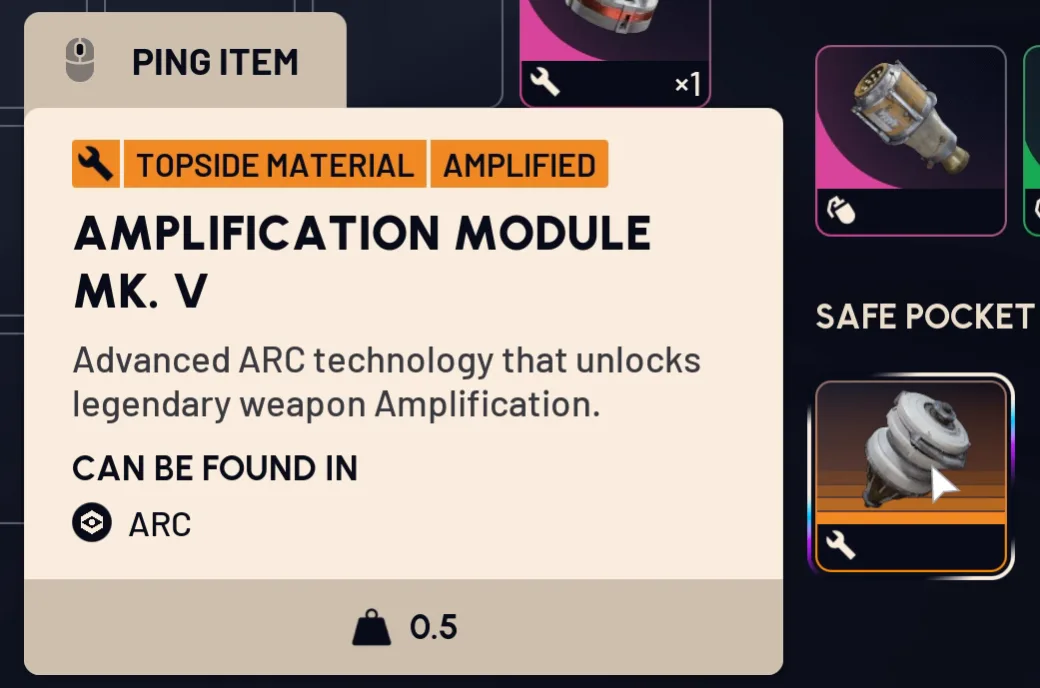
The module is the gate. Per the developers it drops only from the Frigate and from inside the fallen Emperor on Pendola Pass. Modules come in Mk. I to Mk. V, one per weapon rarity: the Mk. I tooltip says it "unlocks common weapon Amplification". The developers say all Marks drop at the same rate, so a Mk. V isn't rarer than a Mk. I. A Mk. I weighs 0.5 and sells for 7,000; the Mk. V, which "unlocks legendary weapon Amplification", has the same weight and value. We found our Mk. V in a Breach & Search port on the Frigate's hull during a Dam Battlegrounds raid. Move a module to your safe pocket as soon as you loot it: ours survived when we were knocked out on the Frigate's deck. Full details in our Amplification Module guide. The Emperor's interior sits behind the Emperor Gateway Conduit, which is built from three couplers (see below).
Rare materials: Pneumatic Actuator and Pressure Regulator
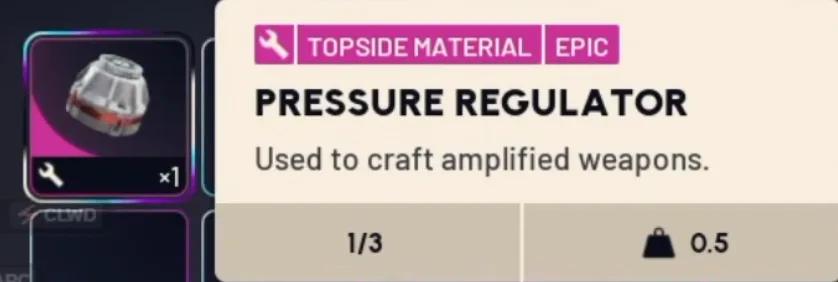
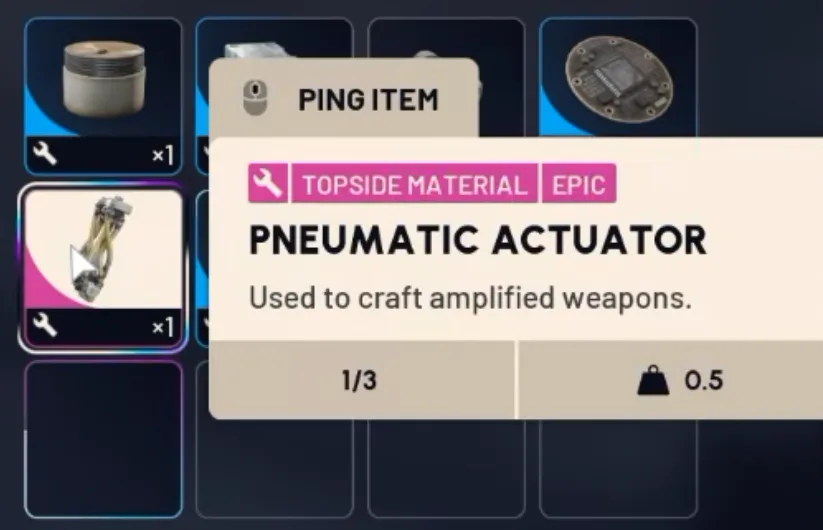
Two epic topside materials say "Used to craft amplified weapons" right in their tooltips: the Pneumatic Actuator and the Pressure Regulator. Both stack to 3 and weigh 0.5. Early-access players found them in an Emperor Payload, the container that crashes down when you redirect a Harvester payload during the Redirection map condition on Pendola Pass.
Amplified Research: tasks first, then resources
Most upgrades have to be researched once in the Research Station's Amplified Research tab (station level 4) before you can buy them on a gun. There are 15 research projects, one per upgrade type rather than one per weapon. Each has two steps, and you can have up to five researches in progress at once.
- Research tasks. Press Start, then complete the tasks in raids. They ask for damage to specific ARC with specific gear.
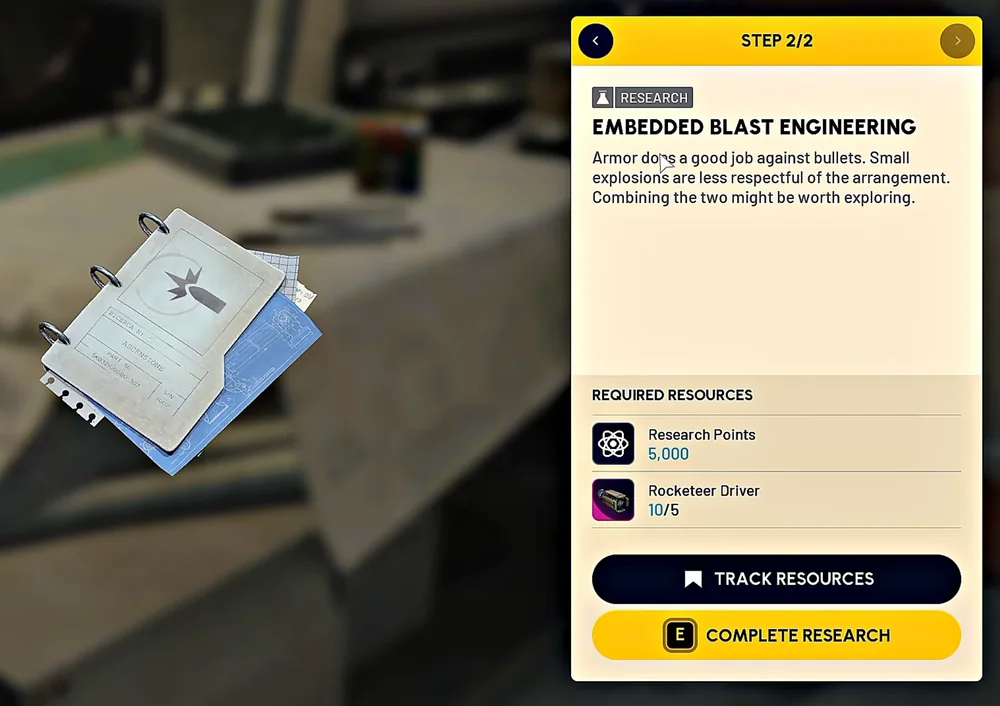
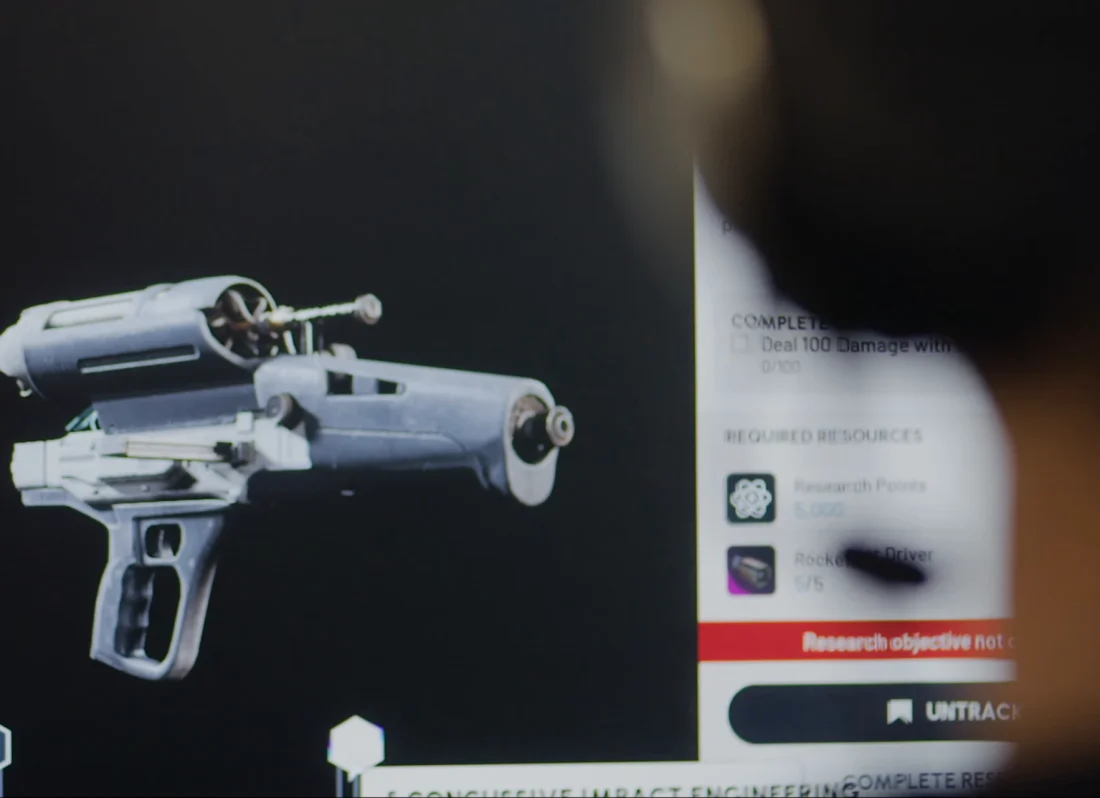
- Required resources. Hand in research points and ARC parts, then press Complete Research. The research is yours for good.
- Buy the upgrade on the gun. Each upgrade node costs materials of its own on top.
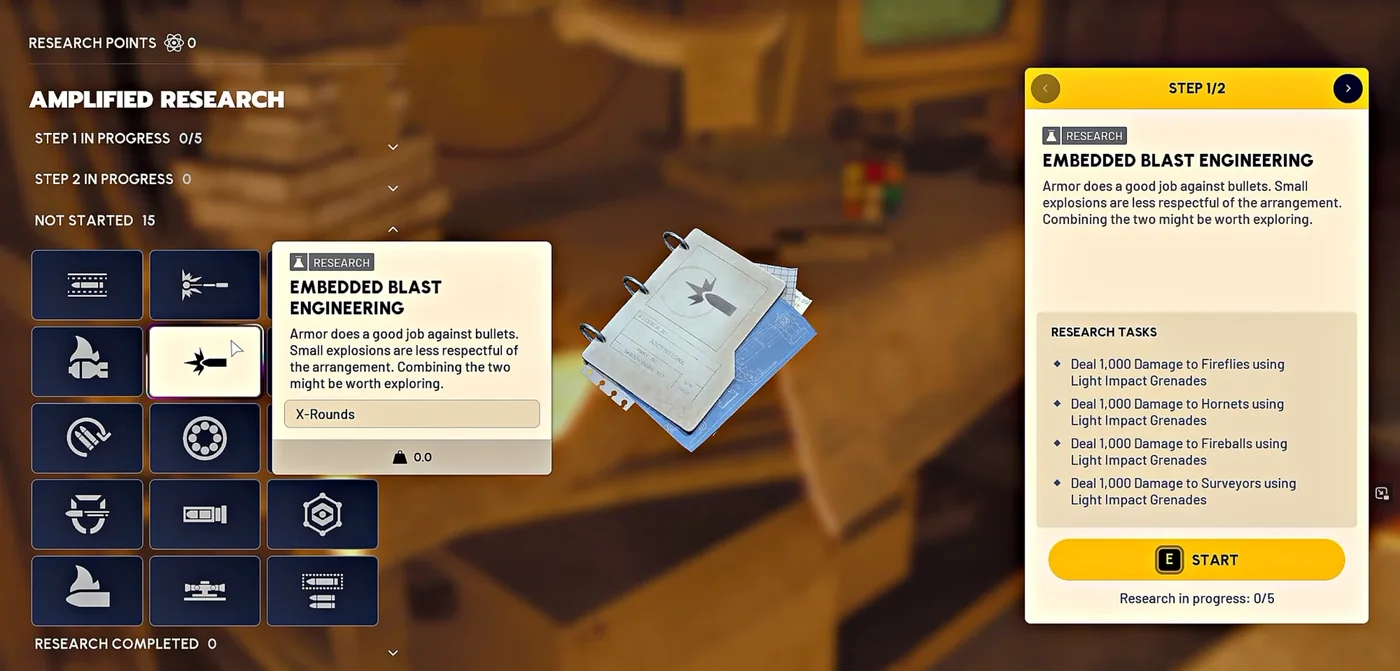
The full cost of the Anvil's X-Rounds, from Millzaa's test of the amplified Anvil:
| Step | Embedded Blast Engineering (X-Rounds) |
|---|---|
| 1. Research tasks | Deal 1,000 damage each to Fireflies, Hornets, Fireballs and Surveyors with Light Impact Grenades |
| 2. Required resources | 5,000 research points, 5 Rocketeer Drivers |
| 3. Upgrade on the Anvil | 3 Fossilized Lightning |
The 15 projects and the upgrades they unlock. Each research's own description hints at its tasks (Shredders and a Raider Tool for Burst Fire, Skulkers for Semi-Auto, a shotgun against drones for Slug Rounds). Bigger Mag, More Reload, Mag Reload, High Velocity, Tracker Rounds, Carbine Conversion, Full-Auto and the Anvil Splitter have no research project in the game files.
| Research | Unlocks | On |
|---|---|---|
| Embedded Blast Engineering | X-Rounds | Anvil, Bettina, Kettle |
| Thermite-Tipped Rounds | Incendiary Rounds | Aphelion, Canto, Hairpin, Rattler |
| Mobile-Fire Grip Fittings | Sprint Shooting | Burletta, Canto, Hairpin, Rascal |
| Trigger Reset Systems | Semi-Auto | Bettina, Hairpin |
| Targeted Component Trial | Anti-Weak Point | Equalizer, Osprey |
| Top Mounted Optics Retrofittings | Scoped | Jupiter, Renegade |
| Action Economy | Ergonomic Bolt | Jupiter, Osprey |
| Extended Burst Cycles | Increased Burst | Aphelion, Burletta |
| Compact Combustion Charges | Incendiary Grenades | Hullcracker, Rascal |
| Shield Stress Testing | Anti-Shield | Kettle |
| Burst Assembly Recovery | Burst Fire | Burletta |
| High-Voltage Exposure | Charged Burst | Aphelion |
| Magazine Geometry 101 | Drum Mag | Rattler |
| Beam Resonance Tech | Ramping Damage | Equalizer |
| Solid-Core Casting Tech | Slug Rounds | Il Toro |
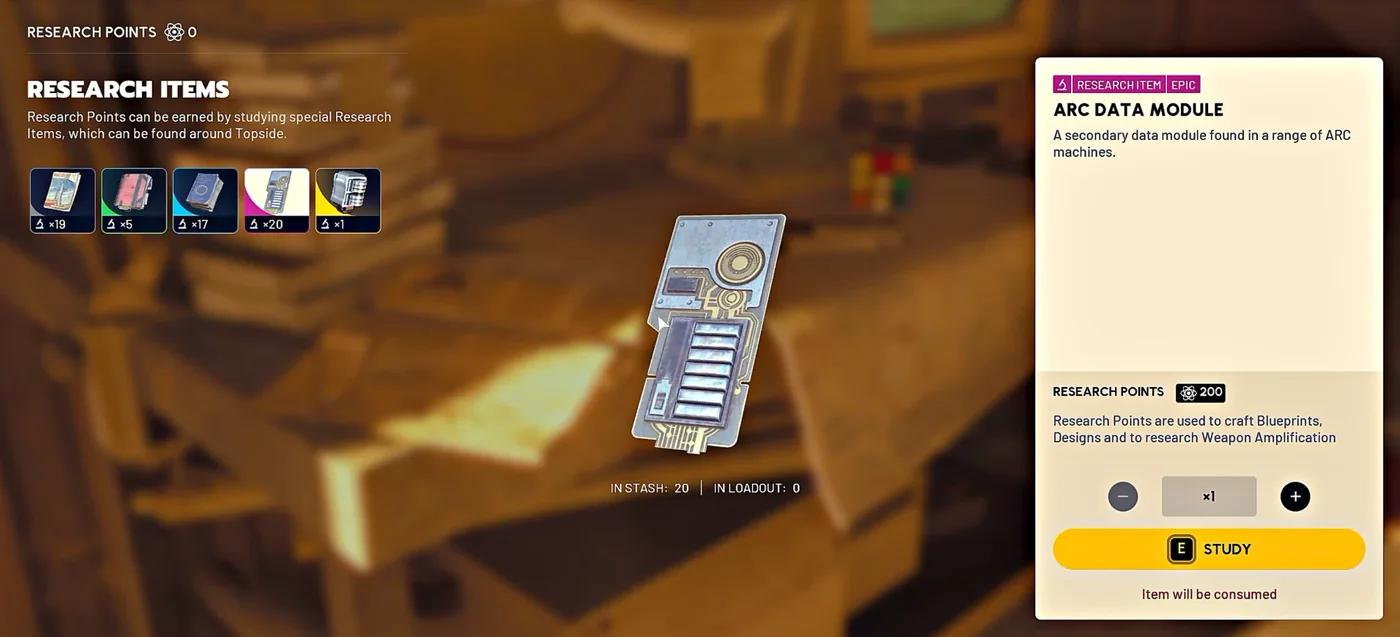
Where research points come from: you study research items at the Research Station, which consumes them. The best one is the legendary Frigate Diagnostic Node, "found in the trail of ARC Frigates", worth 1,000 research points. The epic ARC Data Module, found in a range of ARC machines, is worth 200; we looted one on the Frigate. Common research items such as the Battered Paperback, Raider Logbook and Exodus Technical Handbook give smaller amounts (values from GamingMerchant's launch-day Outpost tour). The same points also buy blueprints and furniture designs at the station, so the Frigate feeds amplification twice: modules and research points.
Where to farm the inputs: run Redirection on Pendola Pass for Emperor Payloads (Actuators, Regulators and couplers), then use the couplers to open the Emperor for modules. Our Pendola Pass map marks the Emperor relays.
How the Amplification Tree Works
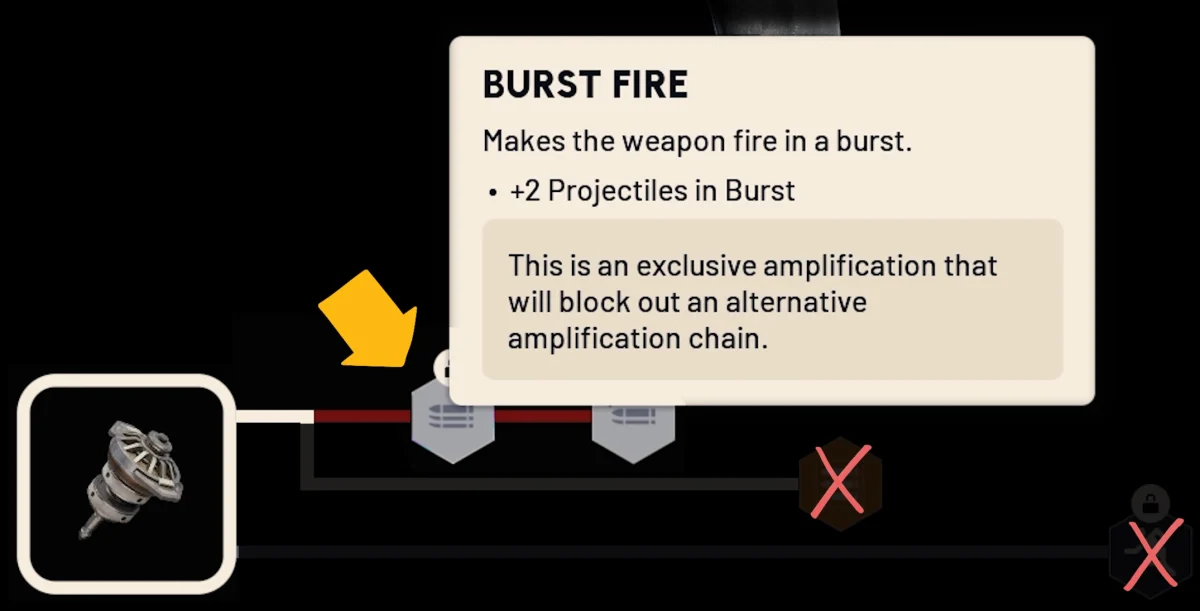
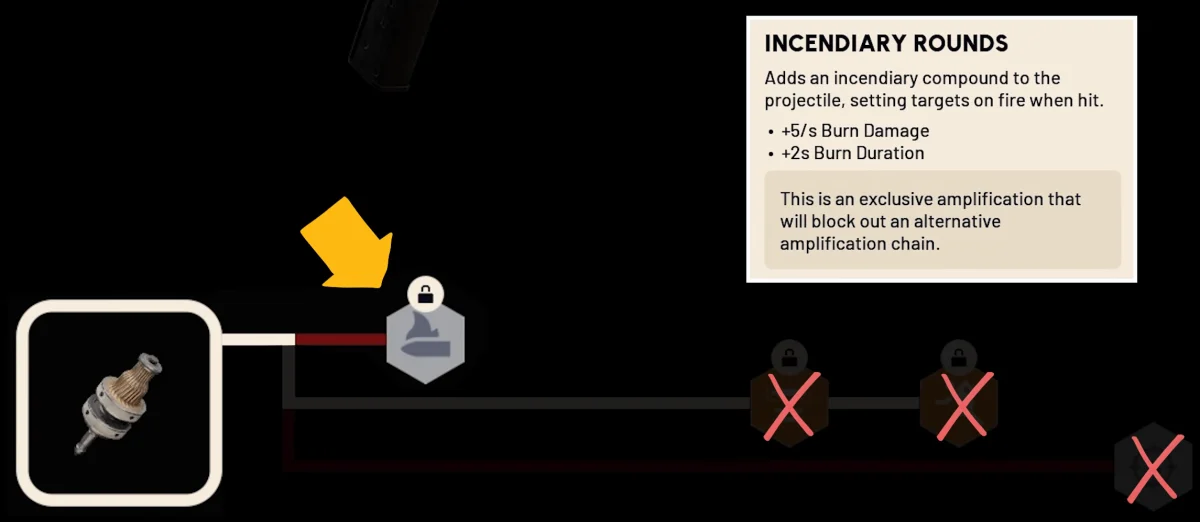
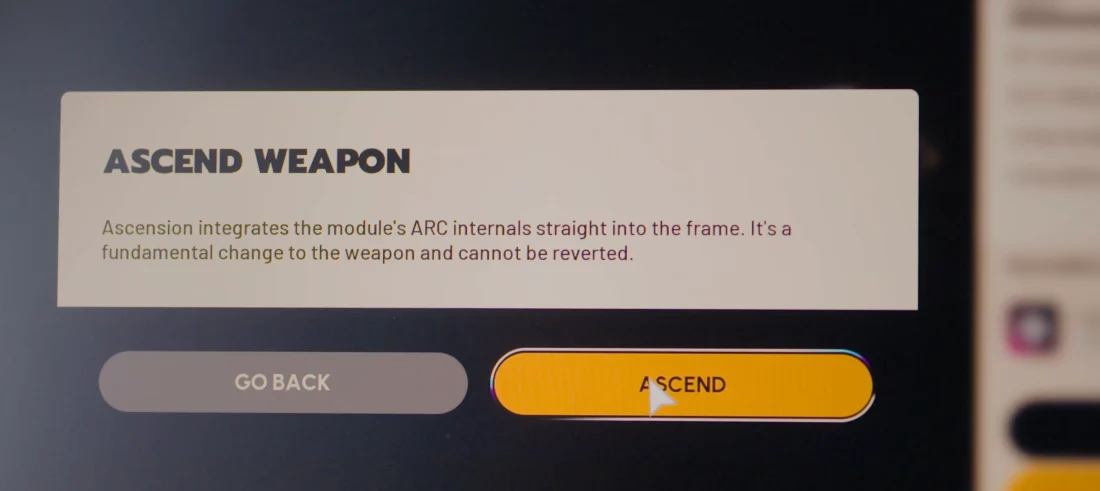
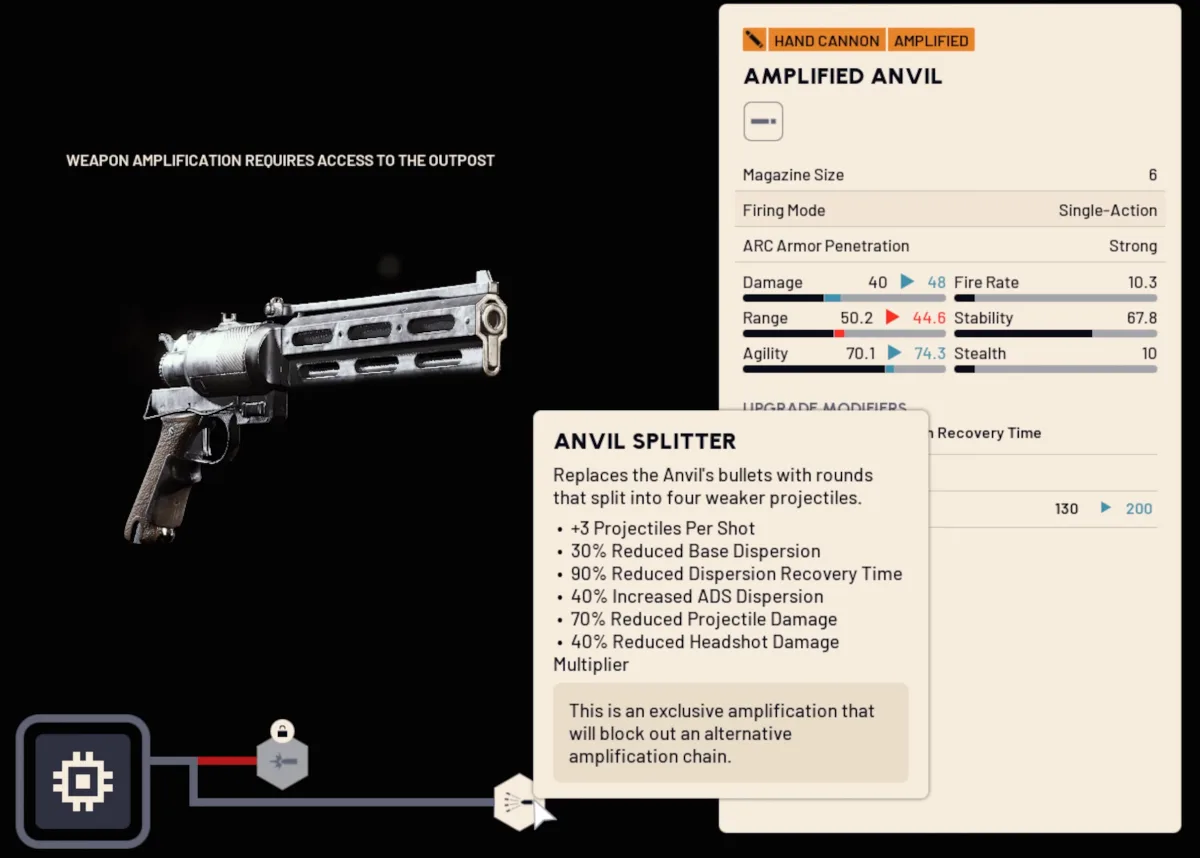
Every amplifiable weapon has its own tree of one to three pathways. You can keep going down a pathway, but some upgrades lock out the others, and nothing can be reverted: the upgrade is built into the weapon's frame, and the gun's model changes with it.
- Attachments still fit, though some slots change. The amplified Renegade takes a barrel and stock but no magazine; the Rattler keeps stock, grip and barrel.
- Amplified Durability appears as an amplification on every amplified gun we saw.
- Upgrades are bought by right-clicking the weapon; the tooltip on each node lists what it costs.
Durability: Why You Can't Just Loot Them
- Amplified weapons have 200 durability, against 130 for a normal tier IV gun: amplifying a Hullcracker IV shows "+70 Max Durability, 130 to 200".
- They still burn it quickly: one early-access raid of PvP and ARC fights cost 30+.
- Looted amplified weapons arrive at 10 to 11 durability, every time. You get one fight out of someone else's gun.
- Amplified Fragments repair amplified weapons, per the launch patch notes. You get them by recycling an amplified weapon, an old Anvil Splitter mod, or a spare Amplification Module, which gives 7. Upkeep adds up: Millzaa's amplified Anvil needed 21 fragments to repair after one raid, and recycling it would have given 11.
- The Field Repair skill repairs weapons up to 30% durability in a round, which is the cheapest insurance for an amplified gun. See our skill tree guide. Known issue at launch: the skill can be unavailable after you unlock it, and restarting the game fixes it.
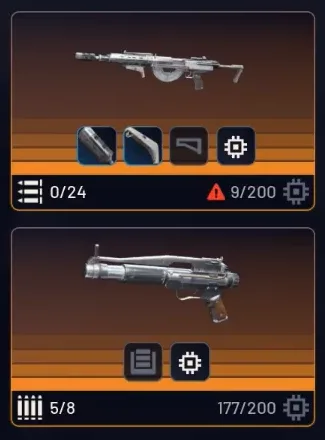
Every Amplification, Weapon by Weapon
All 15 amplifiable weapons and the rules of each tree, read from the 2.0 game files (we checked a list shared on Reddit against them). Numbers come from in-game tooltips where we have them. Needs means the upgrade sits below another on the same pathway; exclusive means taking one blocks the other for good.
| Weapon | Upgrade | Rule | Effect |
|---|---|---|---|
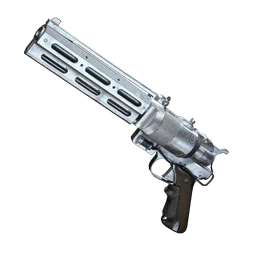  | X-Rounds | Exclusive with Anvil Splitter | Slightly more damage to Raiders, much more to ARC armor plating |
| Anvil Splitter | Exclusive with X-Rounds | Each round splits into 4 projectiles: +3 projectiles per shot, −70% projectile damage, −40% headshot multiplier, −30% base dispersion, −90% dispersion recovery time, +40% ADS dispersion. Replaces the old Splitter mod, which no longer drops; the Anvil also lost its Tech Mod slot | |
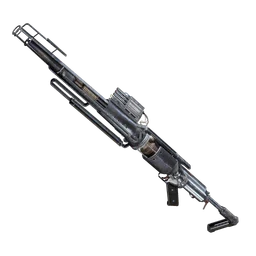  | Bigger Mag | – | Larger magazine |
| Charged Burst | – | Hold to charge, release to fire: the longer the charge, the more projectiles | |
| Increased Burst | Needs Charged Burst | More projectiles per burst | |
| Incendiary Rounds | – | Sets targets on fire | |
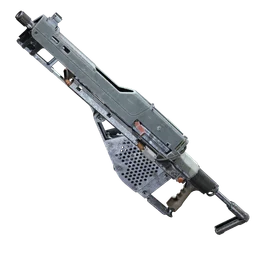 | Bigger Mag | Exclusive with Semi-Auto | +15 magazine |
| Semi-Auto | Exclusive with Bigger Mag | Semi-automatic, +3 base damage | |
| X-Rounds | Needs Semi-Auto | Explosive rounds: slightly more damage to Raiders, much more to ARC armor plating | |
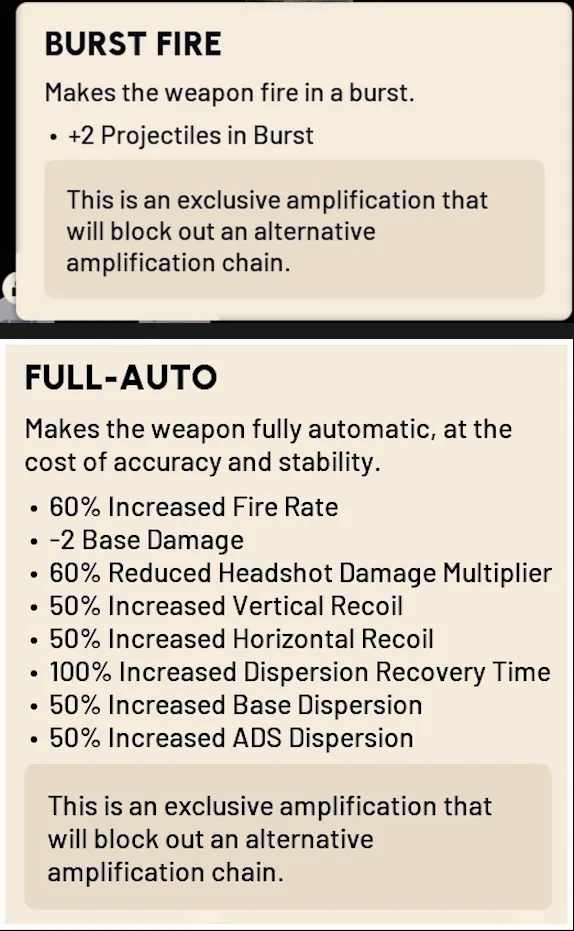
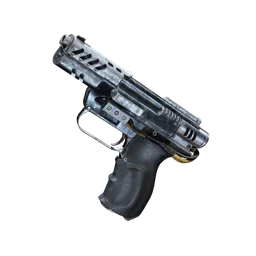  | Burst Fire | Exclusive with Full-Auto | +2 projectiles per burst (3-round burst) |
| Increased Burst | Needs Burst Fire | +2 more projectiles (5-round burst), +3 magazine | |
| Full-Auto | Exclusive with Burst Fire | Fully automatic: +60% fire rate, −2 base damage, −60% headshot multiplier, +50% recoil and dispersion, double dispersion recovery time | |
| Sprint Shooting | Combines with either | Fire while sprinting | |
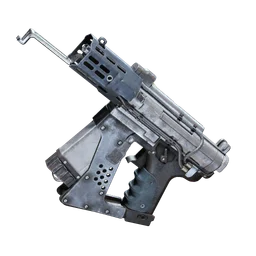  | Carbine Conversion | Exclusive with Sprint Shooting | Much better stability and accuracy, less agility |
| Sprint Shooting | Exclusive with Carbine Conversion | Fire while sprinting | |
| Incendiary Rounds | Combines with either | Sets targets on fire | |
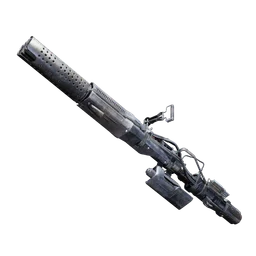 | Bigger Mag | – | Larger magazine |
| Anti-Weak Point | Exclusive with Ramping Damage | More damage to ARC weak points, less to ARC armor plating | |
| Ramping Damage | Exclusive with Anti-Weak Point | Damage builds up while the beam stays on a target | |
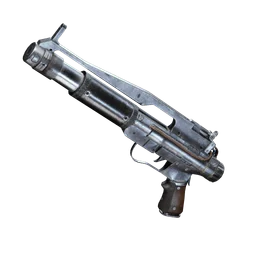 | Semi-Auto | Pick one of Semi-Auto, Tracker Rounds and Incendiary Rounds | +150% fire rate, −20% headshot multiplier, +40% spread per shot |
| Sprint Shooting | Needs Semi-Auto | Fire while sprinting | |
| Tracker Rounds | Pick one (see Semi-Auto) | Targets you hit are revealed for 5 seconds | |
| Incendiary Rounds | Pick one (see Semi-Auto) | +5 burn damage per second, +2 s burn duration | |
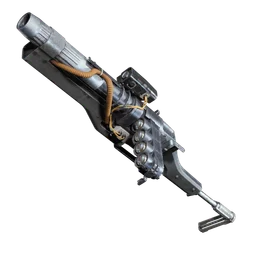  | Incendiary Grenades | – | Spreads fire when a grenade detonates on ARC. The Hullcracker is epic, so it takes a Mk. IV module |
| Mag Reload | – | Reloads the whole magazine at once instead of one grenade at a time | |
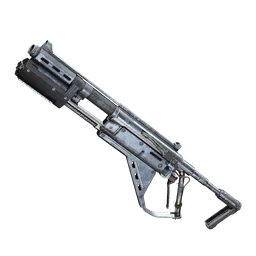  | More Reload | – | Loads more shells at a time, so reloads are faster |
| Slug Rounds | – | Fires one large, very high-damage projectile instead of buckshot | |
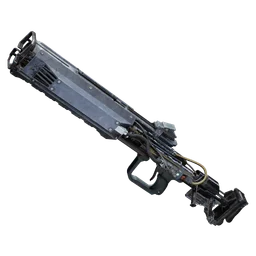 | Bigger Mag | – | Larger magazine |
| Scoped | – | Adds a scope | |
| Ergonomic Bolt | – | Work the bolt without leaving the scope | |
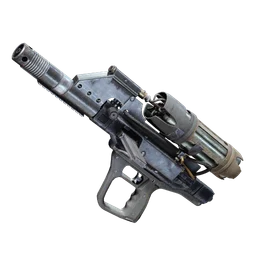 | Anti-Shield | – | Breaks shields faster |
| Full-Auto | – | Fully automatic, at the cost of accuracy and stability | |
| X-Rounds | On its own: blocks Anti-Shield and Full-Auto | Explosive rounds: slightly more damage to Raiders, much more to ARC armor plating | |
 | Ergonomic Bolt | Combines with either | Work the bolt without leaving the scope |
| Anti-Weak Point | Exclusive with Tracker Rounds | More damage to ARC weak points, less to ARC armor plating | |
| Tracker Rounds | Exclusive with Anti-Weak Point | Targets you hit are revealed briefly | |
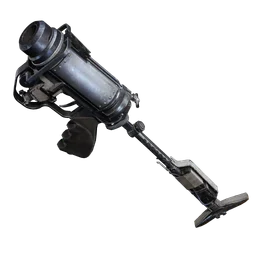 | High Velocity | – | Faster projectiles |
| Sprint Shooting | – | Fire while sprinting | |
| Incendiary Grenades | – | Spreads fire when a grenade detonates on ARC | |
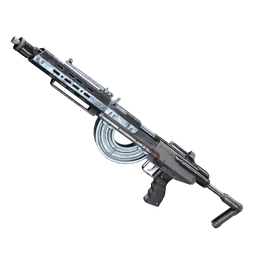 | More Reload | – | +2 rounds per reload step (reloads 4 at a time) |
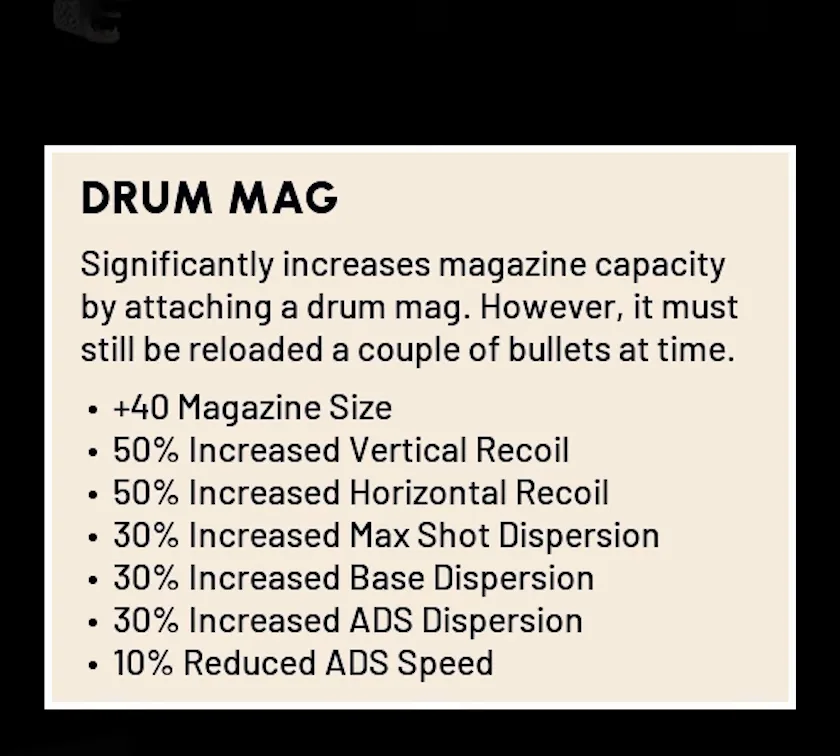
| Drum Mag | Needs More Reload | +40 magazine (64 rounds); +50% vertical and horizontal recoil, +30% shot dispersion, 10% slower ADS | |
| Incendiary Rounds | Combines with both | +5 burn damage per second, +2 s burn duration; magazine stays 24 | |
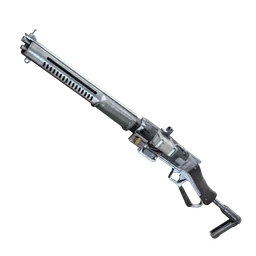 | More Reload | – | +1 round per reload step |
| Scoped | – | Adds a sniper scope; strong at mid to long range |
In the game's words, an exclusive upgrade will "block out an alternative amplification chain". The Ergonomic Bolt on the Jupiter and Osprey is listed as "Straight Bolt" in some community lists; that is its internal name.
Which Amplifications Are Worth It?
Vote on it in our Amplified weapons tier list: every complete upgrade build is ranked S to D by Raiders, so a gun with two paths, like the Kettle's X-Rounds and Anti-Shield + Full-Auto, can land in two different tiers.
Early impressions from players who used them in the preview, before anyone could tune attachments:
Rattler: Drum Mag
64 rounds of medium ammo, and it reloads four at a time, so the long reload people feared isn't that bad. Testers expect it to be a "laser beam" with a Kinetic Converter. The Incendiary Rounds path keeps 24 rounds but hit noticeably harder against ARC.
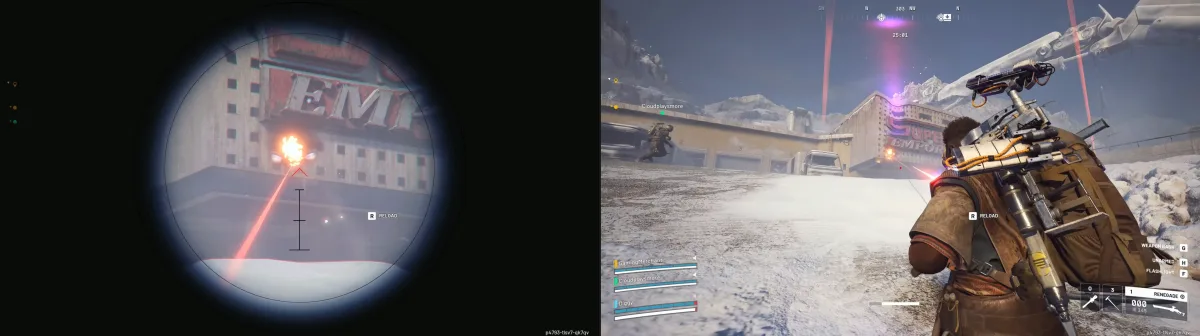
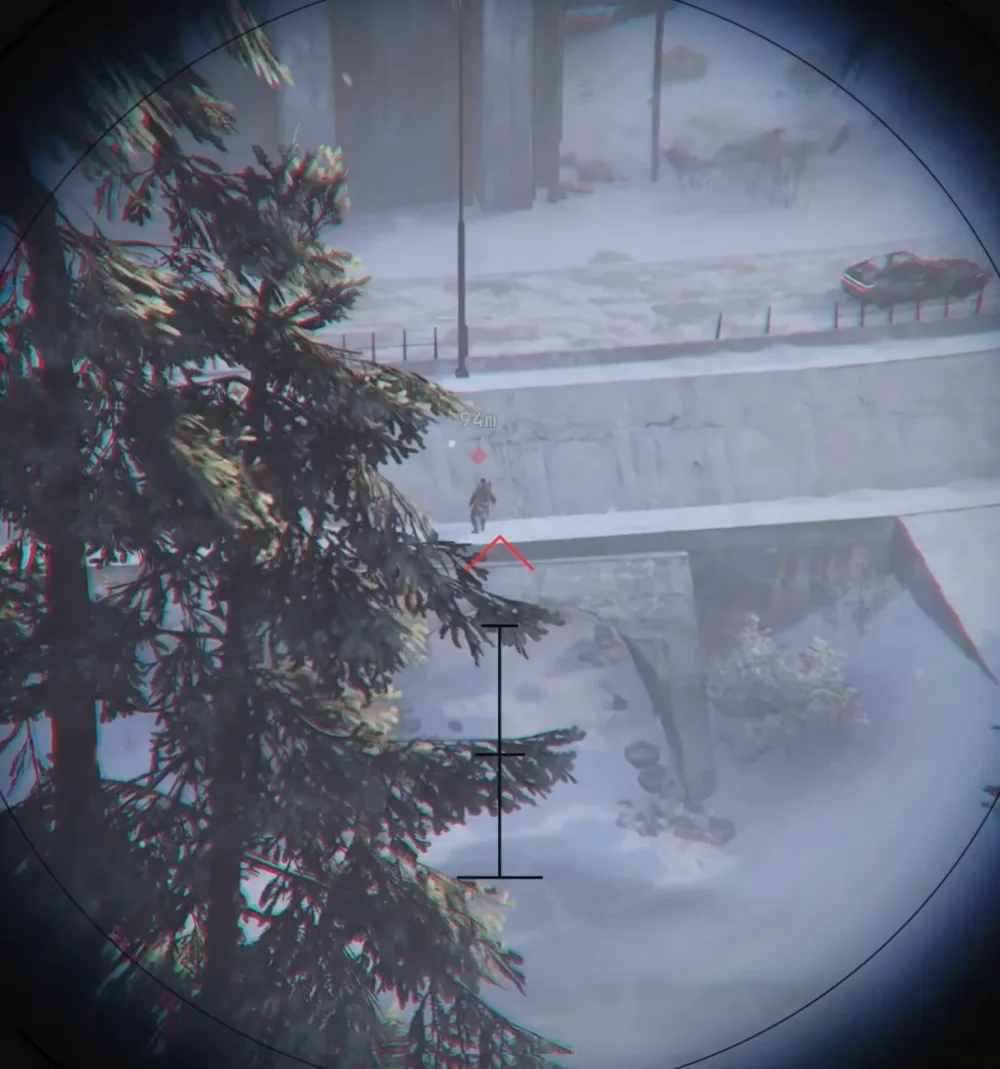
Renegade: Scoped
The standout for range. Flying ARC can be cleared from rooftops before they get close, and it will be strong in PvP poke fights. It's weak inside about 30 m, and one tester felt its hip fire was off.
Burletta: Full Auto
The most transformed gun of the preview and the most fun, but chaotic: it took nearly a full magazine to drop a player in a blue shield. Pair it with a muzzle brake. Burst Fire is the controlled alternative.
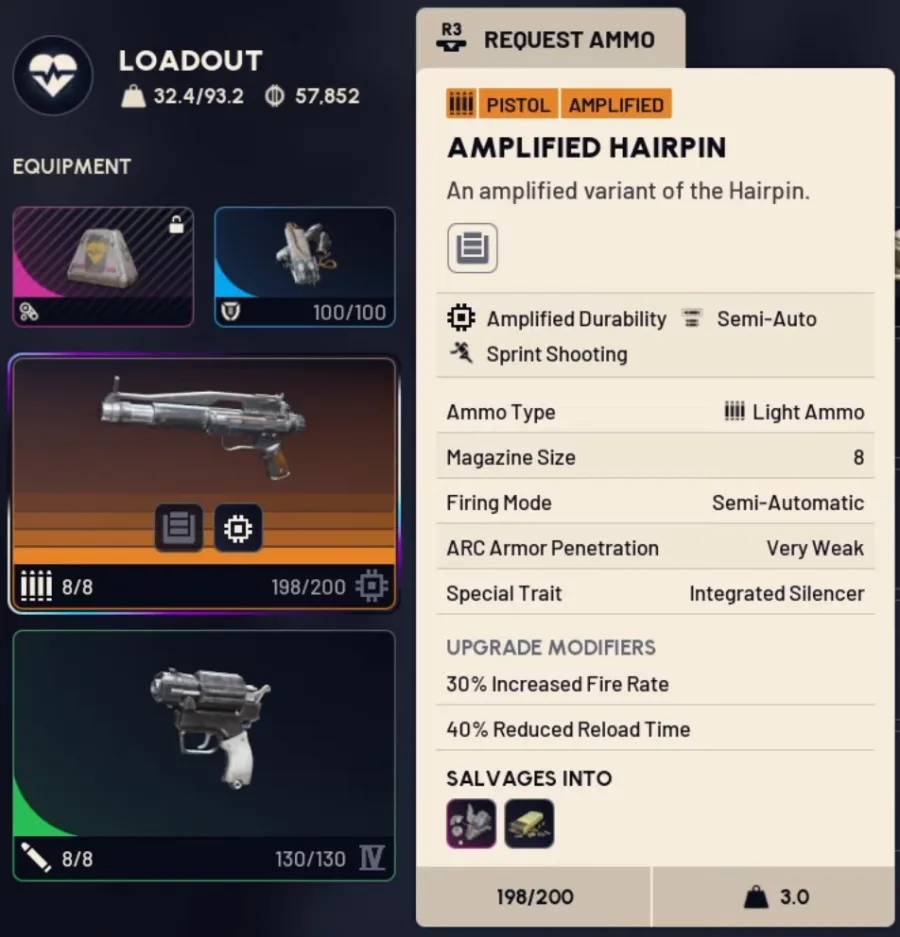
Hairpin: Semi-Automatic + Sprint Shooting
No more racking between shots. A team running semi-auto Hairpins with sprint shooting was a real threat at close to medium range in the preview. Tracker Rounds are the support pick.
What About the Stiletto and Bantam?
The two new Frozen Trail weapons cannot be amplified at launch. Both are uncommon and meant for the early game: the Stiletto is a light-ammo alternative to the Renegade, the Bantam a hip-fire revolver. Note that the Anvil is now a rare (blue) weapon.
Amplified Weapons FAQ
How do you get an amplified weapon?
Unlock the Outpost and expand it to level 4, upgrade the Gunsmith to level 4 with an Emperor Modulator from inside the fallen Emperor, get the weapon to tier IV, and amplify it in the Gunsmith's Weapon Upgrades tab with an Amplification Module of the weapon's rarity. Then research and buy upgrades in its tree.
How do you unlock the Outpost?
Accept the Outpost project and bring a camera. Stage 1: photograph a farmland house at the Ruined Homestead on Blue Gate. Stage 2: hand in 3 Planks, 5 Sheet Metal, 10 ARC Alloy and 3 Advanced Electrical Components (Celeste sells them for Seeds). Stage 3: damage flying ARC and a Bully.
Where do Amplification Modules drop?
Only from the Frigate and from inside the fallen Emperor on Pendola Pass, per the developers. We found a Mk. V in a Breach & Search port on the Frigate's hull. Mk. I to Mk. V match weapon rarity (Mk. I is for common weapons, Mk. V for legendary) and share the same drop rate.
Can I loot amplified weapons from other players?
Yes, but they drop to about 10 durability out of 200. Use them for a fight, don't plan around them.
How do you repair amplified weapons?
With Amplified Fragments, which you get by recycling amplified weapons or old Anvil Splitter mods. Field Repair also restores up to 30% durability during a raid.
Can I undo an amplification?
No. Upgrades are permanent, and some lock out others in the same tree.
Which weapons can be amplified?
15: Anvil, Aphelion, Bettina, Burletta, Canto, Equalizer, Hairpin, Hullcracker, Il Toro, Jupiter, Kettle, Osprey, Rascal, Rattler and Renegade. Not the Stiletto or Bantam. The table above lists every upgrade.
Do attachments still work on amplified weapons?
Yes, though some slots change: the scoped Renegade loses its magazine slot.
📚 Related Guides
Early-access details come from Embark's Frozen Trail first look and preview videos by Espresso, Cloud Plays, Legacy Gaming and other creators invited to the preview, cross-checked against in-game tooltips.