
The Frigate is Frozen Trail's endgame: an ARC warship that patrols the Rust Belt as a map condition, with the Hydra on its deck and rare tech inside. Getting on board is the easy part. Staying alive up there takes a full squad, a real loadout and a plan for the flying ARC. It has now been solved: destroy every power core on board, release the cargo, and ride it down to a canister full of loot. The route below combines our own runs with the first full clear, by Shady's trio.
- Board it from the platforms at the back.
- Destroy every power core: armored cores with rotating shields, guarded by Hydras, Rocketeers and Vaporizers.
- Don't miss the small core at the bottom, behind a red-lit hatch.
- Open the cargo in the bottom middle: two Raiders on opposite panels, repeated until it releases.
- Ride it down and loot every container on it. It takes most of a raid, so start early.
When the Frigate Is Up
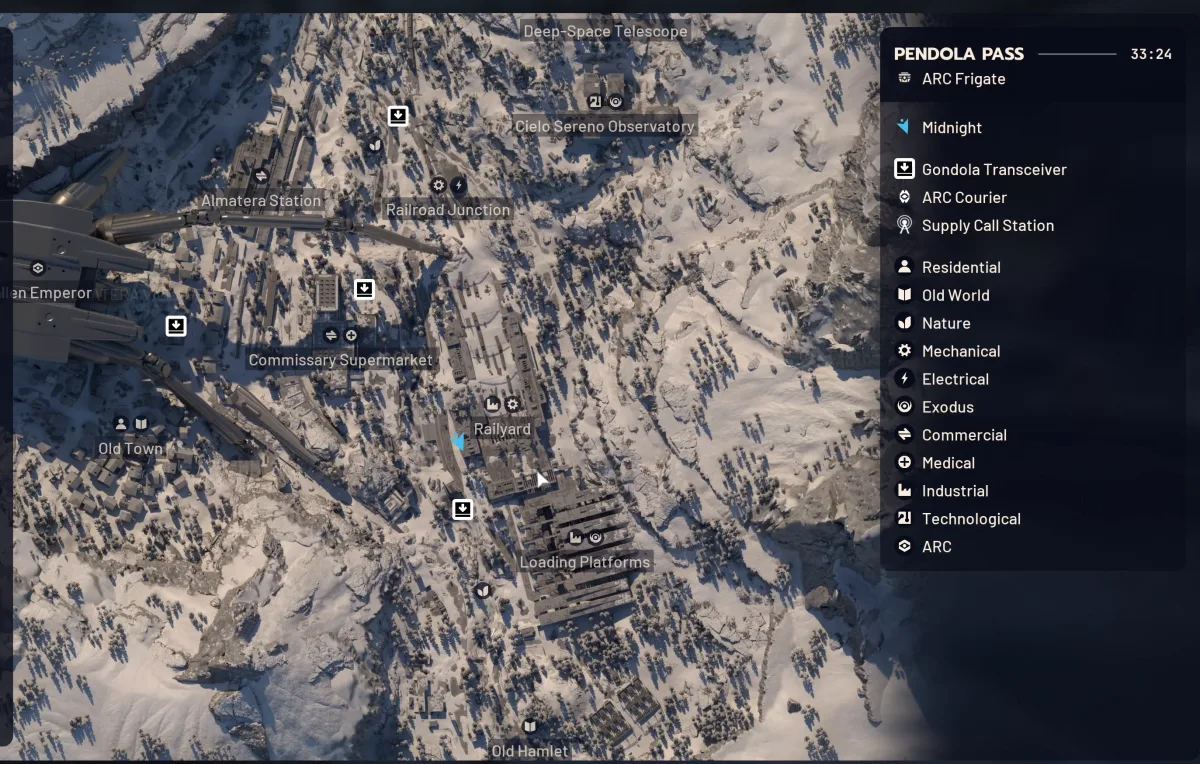
The Frigate is a map condition, and it visits more than one map: we've boarded it on Pendola Pass and Dam Battlegrounds, Millzaa boarded it on Buried City, and the game files also prepare it for Blue Gate and Spaceport. When it's active, the map screen lists ARC Frigate under the map name, and you'll see the ship hanging over the map. You can't destroy it with weapons; you board it and work through it.
How to Board the Frigate
- Head for the back of the Frigate. It stays in one spot for the raid. Round platforms ride up and down between the ground and its underside. They're ARC, but they don't shoot at you.
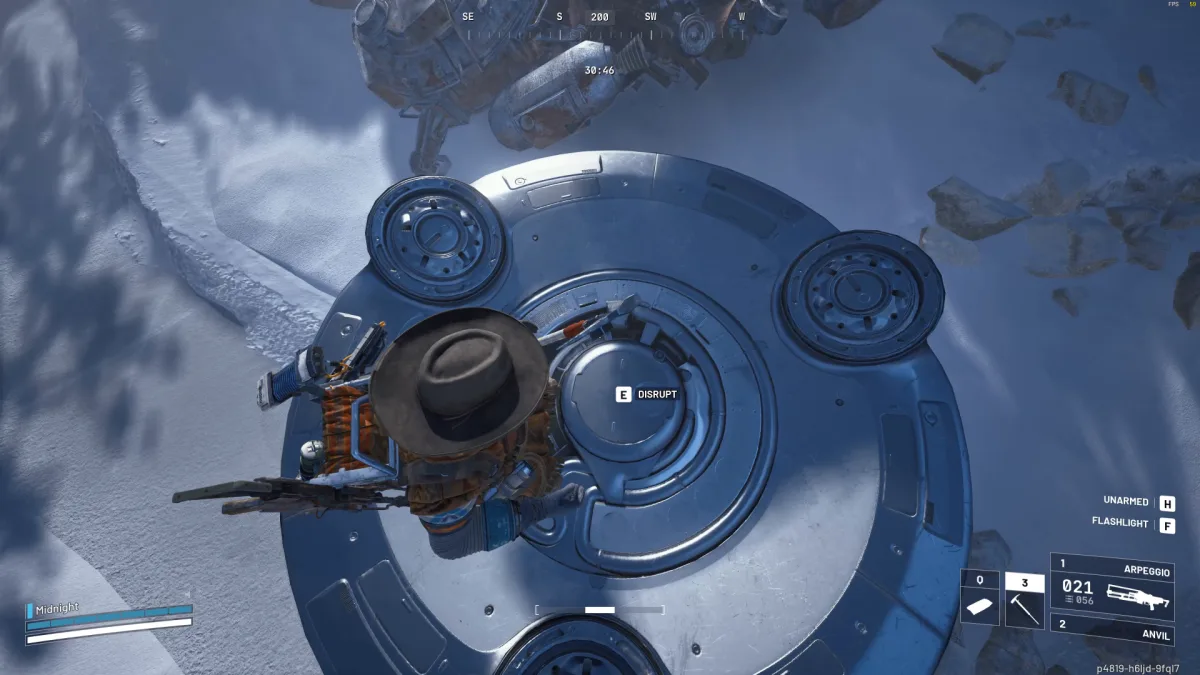
- Climb onto one while it's low. Step on top so you're standing on the disc.
- Use Disrupt on its centre. That's the breach-style interaction that sends the platform up.
- Ride it up and step off onto the hull. From there you can move around freely. The objective changes to Find a way on top of the Frigate.
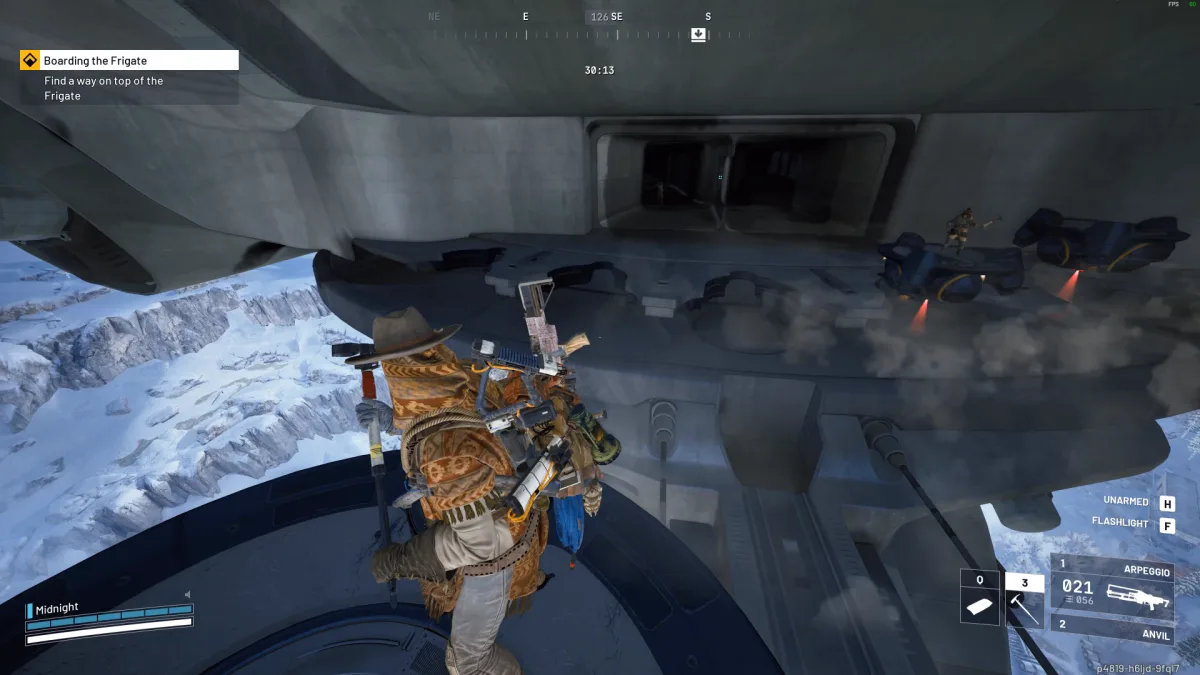
The Frigate has a big gun underneath that targets you on the approach, and a Photoelectric Cloak helps. You're slow and in the open on the way up. We had friendly Raiders around us, so it was calm, but in a hostile lobby this is where you'd get shot. Clear the area first, and don't ride up alone if a squad is watching the platforms.
The Frigate Route, Stage by Stage
Stages 1 to 4 come from our runs and launch-day walkthroughs by Diggy and Millzaa; stages 5 to 8 from the first full clear, by Shady's trio (Fade, Pakman and TheOnlyShady), in a PvP lobby. Each stage you open spawns more ARC, so clear as you go.
1. The lift to the first deck
The first lift has buttons that have to be pressed at the same time. Plan on three players: our run and Millzaa's needed three, while Diggy's went up with two. A snap hook can get you up without it.
2. Kill the Hydras, then shoot the yellow targets
Up to four Hydras rise out of the deck here: two to start, then two more. Rocketeers and Vaporizers join in. Once a Hydra is destroyed it stays down. It only drops light ammo, so don't detour to loot it.
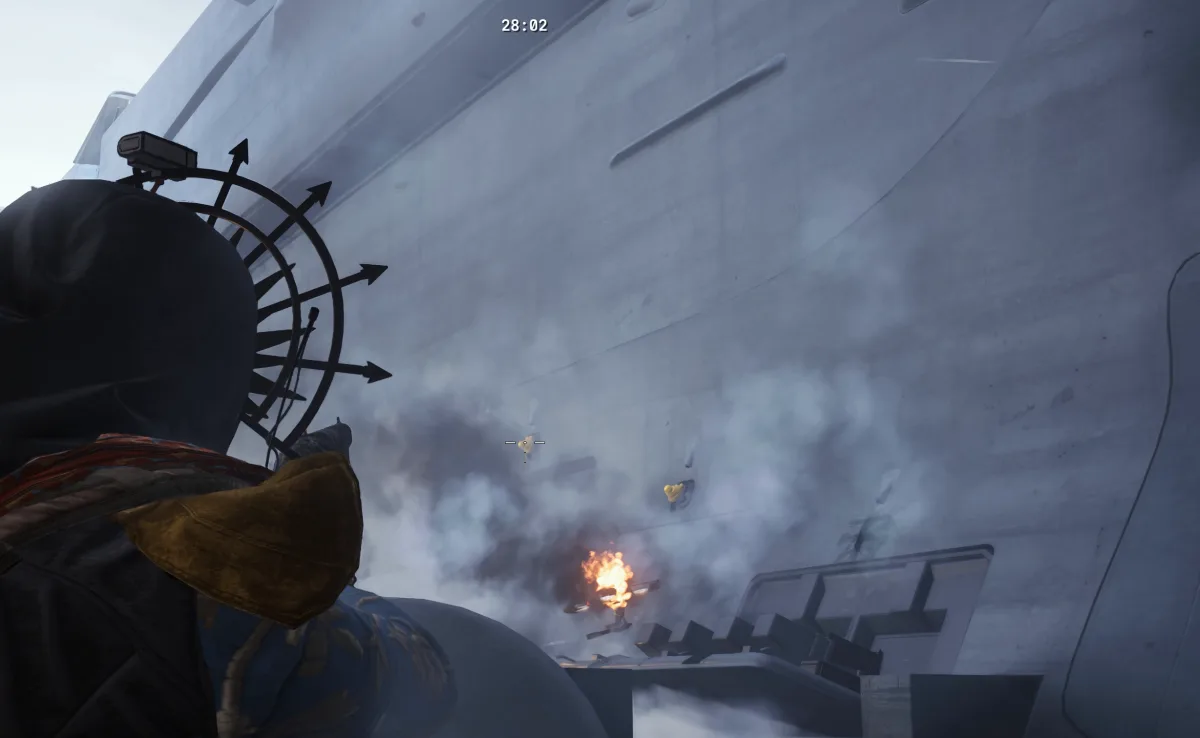
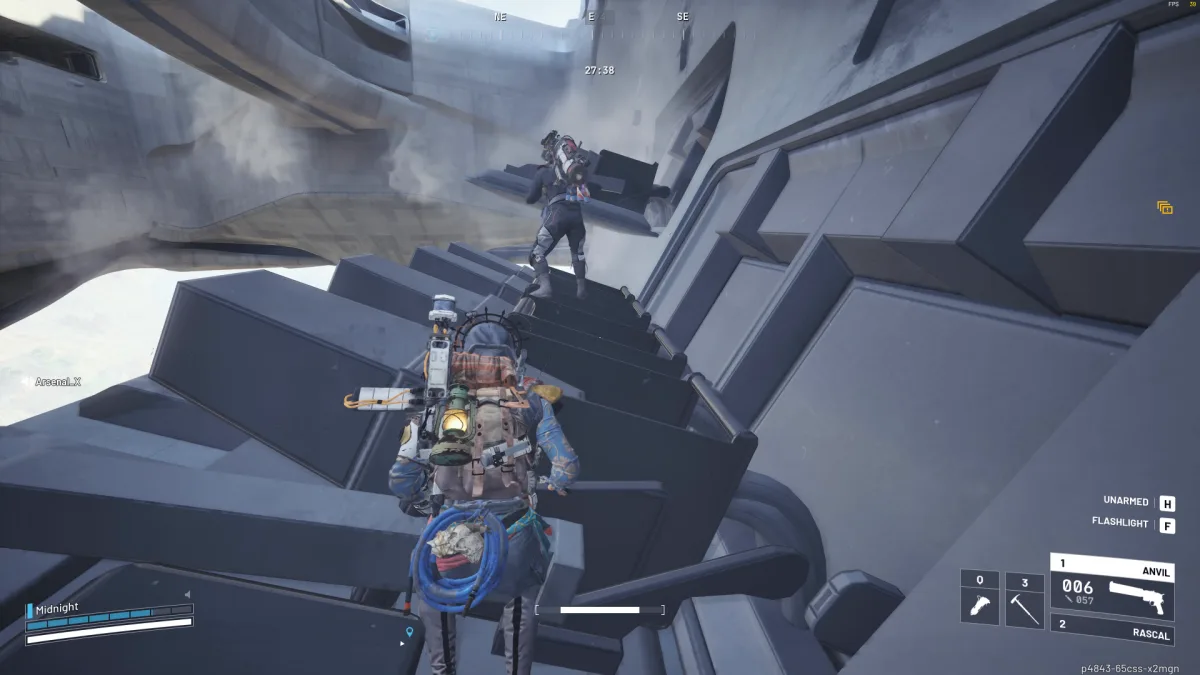
Then look for the small yellow targets on the walls, like the ones inside a Harvester. Shoot every one on a side and that side's wall sections fold out into steps. The compartments that fold out hold loot too.
3. Raise the central power core
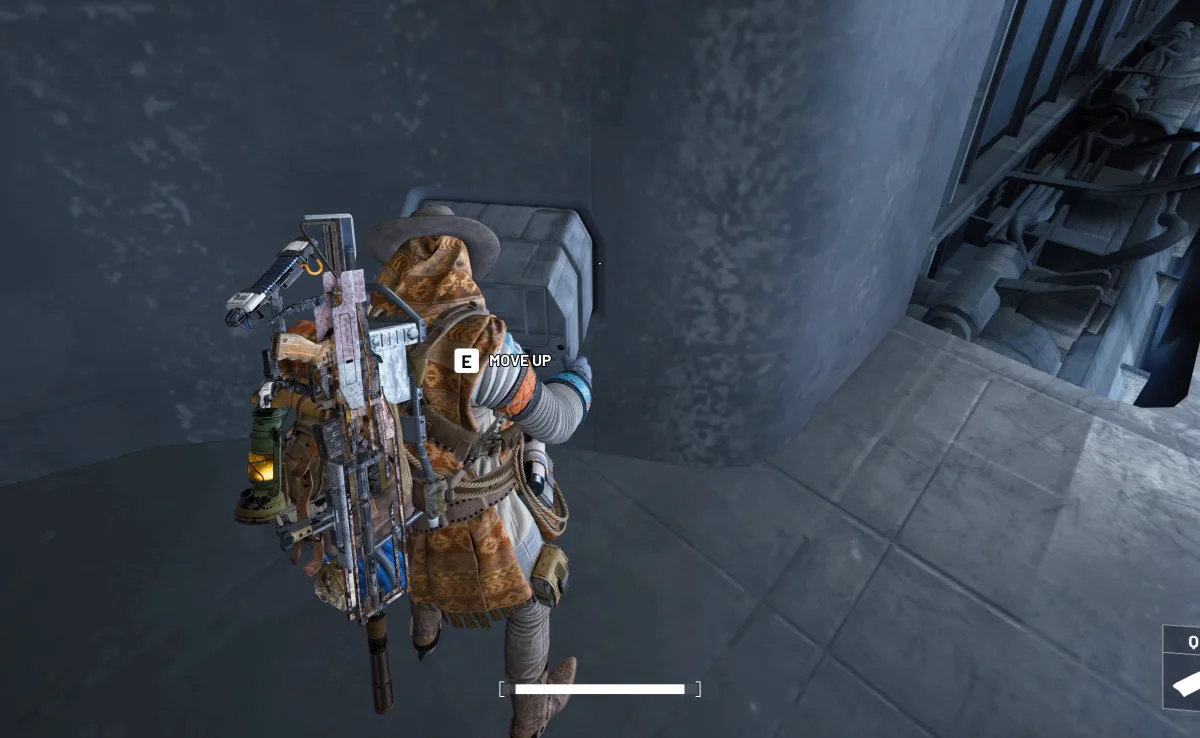
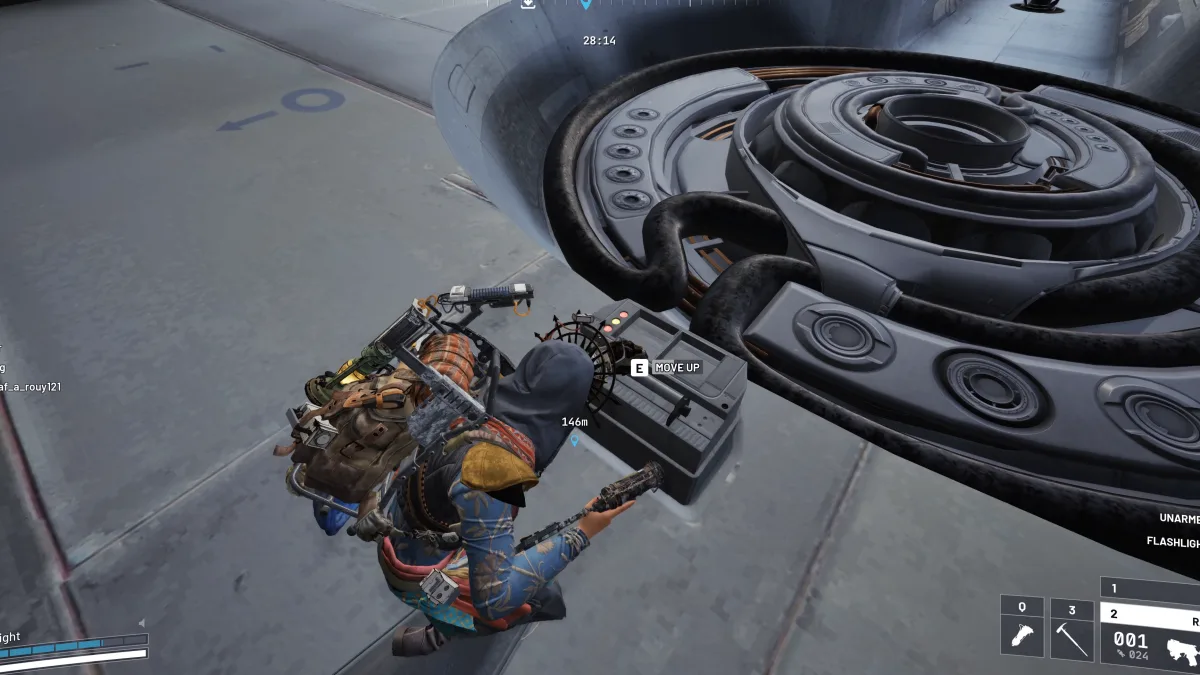
Around the big ring in the middle of the deck are three Move Up panels. With a Raider on each, a large power core rises out of the ring. Destroy everything on it to unlock the next section. Most players skip this and race up the opened walls for loot, so agree on it as a group.
4. The upper deck: jet blast and fire rooms
- Jet blast: after the first Hydra up here dies, a blast of engine wind pushes you toward the edge. Run into it and it won't throw you off.
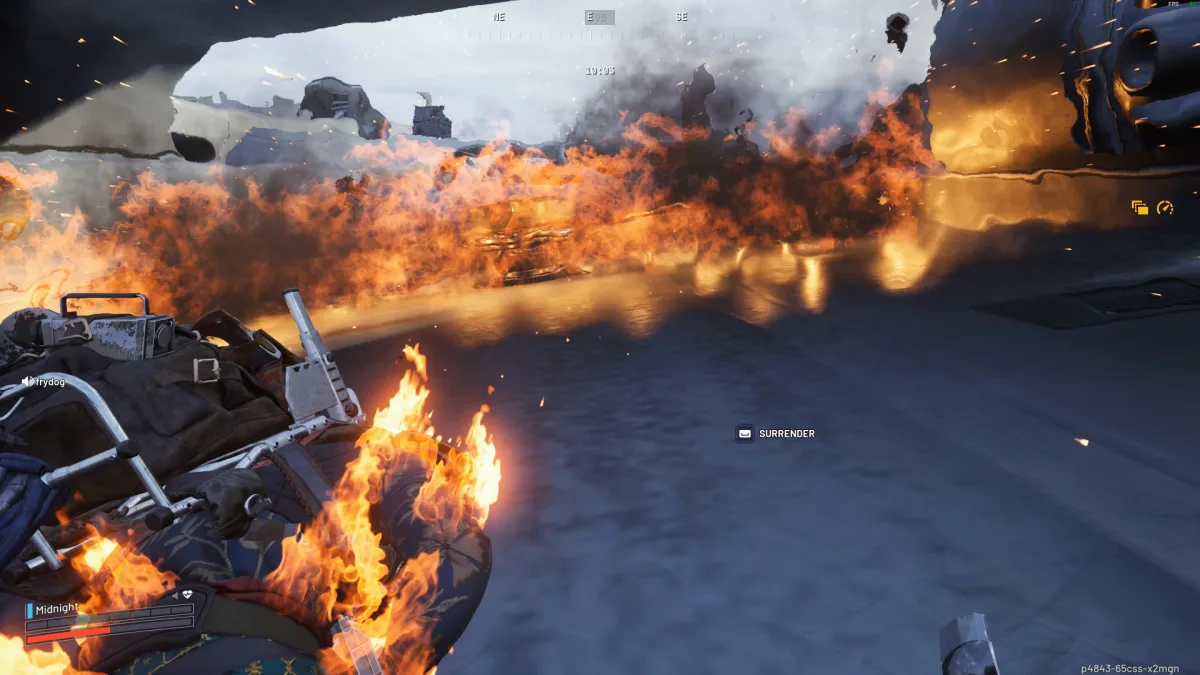
- Fire: flames burst out of the deck and sweep across it. They burn and knock you down, and they're what downed us.
- Two fire rooms sit to the left and right, each with about three loot containers. They fill with flames on a timer, like the Harvester. Shoot the small power core in the middle of each room to switch off the flames and the wind. Otherwise you only have time to breach a container and must come back to search it.
- The route on: arrows painted on the walls point the way, and you climb up through vents. There's a target to destroy on the roof, and a room at the back with more yellow targets and three or four Vaporizers.
5. Destroy every power core
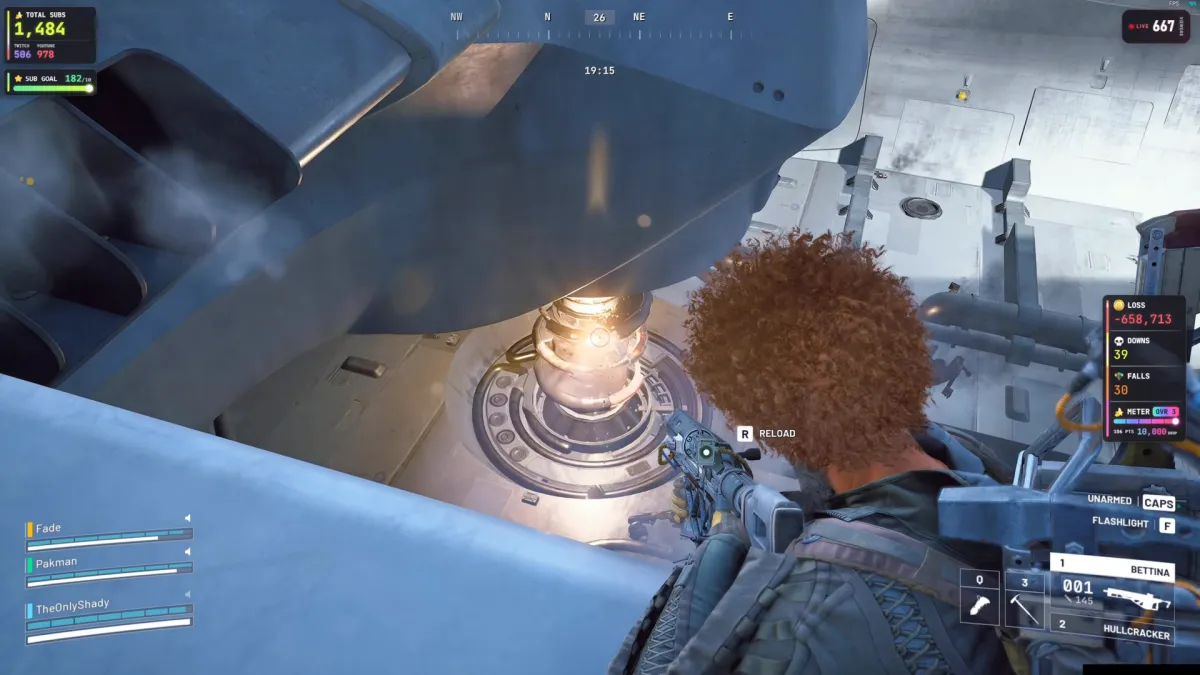
The real objective is the Frigate's power cores (the game pings them as "Power Core"; they look like coils): armored cores with shields rotating around them, spread over the ship, down both sides and in the corners. Activate a core, then shoot it together; Shady's group put several Raiders on each one and fired on a countdown. A trick that worked for them: activate a core, climb somewhere safer above it, and shoot it from there once the ARC below calm down. Every core you start brings more Rocketeers, Vaporizers and turrets.
6. Find the small core at the bottom
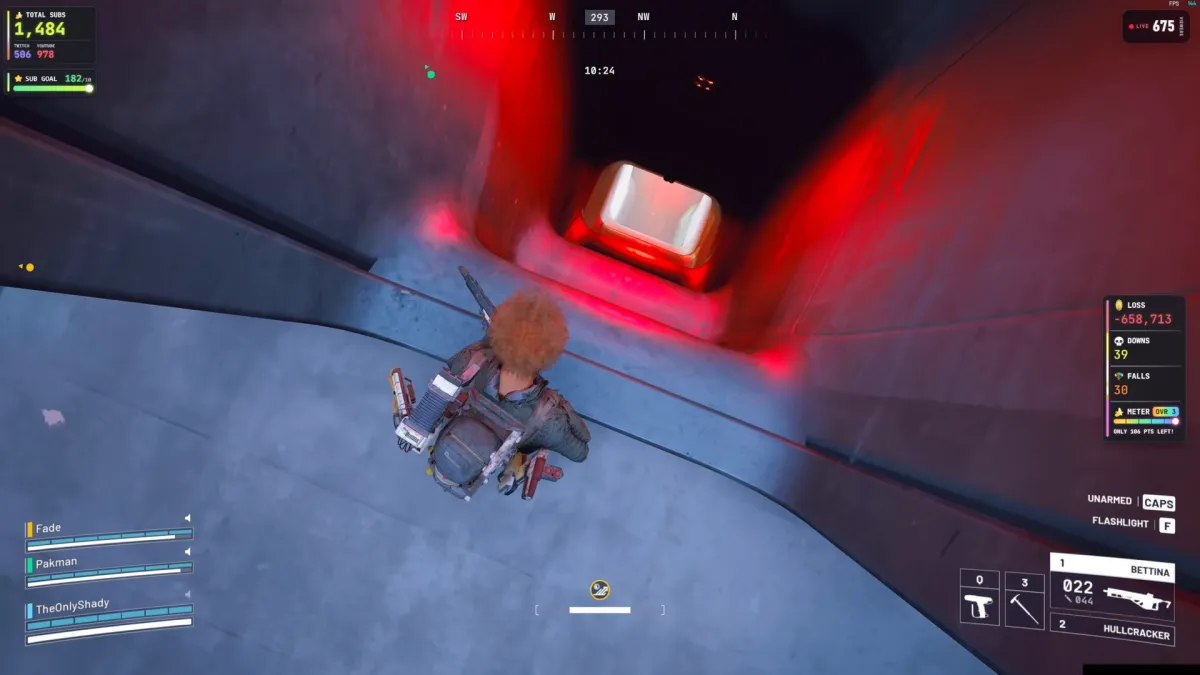
With every core down, nothing happened, until they remembered a small core at the bottom. A red-lit hatch drops you into the chamber below it. Destroy it and the bottom of the Frigate opens.
7. Open the cargo
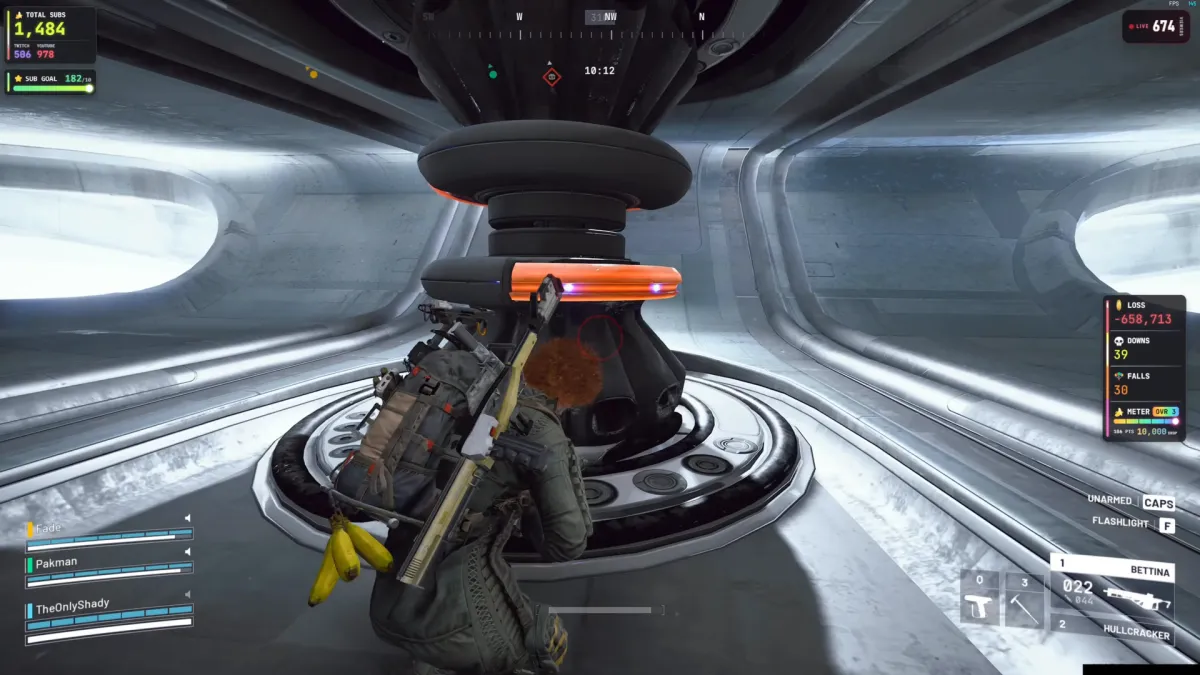
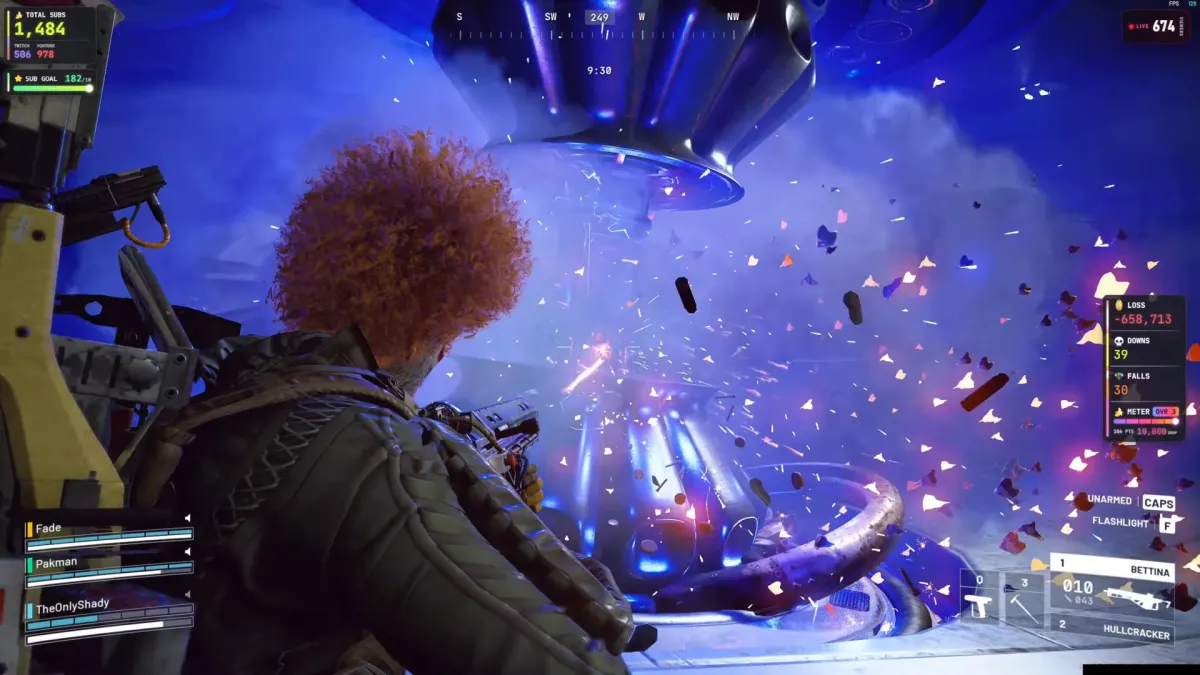
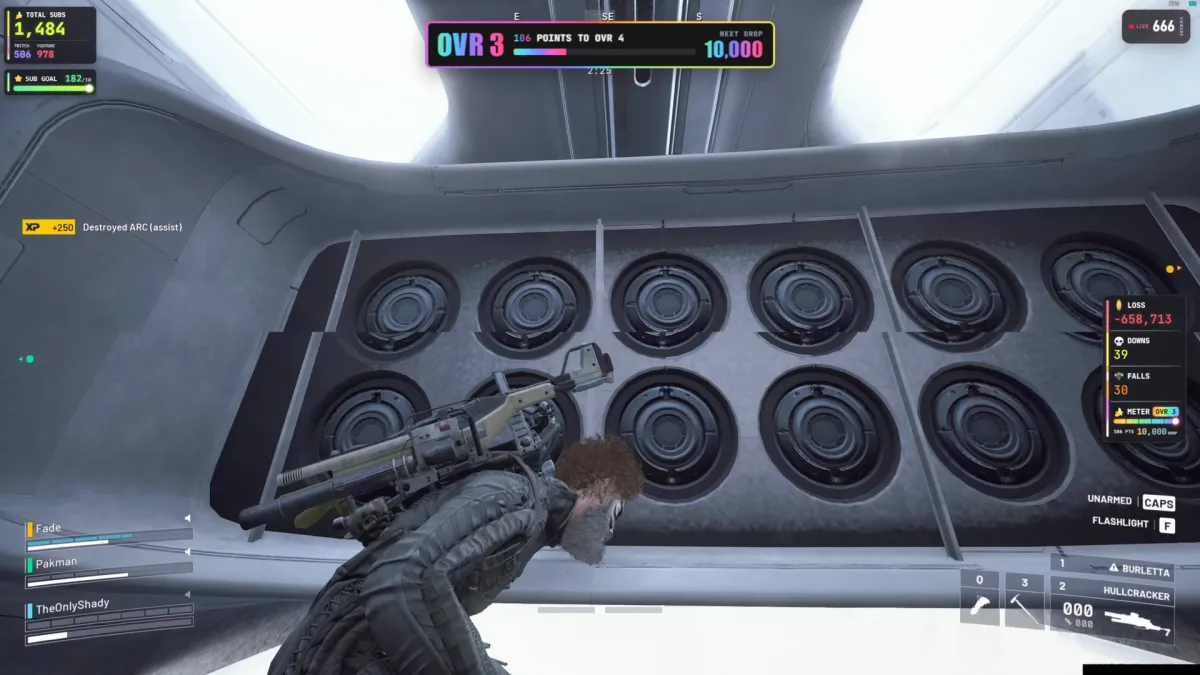
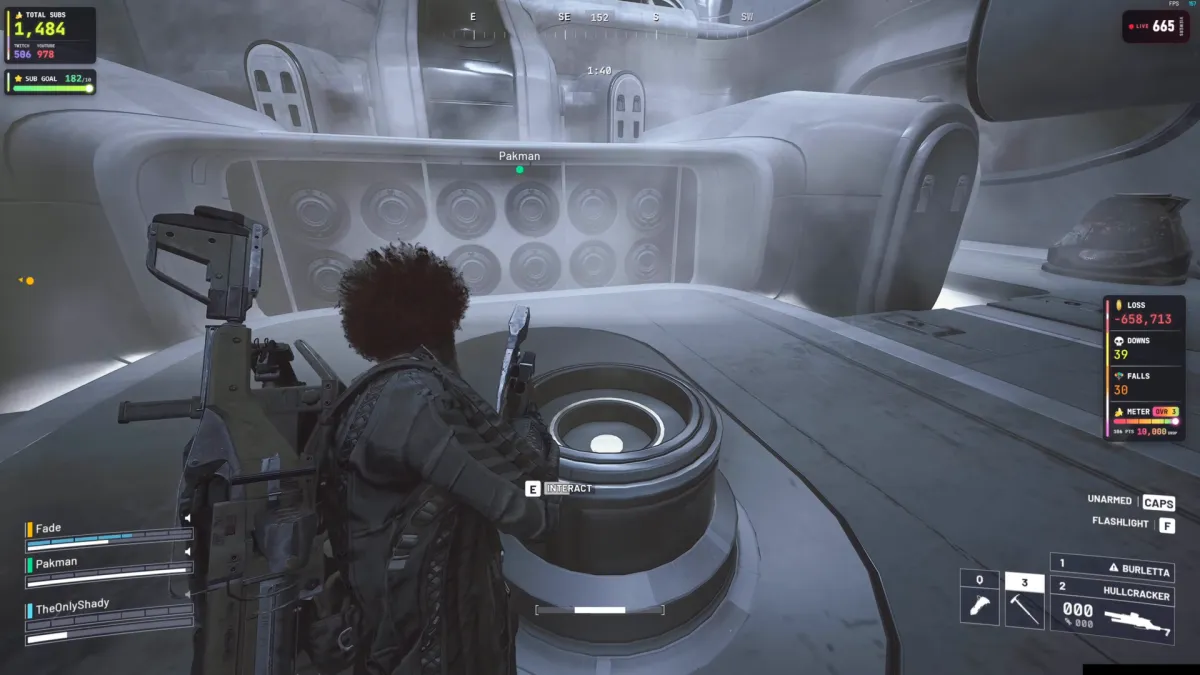
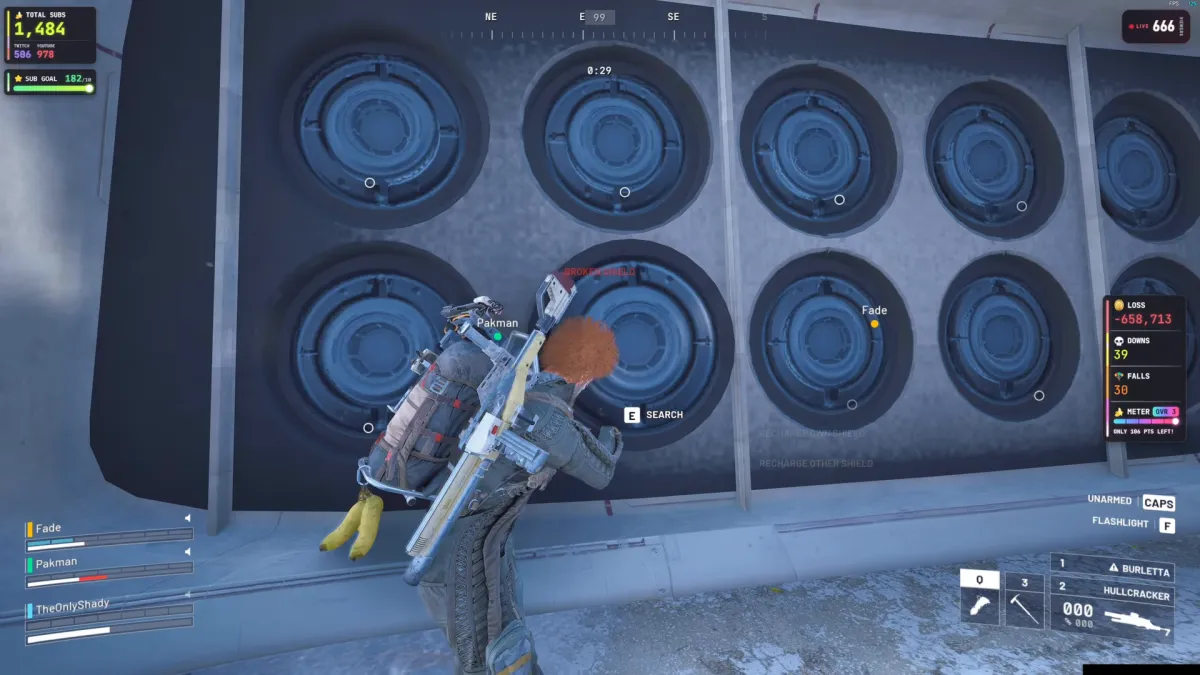
The cargo sits in the bottom middle of the Frigate. Some breachable panels here are red and need two Raiders at once; open them to reach the last core inside, and destroy it. Then the cargo's release panels light up: two Raiders interact on opposite sides at the same time, and again, until it releases (it took three rounds in Shady's run).
8. Ride the cargo down and loot it
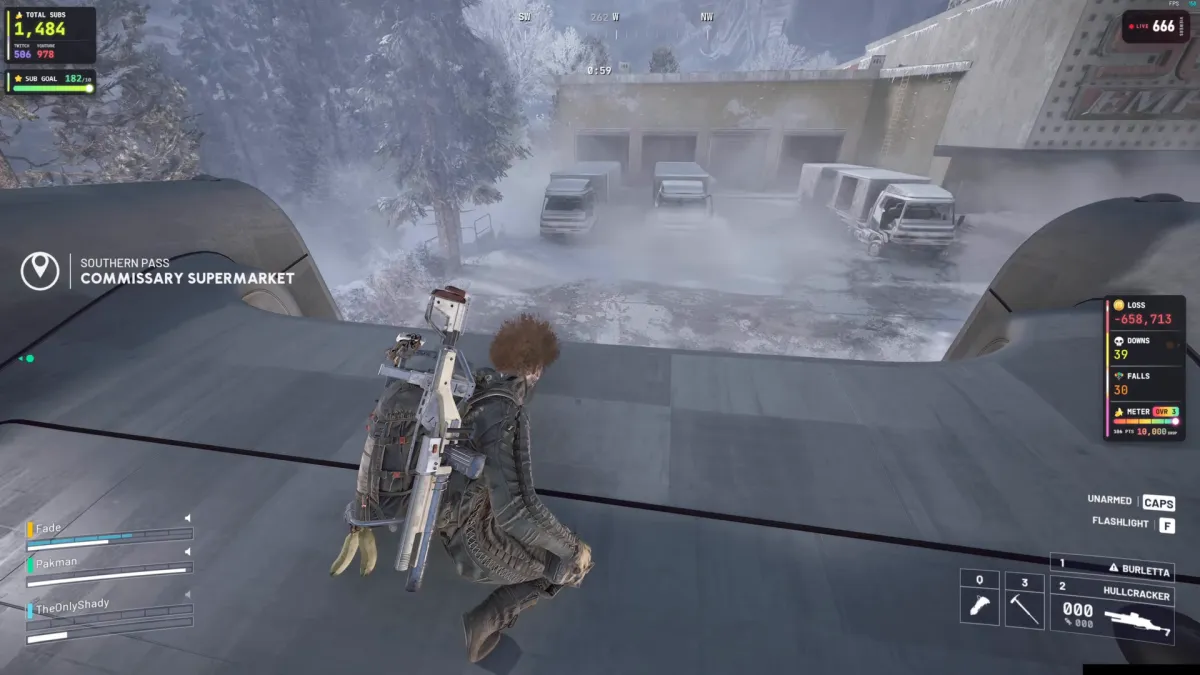
Get on top as it lets go. The cargo drops off the Frigate with you on it and lands somewhere on the map; Shady's came down next to the Commissary Supermarket on Pendola Pass. It's a canister lined with round containers: breach and search every one. In Shady's words, it's "full of loot".
The new Matriarch: bring the whole server
This is the new version of the whole lobby taking on the Matriarch. Shady's trio did it alone in a PvP lobby, and it cost them: over 150 Hullcracker rounds each plus plenty of heavy ammo for their Bettinas, broken shields, and a broken Snap Hook that left one of them struggling to get around. They landed with about a minute of raid left and got out with little more than what fit in their safe pockets. On a friendly lobby, everyone on board can work the cores and panels together and share the cargo, and there's enough in it to make that worth it. Start early: the full route takes most of a raid.
Frigate Loot: Hull Ports and Amplification Modules
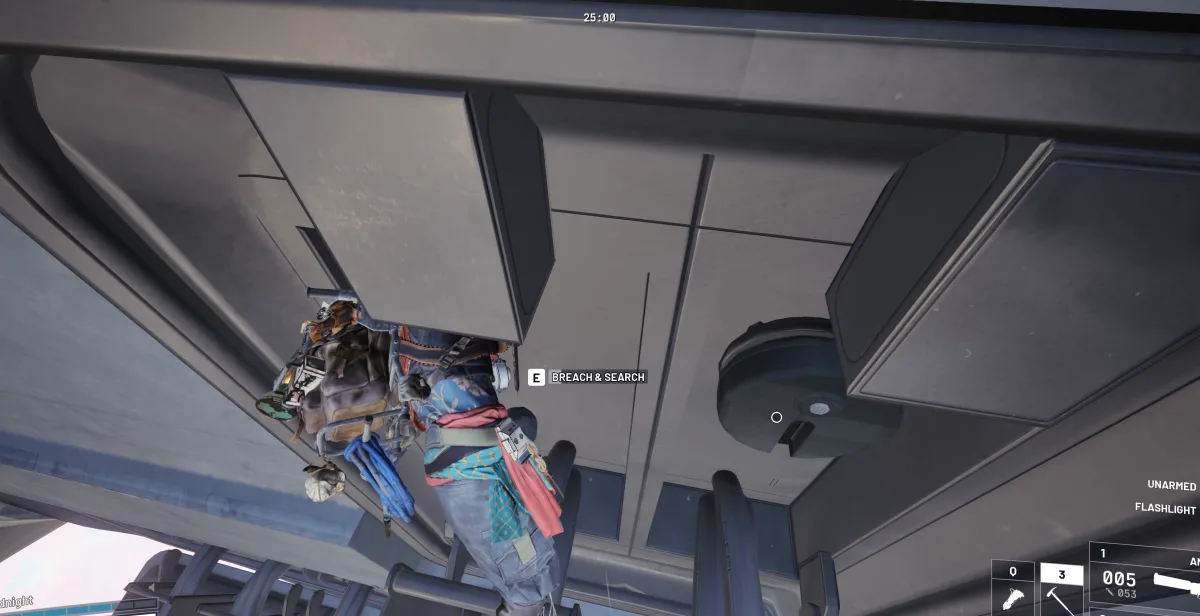
The Frigate is one of only two sources of Amplification Modules, and they're out on the hull, not just at the end of the route. On a Dam Battlegrounds raid we climbed around the underside of the hull and found an Amplification Module Mk. V in a round Breach & Search port set into a recessed hatch. There are several of these ports along the hull. Check every one you can reach, and be quick: on friendly lobbies the Frigate is overrun with Raiders, which helps against the ARC but means these containers get emptied fast. The same breach containers inside the fallen Emperor seem to roll the same loot, and fewer players can get in there, since it needs a crafted Emperor Gateway Conduit. Millzaa's group also pulled a Mk. II and a Mk. IV module, an ARC Conductive Coupler and an ARC Data Module from the Frigate. The game files list 64 of these hatch containers on the Frigate (56 large, 8 small), plus a cargo canister with 12 more containers that the Frigate drops at a cargo drop site. All of them can roll modules; the odds are decided by the server.
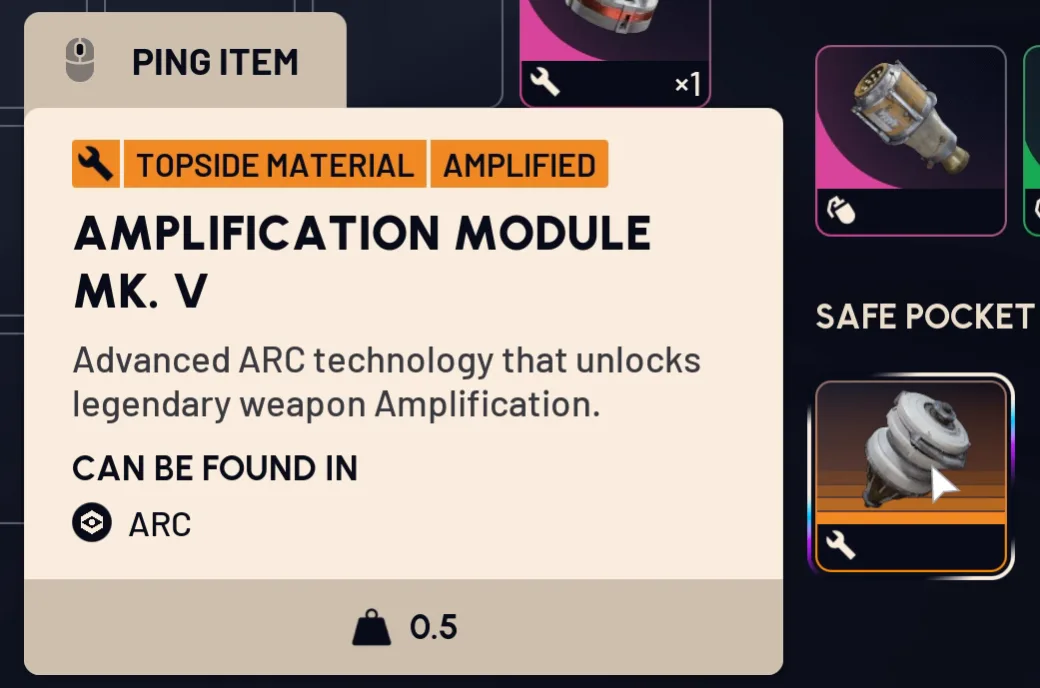
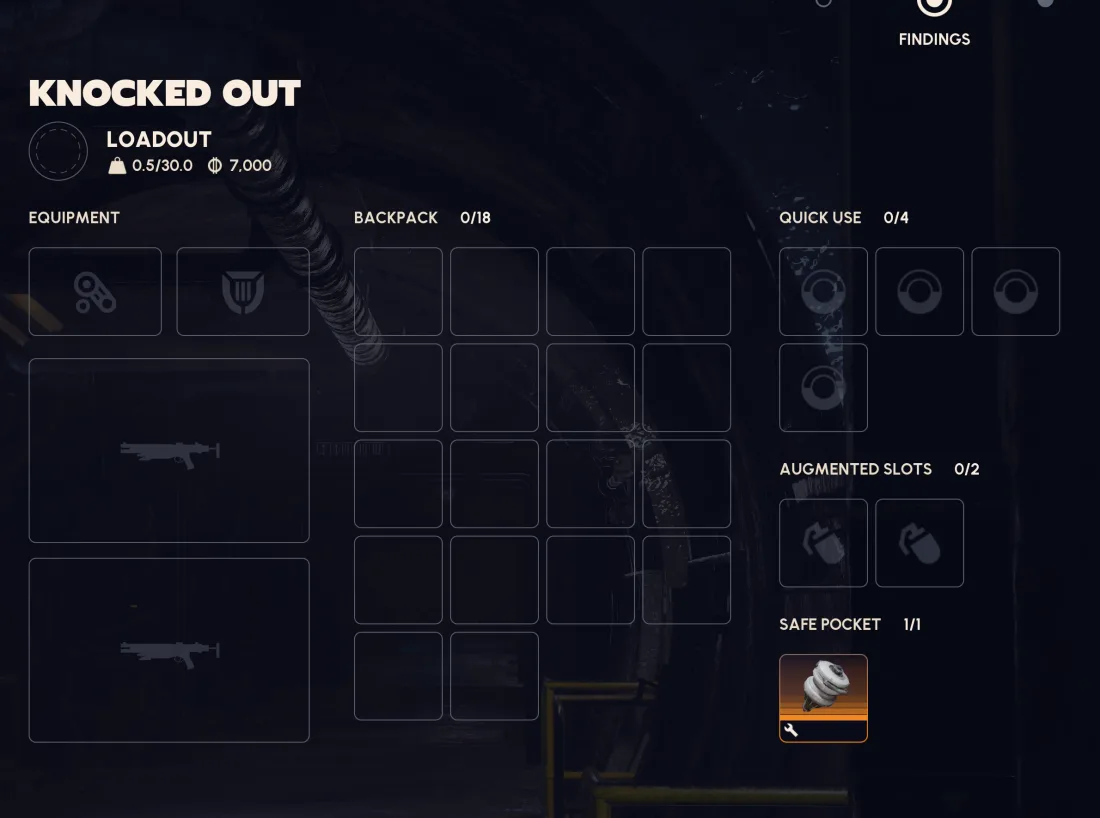
On our next run we were knocked out on the deck and lost everything except the module, because it was in the safe pocket. Move it there the moment you loot it.
The Hydra and the Flying ARC
Once you're up top, the objective becomes Damage a Hydra. The Hydra is a three-section turret built into the deck, and Its Codex entry calls it "an immovable threat capable of engaging several threats at once", and Embark describes it as a squad killer that guards both the Frigate and the Emperor. Its gun pairs target different players, so spread out instead of stacking behind one piece of cover.
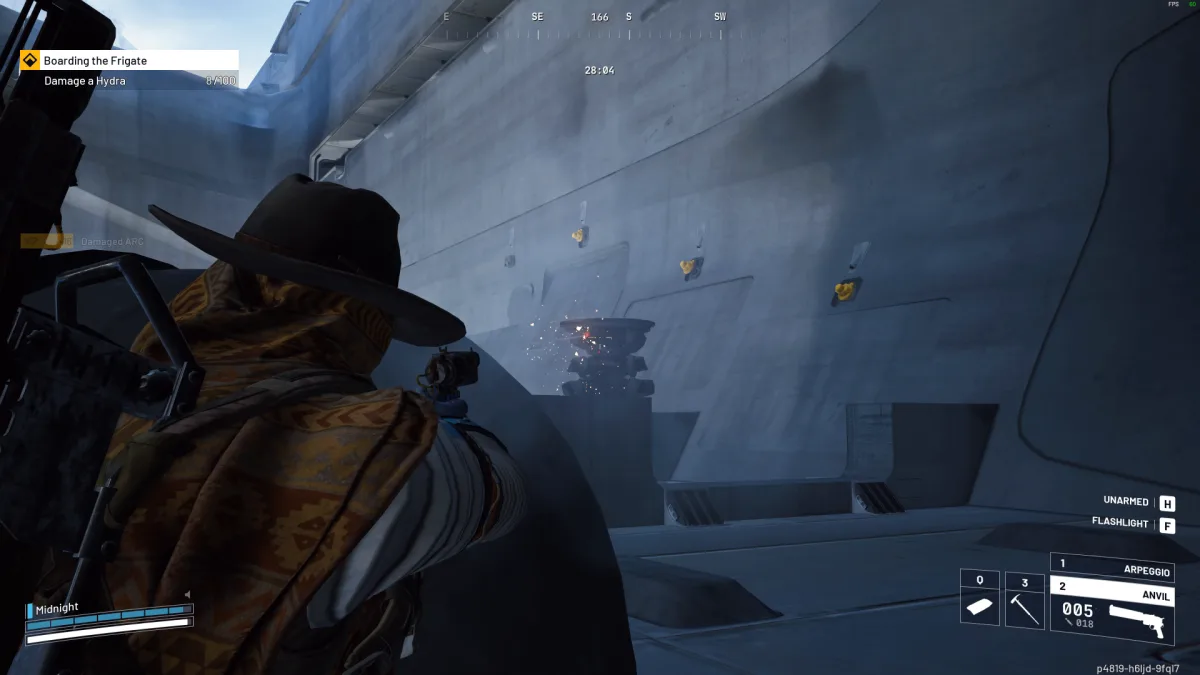
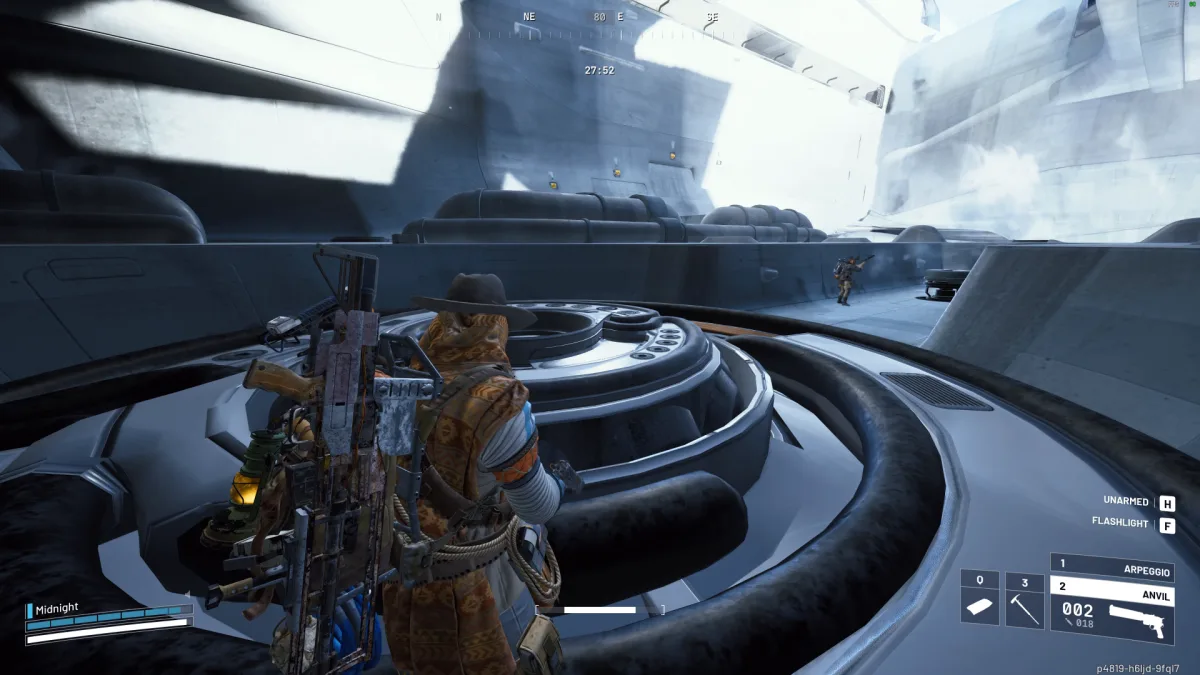
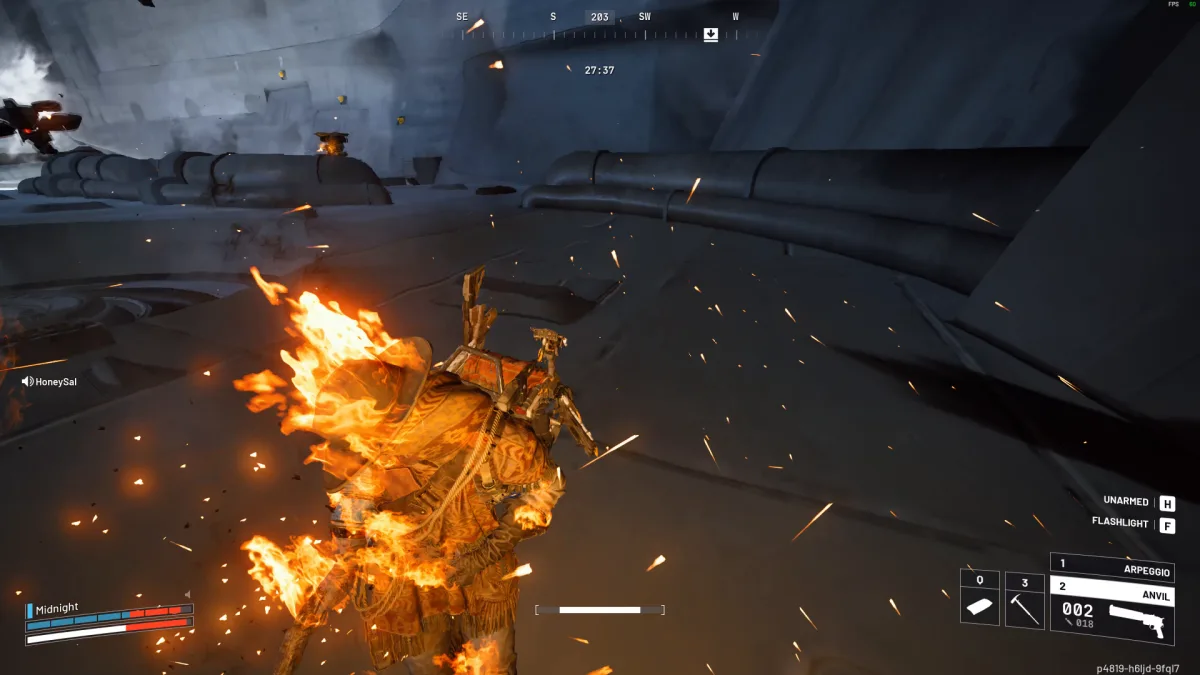
The Hydra isn't the only threat. Rocketeers and Fireflies spawn on the Frigate, and they're what killed us. Rocketeers hit hard from range, and Fireflies set you on fire, which drains you fast while you're also dodging the Hydra.
Embark lists two Frigate bugs: the Hydra can see and shoot through walls in the Cargo area, and standing on the side of the Cargo drop can eliminate you instantly. Don't trust cover in the Cargo area, and stay off that ledge.
What to Bring
Free kits aren't allowed on the Frigate, so you're risking a real loadout. Make it count:
| Item | Why |
|---|---|
| Energy weapons | Our pick for the ARC-heavy fights on board. Bring enough Energy Clips; traders now cap how many you can buy per day. |
| Wolfpack | An epic grenade that splits into 12 homing missiles, 166 damage each, with a 100 m homing range. Made for Rocketeers and Fireflies. |
| Powered Descender | Carry one. Getting back down is the hard part: on one run we were stuck on top with the return point shutting down and no obvious way off. |
| Shield and healing | Fire damage from Fireflies stacks up while you're fighting the Hydra. Heal early. |
| Hullcracker or Jupiter | Both got launch buffs against armor plates, which suits the Hydras, Vaporizers and the cores' armor. Shady's trio went through over 150 Hullcracker rounds each. |
| Lots of ammo, defibs, two shields | Every creator who went up ran out of ammo. Bring a big backpack for the loot too. |
| Snap Hook | Makes getting around the hull easier, and can skip the first lift. They do break: one of Shady's squad lost his mid-route and struggled to get around. Only bring one you can afford to lose. |
Squad Up or Team Up
- Three is the minimum. The lift and the central core both need three Raiders on buttons, and the cargo needs two on its panels at once. It's not doable solo, and more Raiders make the cores much faster.
- Friendly Raiders help. Other squads on board often have the same problem. Proximity chat and a wave go a long way; ours worked with us all the way to the Hydra.
- Be ready to fight anyway. Between the Hydra, Rocketeers and Fireflies, the Frigate is a fight even in a friendly lobby.
What We're Still Confirming
- Whether the cargo always lands in the same place, and what happens to the Frigate after it drops.
- Which containers on board can roll a module, and how often.
- How long the Frigate stays and how often it comes. We've boarded it on Pendola Pass and Dam Battlegrounds; the game files also set it up for Blue Gate, Buried City and Spaceport.
📚 Related Guides
Sources: our own launch-day runs, Frigate walkthroughs by Diggy and Millzaa, the Frozen Trail 2.0 patch notes and Embark's launch announcement. Header image: Embark Studios.