

The fallen Emperor dominates Pendola Pass, and for the first time in Arc Raiders you can go inside an ARC. Its interior is the game's first dungeon, and it's where Amplification Modules drop. Getting in takes an item nobody had in early access: the Emperor Gateway Conduit. Here's everything we know about getting one, finding the door, and what waits inside.
The Emperor's interior was locked in early access, so this guide starts with the way in. We'll add the walkthrough, the Hydra fight and the full loot list as we run it. Parts marked "to confirm" are our best reading of the in-game text.
How to Get Into the Emperor (Quick Answer)
- Play Pendola Pass during Redirection and loot Emperor Payloads. See our Redirection guide.
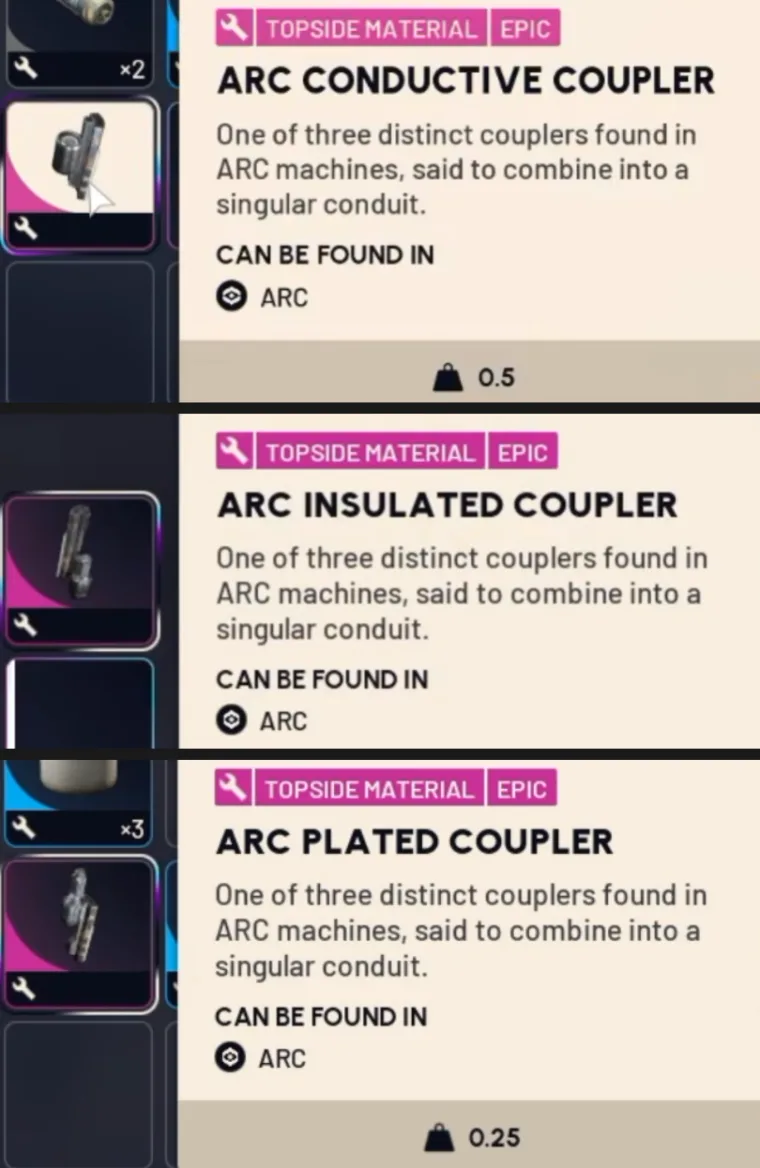
- Collect the three couplers: ARC Conductive, ARC Insulated and ARC Plated. Each tooltip says they "combine into a singular conduit".
- Turn them into an Emperor Gateway Conduit. To confirm: where the conduit is made and whether it needs anything else.
- Go to the door at the Emperor's base and unlock it. The prompt reads "Unlock: 0/1 Emperor Gateway Conduit".
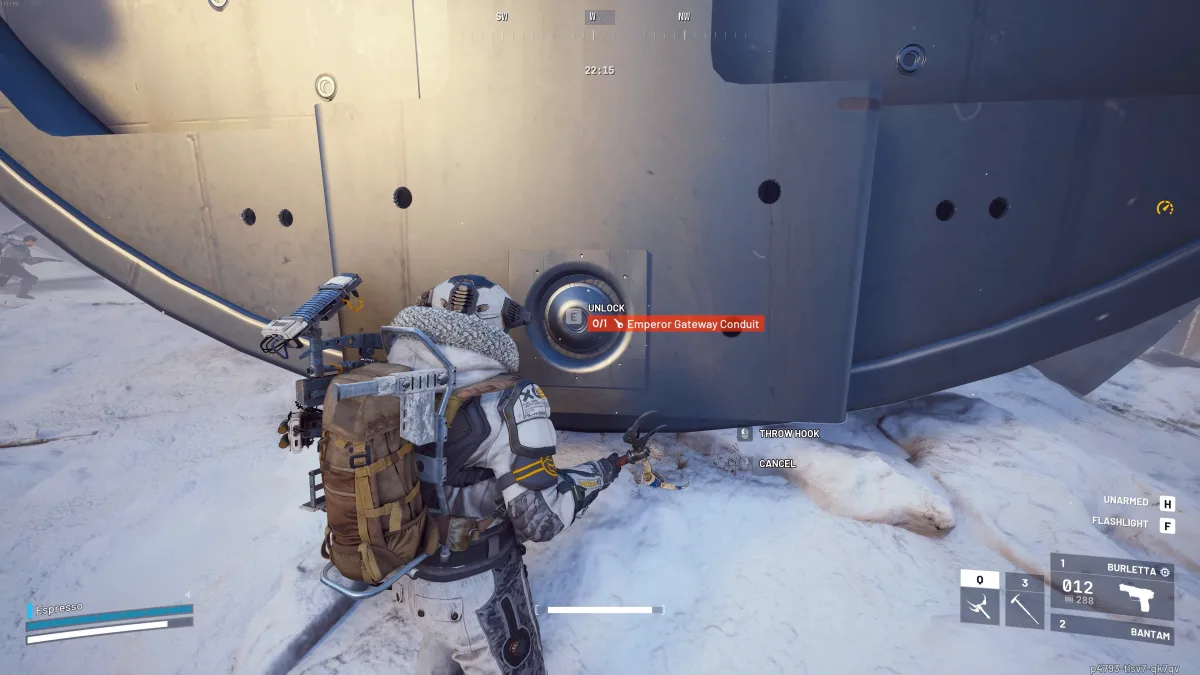
The Three Couplers
All three are epic topside materials, and in early access all three came out of Emperor Payloads. The Conductive and Insulated couplers weigh 0.5; the Plated one weighs 0.25. Their tooltips list "ARC" as the source, but since the payload itself is ARC, we haven't confirmed whether regular ARC kills drop them too.
Inside the Emperor: What We Know
- It's a dungeon. The route is mostly linear, but the layout reconfigures between sessions. A handful of key locations always appear; the order you reach them changes.
- It's dangerous by design. The developers' framing is that Raiders are not meant to be in there.
- Amplification Modules drop inside. Along with the Frigate, it's the only source, per the developers. See where to find Amplification Modules.
- Expect Hydras. The three-tiered Hydra turret is listed among Pendola Pass's ARC and is mainly tied to the Frigate. To confirm: where it sits in the Emperor.
Walkthrough
Coming after our first runs: the key locations, how each section works, the hazards, and how the layout variants differ. Because the dungeon reconfigures, we'll organise it by room, not by a single fixed route.
Fighting the Hydra
Each of its three sections is an independent gun pair that can target a different Raider, and the developers say you can split its attention to spread its fire. A full Hydra guide is coming once we've fought one.
Loot Inside
Amplification Modules (Mark 1 to 5) and the "rare tech" Embark promised. We'll list containers and drops per section as we map them.
Climbing the Outside of the Emperor
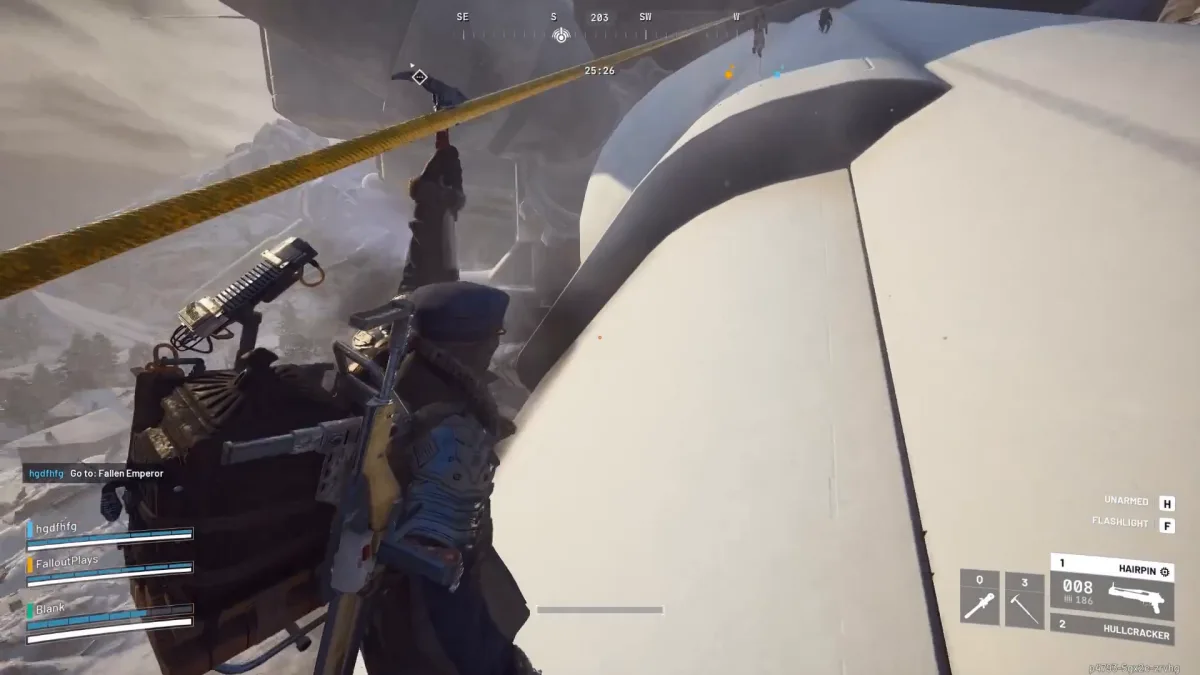
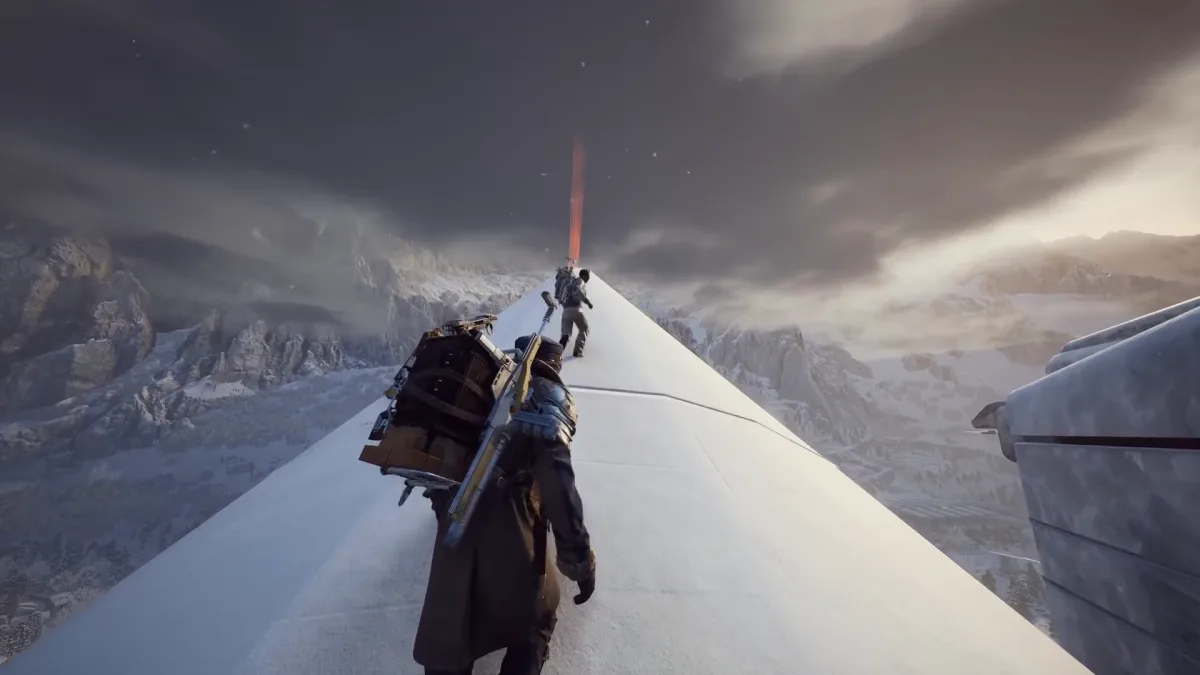
You can't get in without the conduit, but you can get on top. Zipline up the right side of its leg, climb onto the knee joint, then place a second zipline to reach the very top, the highest point on the map. Expect other Raiders to use it as a sniper perch.
There's a gondola transceiver in the Emperor's shadow that the map calls the Reckless Transceiver: a Raider "may defy both fate and common sense" by calling a gondola there. It's the closest way out after an Emperor run, and the most exposed. See how the Ballistic Gondola works.
📚 Related Guides
Sources: the Frozen Trail developer Q&A, in-game text, and early-access videos by Espresso, Cloud News and other creators invited to the preview.